If your WordPress site shows SSL errors or “Not Secure” warnings, this guide walks you through fixing them quickly and safely. You’ll learn how to install, renew, and troubleshoot SSL certificates to keep your site secure and trusted by visitors and search engines.
Key Takeaways
- SSL is essential for security: It encrypts data between your site and visitors, protecting login details, payments, and personal info.
- Free SSL options exist: Services like Let’s Encrypt offer free SSL certificates that work perfectly with WordPress.
- Mixed content causes errors: Even with SSL installed, HTTP links in your content can break the secure connection.
- Update site URLs to HTTPS: Changing WordPress Address and Site Address to HTTPS is a critical step after enabling SSL.
- Use plugins for easier fixes: Tools like Really Simple SSL can automate much of the process for beginners.
- Check certificate expiration: SSL certificates expire—set reminders to renew them before they lapse.
- Test your SSL setup: Use online tools to verify your certificate is installed correctly and fully functional.
Introduction: Why SSL Matters for Your WordPress Site
If you’ve ever seen a “Not Secure” warning in your browser when visiting a website, you know how alarming it can be. For WordPress site owners, SSL (Secure Sockets Layer) isn’t just a nice-to-have—it’s a must. SSL encrypts the data sent between your site and your visitors, keeping passwords, credit card info, and personal details safe from hackers.
Google also ranks HTTPS sites higher in search results, so fixing your SSL certificate can improve your SEO. Plus, many browsers now block features on non-secure sites. In this guide, you’ll learn exactly how to fix SSL certificate WordPress issues, from installation to troubleshooting common problems.
Step 1: Check If Your Site Has an SSL Certificate
Before fixing anything, confirm whether your site already has an SSL certificate.
How to Check SSL Status
Go to your website in a browser and look at the address bar. If you see a padlock icon and the URL starts with https://, SSL is active. If it says “Not Secure” or shows http://, you need to install or fix your certificate.
You can also use free online tools like SSL Checker or SSL Labs to test your certificate’s validity, expiration date, and configuration.
Step 2: Install an SSL Certificate
Visual guide about How to Fix Ssl Certificate WordPress
Image source: blog.petehouston.com
If your site doesn’t have SSL, you’ll need to install one. Most hosting providers now offer free SSL through Let’s Encrypt.
Option A: Enable SSL via Your Hosting Provider
Many hosts (like Bluehost, SiteGround, or HostGator) let you enable SSL with one click.
- Log in to your hosting control panel (e.g., cPanel).
- Look for “SSL/TLS” or “Let’s Encrypt” section.
- Select your domain and click “Install” or “Enable SSL.”
- Wait a few minutes for the certificate to activate.
Option B: Install SSL Manually (Advanced)
If your host doesn’t offer automatic SSL, you may need to generate a certificate manually. This involves creating a CSR (Certificate Signing Request), submitting it to a certificate authority, and installing the issued certificate. This method is more complex and usually not needed for standard WordPress sites.
Option C: Use a Plugin (Easiest for Beginners)
Plugins like Really Simple SSL can detect and activate SSL automatically.
- Go to Plugins > Add New in your WordPress dashboard.
- Search for “Really Simple SSL” and install it.
- Activate the plugin—it will often auto-detect your SSL and enable it with one click.
Step 3: Update WordPress URLs to HTTPS
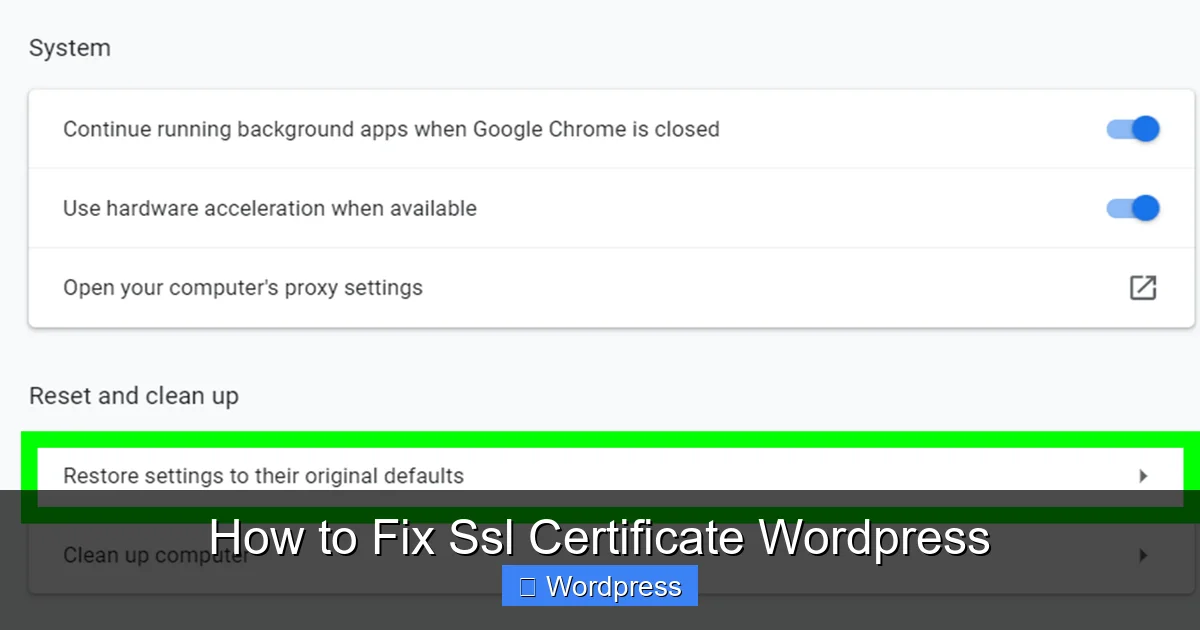
Visual guide about How to Fix Ssl Certificate WordPress
Image source: wikihow.com
After installing SSL, you must update your site’s address to use HTTPS.
Change Site URLs in WordPress Settings
- Go to Settings > General in your WordPress admin.
- Change both “WordPress Address (URL)” and “Site Address (URL)” from http:// to https://.
- Save changes.
⚠️ Warning: If you can’t access your site after this change, don’t panic. You can fix it by editing the wp-config.php file via FTP or your hosting file manager.
Fix Locked Admin Access
If you’re locked out:
- Connect to your site via FTP or file manager.
- Open
wp-config.php(in the root folder). - Add these lines just above “That’s all, stop editing!”:
define('WP_HOME','https://yourdomain.com'); define('WP_SITEURL','https://yourdomain.com'); - Replace
yourdomain.comwith your actual domain. - Save and reload your site.
Step 4: Fix Mixed Content Errors
Even with SSL installed, your site may still show warnings if some content loads over HTTP. This is called “mixed content.”
Identify Mixed Content Issues
Open your site in Chrome, right-click, and select “Inspect.” Go to the “Console” tab. You’ll see errors like “Mixed Content: The page was loaded over HTTPS, but requested an insecure image.”
Fix Mixed Content Manually
Go through your pages and posts to find HTTP links:
- Images: Change
http://yourdomain.com/image.jpgtohttps://yourdomain.com/image.jpg. - Videos, scripts, and iframes: Update all URLs to use HTTPS.
- Theme and plugin files: Some themes hardcode HTTP links. Check your theme’s settings or consider switching to a well-coded theme like the Best WordPress Theme for SEO and Speed.
Use a Plugin to Fix Mixed Content
Plugins like Really Simple SSL or SSL Insecure Content Fixer can automatically rewrite HTTP URLs to HTTPS. Install and activate one, and it will handle most mixed content issues.
Step 5: Set Up HTTPS Redirects
To ensure all visitors use the secure version of your site, set up a redirect from HTTP to HTTPS.
Add Redirect via .htaccess (Apache Servers)
- Connect to your site via FTP or file manager.
- Open the
.htaccessfile in your root directory. - Add this code at the top:
RewriteEngine On RewriteCond %{HTTPS} !=on RewriteRule ^(.*)$ https://%{HTTP_HOST}%{REQUEST_URI} [L,R=301] - Save the file.
For NGINX Servers
If you’re on NGINX, add this to your server block:
server {
    listen 80;
    server_name yourdomain.com www.yourdomain.com;
    return 301 https://$server_name$request_uri;
}
Step 6: Update Internal Links and Sitemaps
After switching to HTTPS, update all internal links to avoid redirect chains and improve SEO.
Update Links in Content
Use the Better Search Replace plugin to find and replace all instances of http://yourdomain.com with https://yourdomain.com in your database.
Regenerate Your Sitemap
If you use Yoast SEO or Rank Math, go to the plugin settings and regenerate your sitemap. Submit the new HTTPS sitemap to Google Search Console.
Troubleshooting Common SSL Issues
Even after following these steps, you might run into problems. Here’s how to fix them.
“SSL Certificate Not Trusted” Error
This usually means your certificate isn’t from a trusted authority or isn’t installed correctly.
- Ensure you’re using a certificate from Let’s Encrypt or another trusted provider.
- Reinstall the certificate via your host or plugin.
- Check that the certificate covers both
yourdomain.comandwww.yourdomain.com.
“Too Many Redirects” Error
This happens when redirects loop between HTTP and HTTPS.
- Check your
.htaccessfile for duplicate redirect rules. - Disable plugins that handle SSL or redirects temporarily.
- Clear your browser cache and WordPress cache (if using a caching plugin).
SSL Works on Homepage but Not Other Pages
This often points to mixed content or incorrect permalink settings.
- Resave your permalinks: Go to Settings > Permalinks and click “Save Changes.”
- Check for hardcoded HTTP links in templates or widgets.
- Use a plugin like Fix Broken Links in WordPress Without Plugin to scan for issues.
Conclusion: Keep Your Site Secure and Trusted
Fixing SSL certificate WordPress issues might seem technical, but it’s essential for security, SEO, and user trust. By installing a valid certificate, updating your site URLs, fixing mixed content, and setting up proper redirects, you’ll ensure your site loads securely across all devices and browsers.
Remember to renew your SSL certificate before it expires—most last 90 days (Let’s Encrypt) or 1–2 years (paid certificates). Set calendar reminders or use auto-renewal features from your host.
With a secure HTTPS site, you’re not just protecting your visitors—you’re also building credibility and improving your chances of ranking higher in search results. Take the time to get SSL right, and your WordPress site will be safer and stronger for it.