Setting up a theme in WordPress is essential for creating a professional and functional website. This guide walks you through choosing, installing, and customizing your theme with simple, actionable steps.
Key Takeaways
- Choose the right theme: Pick a theme that matches your website’s purpose, is responsive, and regularly updated.
- Install via WordPress dashboard: Use the built-in theme installer for safe and easy setup.
- Customize with the Customizer: Adjust colors, fonts, layouts, and menus using WordPress’s live preview tool.
- Install required plugins: Many themes need companion plugins for full functionality—install them promptly.
- Test on mobile devices: Always check how your site looks on phones and tablets after setup.
- Backup before major changes: Protect your site by creating a backup before switching or customizing themes.
- Troubleshoot common issues: Fix problems like missing styles or broken layouts with simple fixes.
How to Set Up a Theme in WordPress
So, you’ve got your WordPress site up and running—great job! Now it’s time to make it look amazing. That’s where themes come in. A WordPress theme controls the design, layout, and overall feel of your website. Whether you’re building a blog, business site, or online store, setting up the right theme is a crucial first step.
In this guide, we’ll walk you through the entire process of setting up a theme in WordPress—from choosing the perfect one to customizing it so it fits your brand. No coding experience? No problem. We’ll keep things simple, clear, and beginner-friendly.
By the end of this guide, you’ll know how to install, activate, and personalize a WordPress theme like a pro. Let’s get started!
Step 1: Choose the Right Theme
Before you install anything, you need to pick a theme that suits your needs. With thousands of free and premium themes available, it’s easy to get overwhelmed. Here’s how to choose wisely.
Consider Your Website’s Purpose
Ask yourself: What is your site for? A blog, portfolio, online store, or business site? Different themes are built for different purposes. For example:
– Use Astra or Neve for fast, lightweight blogs.
– Try OceanWP or GeneratePress for multipurpose flexibility.
– For eCommerce, Storefront (by WooCommerce) is a solid choice.
Check for Responsiveness
Your site must look good on phones, tablets, and desktops. Always pick a responsive theme—one that automatically adjusts to different screen sizes. Most modern themes are responsive, but double-check the demo or description.
Look for Regular Updates and Support
A well-maintained theme receives regular updates for security and compatibility. Avoid themes that haven’t been updated in over a year. Also, check if the developer offers support—especially important if you’re using a premium theme.
Read Reviews and Ratings
On the WordPress theme directory, look at user reviews and star ratings. A theme with 4+ stars and hundreds of positive reviews is usually a safe bet.
Step 2: Install the Theme
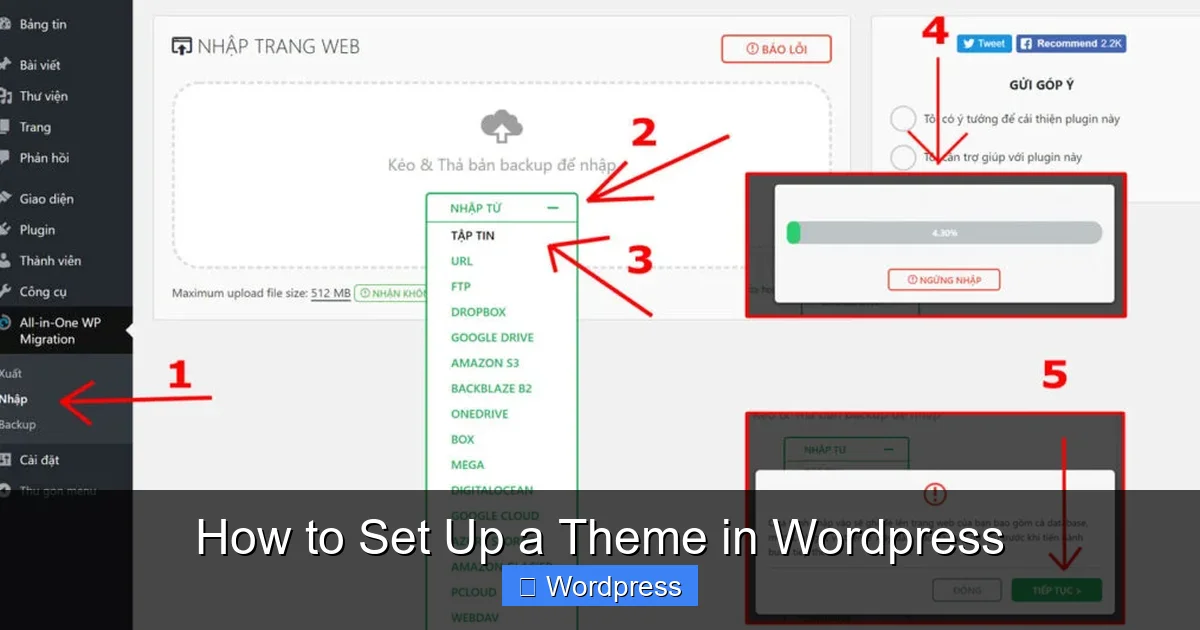
Visual guide about How to Set Up a Theme in WordPress
Image source: themewpgiare.com
Once you’ve chosen your theme, it’s time to install it. There are two main ways: through the WordPress dashboard or by uploading a ZIP file.
Method 1: Install from the WordPress Dashboard
This is the easiest method for free themes available in the WordPress directory.
- Log in to your WordPress admin dashboard.
- Go to Appearance > Themes.
- Click Add New at the top of the page.
- Use the search bar to find your theme (e.g., type “Astra”).
- Click Install once you find the right one.
- After installation, click Activate.
That’s it! Your new theme is now live on your site.
Method 2: Upload a Premium or Custom Theme
If you’ve purchased a premium theme or downloaded one from a third-party site, you’ll need to upload it manually.
- Download the theme ZIP file to your computer.
- In your WordPress dashboard, go to Appearance > Themes > Add New.
- Click Upload Theme at the top.
- Choose the ZIP file and click Install Now.
- Once installed, click Activate.
Tip: Always download themes from trusted sources like ThemeForest, Elegant Themes, or the official WordPress repository to avoid malware.
Step 3: Customize Your Theme
Now that your theme is active, it’s time to make it your own. WordPress makes this easy with the built-in Customizer.
Access the WordPress Customizer
Go to Appearance > Customize in your dashboard. This opens a live preview of your site where you can make changes and see them in real time.
Change Site Identity
Start with the basics:
– Upload your logo under Site Identity.
– Update your site title and tagline.
– Set a favicon (the small icon in the browser tab).
Adjust Colors and Fonts
Most themes let you change the color scheme and typography. Look for sections like:
– Colors: Change background, text, and accent colors.
– Typography: Choose fonts for headings and body text.
Pro Tip: Stick to 2–3 fonts max for a clean, professional look.
Set Up Your Homepage
Decide whether your homepage shows:
– A static page (like a welcome message or landing page), or
– Your latest blog posts.
Go to Settings > Reading and choose under “Your homepage displays.”
Customize Menus and Widgets
– Go to Appearance > Menus to create or edit navigation menus.
– Use Appearance > Widgets to add content to sidebars, footers, or other widget areas (like recent posts, search bars, or social links).
Configure Theme-Specific Options
Some themes come with their own settings panel (e.g., Astra, OceanWP). Look for a new menu item in your dashboard after activation—often labeled with the theme name. Here, you can:
– Enable/disable features
– Import demo content
– Adjust layout settings
Step 4: Install Required Plugins
Many themes recommend or require plugins to work properly. For example:
– Page builders like Elementor or Gutenberg blocks for advanced layouts.
– SEO plugins like Yoast SEO or Rank Math.
– Contact form plugins like WPForms.
– WooCommerce if you’re setting up an online store.
After activating your theme, check for a notice in your dashboard prompting you to install recommended plugins. Click “Begin installing plugins” and follow the steps.
Note: Only install plugins you actually need. Too many plugins can slow down your site.
Step 5: Test Your Site
Before announcing your new site to the world, test it thoroughly.
Check on Multiple Devices
Open your site on a phone, tablet, and desktop. Make sure:
– Text is readable
– Buttons are clickable
– Images load properly
– Menus work on mobile (look for a “hamburger” menu)
Test Page Speed
Use tools like Google PageSpeed Insights or GTmetrix to check loading times. A slow site hurts user experience and SEO.
Preview Different Pages
Visit your homepage, blog, contact page, and any other key pages. Ensure everything looks consistent and loads correctly.
Troubleshooting Common Issues
Even with careful setup, problems can happen. Here’s how to fix the most common ones.
White Screen or Broken Layout
This usually happens after a theme update or plugin conflict.
– Switch to a default theme (like Twenty Twenty-Four) via FTP or your hosting file manager.
– Deactivate all plugins and reactivate them one by one to find the culprit.
Missing Styles or Fonts
If your site looks plain or fonts aren’t loading:
– Clear your browser cache and WordPress cache (if using a caching plugin).
– Check if the theme’s required plugins are installed and activated.
Customizer Not Working
If the Customizer won’t load:
– Disable plugins temporarily to check for conflicts.
– Increase PHP memory limit in your wp-config.php file.
Theme Not Responsive
If your site looks bad on mobile:
– Confirm the theme is truly responsive (check the demo).
– Avoid fixed-width elements in custom code.
– Use mobile-friendly plugins and avoid large images.
Conclusion
Setting up a theme in WordPress doesn’t have to be complicated. By following these steps—choosing the right theme, installing it safely, customizing with the Customizer, and testing thoroughly—you can create a beautiful, functional website without any stress.
Remember, your theme is the foundation of your site’s design. Take your time to pick one that fits your goals, and don’t be afraid to experiment with customization options. And always back up your site before making big changes.
With your new theme in place, you’re ready to start adding content, growing your audience, and achieving your online goals. Happy building!