Changing your WordPress theme can refresh your site’s look and improve performance. This guide walks you through the entire process safely, from backing up your site to activating your new theme and fixing common issues.
Key Takeaways
- Always back up your site first: Prevent data loss by creating a full backup before making any changes.
- Preview themes before activating: Use the live preview feature to see how your content looks with the new design.
- Check plugin and content compatibility: Some themes may not support certain plugins or custom post types.
- Customize after activation: Adjust colors, fonts, and layouts using the WordPress Customizer.
- Test on mobile and desktop: Ensure your new theme is responsive and looks great on all devices.
- Keep your old theme temporarily: Don’t delete it right away in case you need to revert quickly.
- Update permalinks if needed: Sometimes changing themes affects URL structure—refresh permalinks to avoid 404 errors.
How to Change a WordPress Theme
If your WordPress website feels outdated or you’re ready for a fresh design, changing your theme is a smart move. A new theme can improve your site’s appearance, speed, and user experience—without needing to rebuild everything from scratch. But switching themes isn’t just about picking a pretty design. It requires careful planning to avoid broken layouts, lost content, or downtime.
In this guide, you’ll learn how to change a WordPress theme safely and effectively. We’ll cover everything from backing up your site to testing your new design on mobile devices. Whether you’re using a free theme from the WordPress directory or a premium theme from a third-party marketplace, these steps will help you make the switch with confidence.
Why Change Your WordPress Theme?
There are many reasons to update your WordPress theme. Maybe your current design no longer matches your brand. Or perhaps your site is slow because your theme is bloated with unnecessary features. Some themes also lack mobile responsiveness or don’t support modern plugins.
Switching to a lightweight, well-coded theme can boost your site’s performance, improve SEO, and make it easier for visitors to navigate. A fresh design can also increase engagement and conversions—especially if your old theme looked cluttered or unprofessional.
Step 1: Back Up Your Website
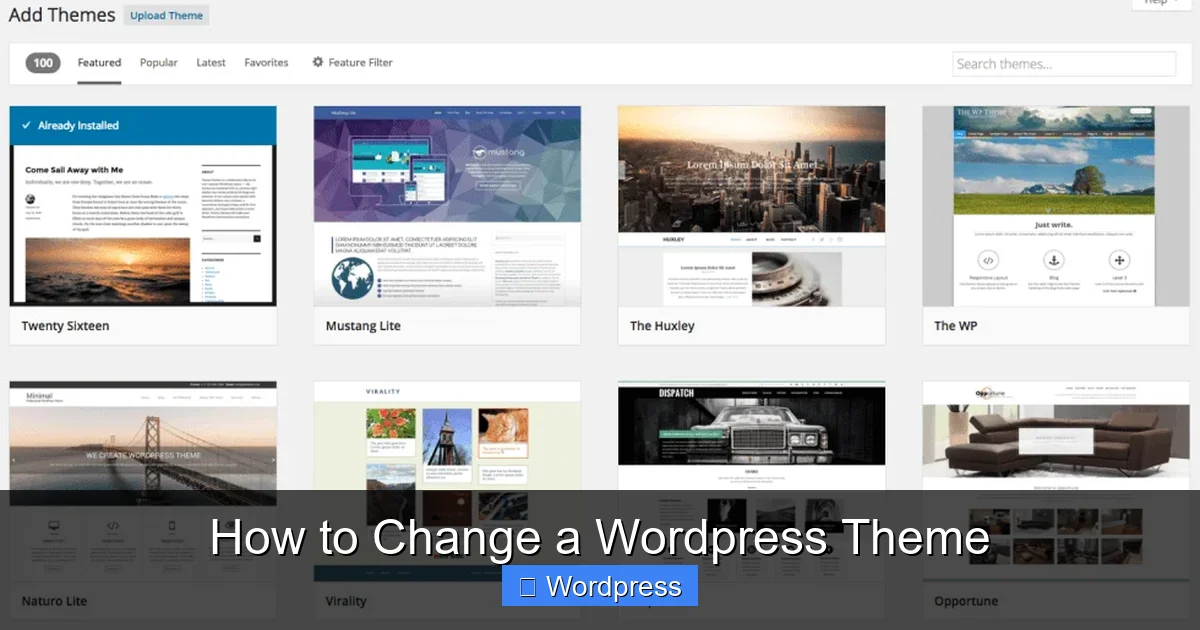
Visual guide about How to Change a WordPress Theme
Image source: wbcomdesigns.com
Before making any major change to your site, always create a full backup. This includes your database, files, themes, plugins, and uploads. If something goes wrong during the theme switch, you can restore your site quickly.
How to Back Up Your Site
- Use a backup plugin: Plugins like UpdraftPlus, BackupBuddy, or Jetpack Backup let you schedule automatic backups and store them in the cloud (Google Drive, Dropbox, etc.).
- Manual backup via FTP: Connect to your site using an FTP client (like FileZilla), download all files from your server, and export your database using phpMyAdmin.
- Check with your host: Many hosting providers (like SiteGround or Bluehost) offer one-click backup tools in their control panel.
Tip: Test your backup by restoring it on a staging site to make sure it works.
Step 2: Choose a New Theme
Now it’s time to pick a new theme. WordPress offers thousands of free and premium options. Here’s how to choose wisely:
Where to Find Themes
- WordPress Theme Directory: Free, vetted themes available directly from your dashboard under Appearance > Themes > Add New.
- Premium theme marketplaces: Sites like ThemeForest, Elegant Themes, or Astra offer high-quality, feature-rich themes (usually paid).
- Developer websites: Some developers sell themes directly, often with better support and updates.
What to Look For in a Theme
- Responsive design: Must look good on phones, tablets, and desktops.
- Fast loading speed: Avoid themes with heavy animations or too many built-in features.
- SEO-friendly code: Clean, well-structured HTML helps search engines crawl your site.
- Plugin compatibility: Make sure it works with your essential plugins (like WooCommerce, Yoast SEO, or Contact Form 7).
- Regular updates and support: Choose themes that are actively maintained by the developer.
Step 3: Install the New Theme
Once you’ve chosen a theme, it’s time to install it. You can do this directly from your WordPress dashboard.
Installing a Free Theme
- Go to Appearance > Themes in your WordPress admin panel.
- Click Add New.
- Search for the theme by name (e.g., “Astra” or “Twenty Twenty-Four”).
- Click Install, then Activate.
Installing a Premium Theme
- Download the theme .zip file from the marketplace or developer.
- Go to Appearance > Themes > Add New.
- Click Upload Theme and select the .zip file.
- Click Install Now, then Activate.
Note: Never extract the .zip file before uploading—WordPress needs the compressed version.
Step 4: Preview the Theme Before Going Live
Don’t activate the theme right away. Use the live preview feature to see how your content looks with the new design.
How to Preview a Theme
- Go to Appearance > Themes.
- Hover over the new theme and click Live Preview.
- Browse your site as a visitor would. Check fonts, colors, spacing, and layout.
- Look for missing images, broken menus, or misaligned text.
Tip: Preview on different screen sizes using the device icons at the bottom of the preview screen.
If something looks off, you can still go back and choose a different theme or make adjustments later.
Step 5: Activate the New Theme
Once you’re happy with the preview, it’s time to go live.
How to Activate the Theme
- In the theme preview, click the Activate & Publish button.
- Your site will now use the new theme.
Important: Your content (posts, pages, images) stays the same—only the design changes.
Step 6: Customize Your New Theme
Most themes come with customization options. Use the WordPress Customizer to tweak the design.
Accessing the Customizer
- Go to Appearance > Customize.
- You’ll see live previews of changes as you make them.
Common Customizations
- Site Identity: Change your logo, site title, and tagline.
- Colors: Adjust background, text, and accent colors.
- Typography: Choose fonts for headings and body text.
- Header & Footer: Modify layouts, add widgets, or insert custom code.
- Menus: Reassign navigation menus if they don’t appear correctly.
- Widgets: Add or rearrange sidebar and footer widgets.
Tip: Some themes include a built-in options panel (like the Astra Theme Options) for advanced settings.
Step 7: Test Your Site Thoroughly
After activating and customizing your theme, test everything to make sure it works.
What to Test
- Homepage: Does it load quickly and look good?
- Blog posts and pages: Is the content readable and properly formatted?
- Contact forms: Do they submit correctly?
- E-commerce pages (if applicable): Are product pages and checkout working?
- Mobile responsiveness: Zoom in and out on your phone—does everything fit?
- Links and buttons: Do they go to the right places?
Use Browser Developer Tools
- Right-click on your site and select Inspect (in Chrome or Firefox).
- Use the device toolbar to simulate different screen sizes.
- Check for console errors that might indicate broken scripts.
Troubleshooting Common Issues
Even with careful planning, problems can happen. Here’s how to fix the most common issues.
Missing Menus or Widgets
- Go to Appearance > Menus and reassign your menu to the correct location.
- Check Appearance > Widgets to see if widgets moved to the “Inactive Widgets” area.
Broken Layouts or Spacing
- This often happens when the new theme uses different CSS classes.
- Use the Customizer to adjust padding, margins, or column widths.
- Consider adding custom CSS under Appearance > Customize > Additional CSS.
Plugin Conflicts
- Some plugins may not work with your new theme.
- Deactivate plugins one by one to find the culprit.
- Contact the plugin developer for compatibility updates.
404 Errors After Switching
- This can happen if permalinks reset.
- Go to Settings > Permalinks and click Save Changes (no need to change anything).
- This refreshes the rewrite rules and fixes broken links.
Should You Delete the Old Theme?
It’s smart to keep your old theme installed for a few days. If visitors report issues or you decide you don’t like the new design, you can quickly switch back.
Once you’re confident everything is working, you can delete the old theme to free up space. Go to Appearance > Themes, hover over the old theme, and click Delete.
Final Tips for a Smooth Transition
- Use a staging site: If your host offers one, test the theme change there first.
- Inform your team: Let editors or marketers know about the update.
- Monitor analytics: Check Google Analytics for traffic drops or bounce rate changes.
- Update your favicon and social icons: These often get reset with a new theme.
Conclusion
Changing your WordPress theme doesn’t have to be stressful. By following these steps—backing up your site, choosing the right theme, previewing before activating, and testing thoroughly—you can give your website a fresh new look without losing content or functionality.
Remember, a great theme enhances your brand, improves user experience, and supports your site’s growth. Take your time, test everything, and don’t hesitate to tweak the design until it feels just right. With the right approach, your theme change can be a smooth and rewarding upgrade.