This guide walks you through how to add Google Analytics to your WordPress website using both manual code insertion and popular plugins. You’ll learn how to set up tracking, verify installation, and start analyzing your site’s performance in minutes.
Key Takeaways
- Google Analytics helps you track website visitors and understand user behavior, so you can make smarter decisions.
- You can add Google Analytics manually by inserting a tracking code into your site’s header or footer.
- Plugins like MonsterInsights simplify the process and offer advanced features without touching code.
- Always verify your setup using Google’s Real-Time reports to ensure data is being collected correctly.
- Keep your tracking ID secure and avoid sharing it publicly to prevent fake traffic or data corruption.
- Regularly review your analytics reports to spot trends, improve content, and boost conversions.
Why Add Google Analytics to Your WordPress Site?
If you run a WordPress website, knowing who visits, where they come from, and what they do on your site is essential. That’s where Google Analytics comes in. It’s a free, powerful tool that gives you deep insights into your website’s performance.
With Google Analytics, you can see:
- How many people visit your site each day
- Which pages they spend the most time on
- Where your visitors are located
- What devices they use (mobile, desktop, tablet)
- How they found your site (search, social media, direct traffic)
Whether you’re a blogger, small business owner, or online store operator, these insights help you improve your content, fix broken links, and increase engagement. And the best part? It’s completely free to use.
Step 1: Create a Google Analytics Account
Before you can add Google Analytics to your WordPress site, you need to set up an account and create a property for your website.
Visual guide about How to Add Google Analytics to Website
Image source: analytify.io
Sign in to Google Analytics
Go to analytics.google.com and sign in with your Google account. If you don’t have one, create a free Google account first.
Set Up a New Account
Once logged in, click “Start measuring” or “Create Account.” Enter your account name (e.g., “My Website Analytics”), then click Next.
Create a Property
A property represents your website in Google Analytics. Enter your website name (e.g., “My Blog”) and select the appropriate industry category and reporting time zone. Click Next.
Set Up a Data Stream
Choose “Web” as your platform. Enter your website’s URL (e.g., https://yourwebsite.com) and give your stream a name. Click “Create Stream.”
After setup, you’ll see a Measurement ID (starts with “G-”) or a Tracking ID (starts with “UA-”). This is the code you’ll add to your WordPress site.
Step 2: Add Google Analytics to WordPress (Manual Method)
If you prefer full control, you can manually insert the Google Analytics tracking code into your WordPress site. This method works on any theme and doesn’t require plugins.
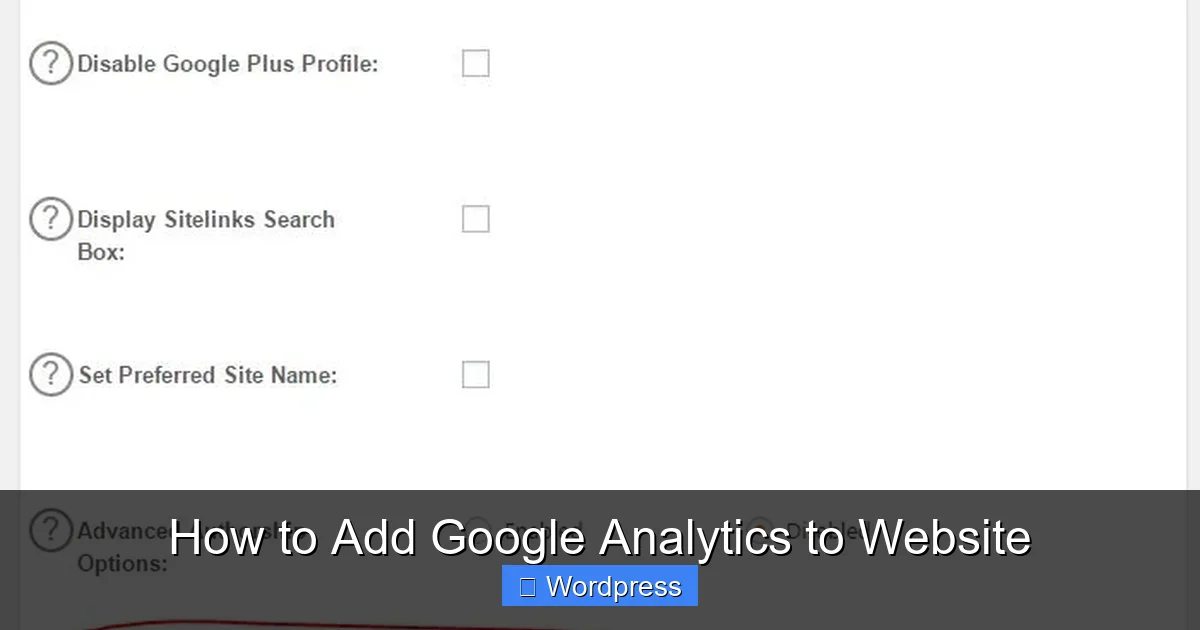
Visual guide about How to Add Google Analytics to Website
Image source: workanywherenow.com
Copy Your Tracking Code
In Google Analytics, go to Admin > Data Streams > Select your web stream. Under “Measurement ID,” copy the entire code snippet that starts with <script async src=.
Access Your WordPress Theme Files
Log in to your WordPress dashboard. Go to Appearance > Theme File Editor. On the right side, find and click on header.php.
Note: Editing theme files directly can be risky. Always back up your site first. If you’re using a child theme, edit that instead.
Paste the Code Before </head>
Find the </head> tag in the header.php file. Paste the Google Analytics code just above it. Click “Update File” to save.
Your site will now start sending data to Google Analytics. It may take a few hours for data to appear in your reports.
Alternative: Use the functions.php File
If you don’t want to edit header.php, you can add the tracking code via your theme’s functions.php file. This method is safer and survives theme updates if you use a child theme.
Add this code to your child theme’s functions.php:
function add_google_analytics() {
?>
Replace the comment with your actual tracking script. This injects the code into the <head> section of every page.
Step 3: Add Google Analytics Using a Plugin (Easiest Method)
For most WordPress users, using a plugin is the fastest and safest way to add Google Analytics. We recommend MonsterInsights, a popular, user-friendly plugin with a free version.

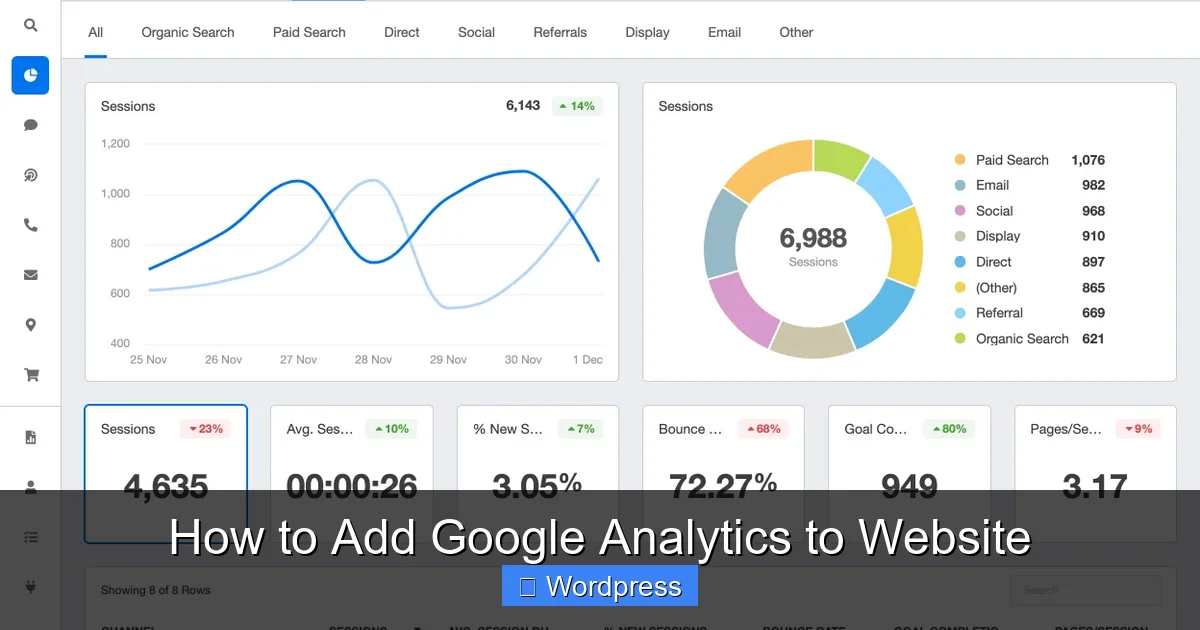
Visual guide about How to Add Google Analytics to Website
Image source: ultrawebjogja.com
Install MonsterInsights
In your WordPress dashboard, go to Plugins > Add New. Search for “MonsterInsights.” Click “Install Now” and then “Activate.”
Connect to Google Analytics
After activation, a setup wizard will appear. Click “Launch Wizard.” Choose “Connect Google Analytics” and follow the prompts to log in to your Google account.
Select the Google Analytics property you created earlier. MonsterInsights will automatically insert the tracking code into your site.
Configure Basic Settings
The plugin will ask about your site type (blog, eCommerce, etc.). Choose the option that fits your site. You can also enable features like:
- Demographics and interest reports
- Enhanced link attribution
- Google Ads tracking
Click “Save and Continue” to finish. Your site is now connected to Google Analytics.
Step 4: Verify Your Google Analytics Installation
After adding the tracking code, you need to confirm it’s working correctly.
Use Google Analytics Real-Time Reports
Go back to your Google Analytics dashboard. In the left menu, click Real-Time > Overview.
Now, open your website in a new browser tab (or ask a friend to visit). You should see active users appear in the Real-Time report within seconds.
If you see “1 active user,” your tracking is working!
Check for Errors
If no data appears:
- Double-check that the tracking code was pasted correctly
- Ensure there are no syntax errors in the code
- Clear your browser and site cache
- Wait up to 24 hours—sometimes data takes time to process
You can also use the Google Tag Assistant Chrome extension to verify your tag is firing correctly.
Step 5: Start Using Google Analytics
Now that your site is tracked, explore the reports to learn more about your audience.
Key Reports to Check
- Audience Overview: See total users, sessions, bounce rate, and session duration.
- Acquisition > All Traffic: Find out where your visitors come from (Google, Facebook, direct, etc.).
- Behavior > Site Content: See which pages get the most views.
- Conversions: If you have goals set up (like form submissions), track how many people complete them.
Set up goals in Google Analytics to track important actions, such as newsletter signups or purchases. This helps you measure success beyond just page views.
Troubleshooting Common Issues
Even with careful setup, you might run into problems. Here’s how to fix the most common ones.
No Data in Reports
If your reports show zero visitors:
- Confirm the tracking code is on all pages (check a few URLs)
- Make sure you’re viewing the correct property in Google Analytics
- Check if ad blockers are preventing tracking (test in incognito mode)
Duplicate Tracking
If you see inflated numbers, you might have added the code twice—once manually and once via a plugin. Remove one method to avoid double-counting.
Theme Updates Removed the Code
If you edited header.php and your theme updated, the code may have been overwritten. Use a child theme or a plugin to prevent this. For more on managing themes safely, see our guide on how to update themes on WordPress.
Privacy and GDPR Compliance
If you’re in the EU or serve EU visitors, ensure your site complies with GDPR. Consider anonymizing IP addresses and adding a cookie consent banner. MonsterInsights offers GDPR-friendly settings.
Conclusion
Adding Google Analytics to your WordPress website is a smart move for anyone who wants to grow their online presence. Whether you choose the manual method or use a plugin like MonsterInsights, the process is straightforward and takes less than 15 minutes.
Once installed, you’ll gain valuable insights into your audience, content performance, and traffic sources. Use this data to refine your strategy, improve user experience, and achieve your goals.
Remember to verify your setup, keep your tracking ID secure, and review your reports regularly. With Google Analytics, you’re not just building a website—you’re building a data-driven business.
For more WordPress tips, check out our guide on how to apply a WordPress theme or learn how to create a WordPress theme with Elementor.