Changing your WordPress theme doesn’t have to be scary. This guide walks you through a safe, step-by-step process to switch themes without losing content, design, or functionality. You’ll learn how to back up your site, test the new theme, and go live with confidence.
Key Takeaways
- Always back up your site first: A full backup protects your content, settings, and files in case something goes wrong during the theme switch.
- Use a staging site for testing: Test your new theme on a duplicate of your live site to avoid disrupting visitors.
- Check plugin and widget compatibility: Some plugins and widgets may not work with your new theme—verify before going live.
- Preserve custom code and CSS: Save any customizations from your current theme so you can reapply them to the new one.
- Update menus and widgets after switching: Menus, sidebars, and footers may need to be reassigned in the new theme.
- Clear your cache after activation: Caching plugins or server-side caching can show outdated versions of your site.
- Monitor your site post-switch: Check for broken links, missing images, or layout issues in the first 24–48 hours.
How to Change a WordPress Theme Without Breaking Your Website
Switching your WordPress theme can breathe new life into your website—better design, faster performance, or improved mobile responsiveness. But if done carelessly, it can also break your site, lose content, or confuse your visitors. The good news? With the right preparation, you can change your WordPress theme safely and smoothly.
In this guide, you’ll learn exactly how to change a WordPress theme without breaking your website. We’ll walk you through every step—from backing up your site to going live with your new design. Whether you’re switching to a free theme from the WordPress directory or installing a premium theme, these steps will keep your site secure and functional.
Step 1: Back Up Your Website
Before making any major change to your site, the most important step is to create a full backup. This includes your files, database, themes, plugins, and uploads. If something goes wrong, you can restore your site to its previous state in minutes.
Why Backups Are Essential
Even experienced developers back up their sites before theme changes. A single misstep—like activating a broken theme—can cause your site to crash or display a white screen of death (WSOD). A backup ensures you can recover quickly.
How to Back Up Your Site
You have several options:
- Use a backup plugin: Plugins like UpdraftPlus, BackupBuddy, or Jetpack Backup let you schedule automatic backups and store them in the cloud (Google Drive, Dropbox, etc.).
- Manual backup via FTP and phpMyAdmin: Download all files via FTP and export your database using phpMyAdmin (found in your hosting control panel).
- Hosting provider backups: Some hosts (like SiteGround or Bluehost) offer one-click backups. Check your hosting dashboard.
Pro tip: Always test your backup by restoring it on a local or staging site to ensure it works.
Step 2: Set Up a Staging Site
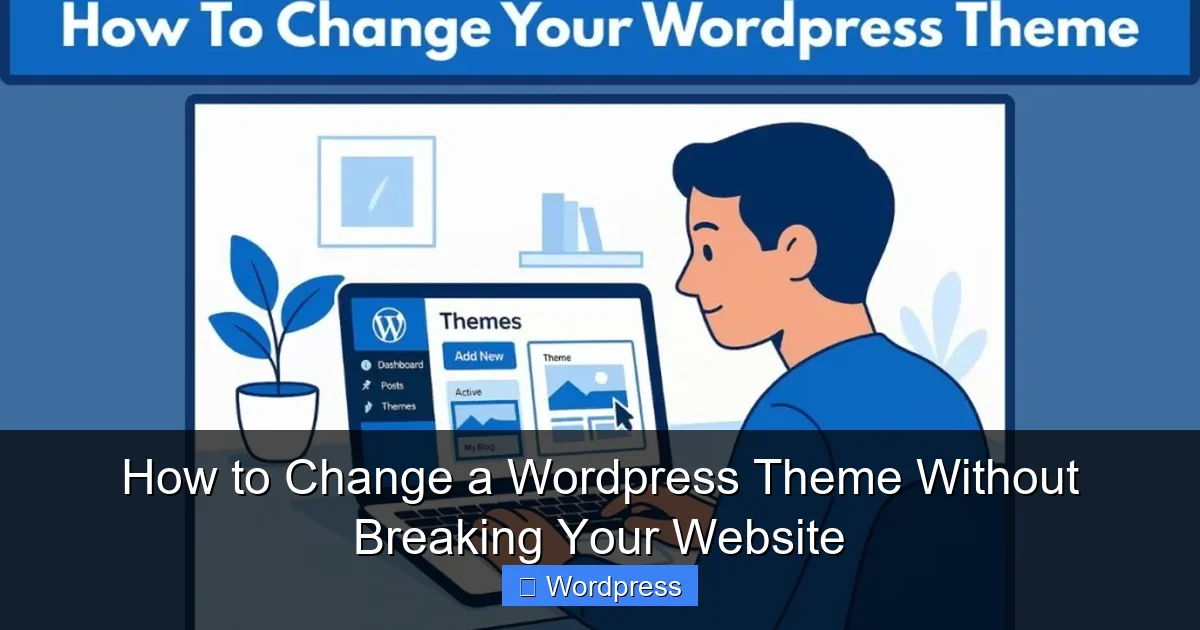
Visual guide about How to Change a WordPress Theme Without Breaking Your Website
Image source: izoate.com
A staging site is a clone of your live website where you can test changes safely. It’s the best way to preview your new theme without affecting real visitors.
Why Use a Staging Site?
Testing on a staging site lets you:
- See how your content looks with the new theme
- Check for broken layouts or missing images
- Test plugin compatibility
- Make adjustments before going live
How to Create a Staging Site
Many hosting providers offer one-click staging:
- SiteGround: Go to Site Tools > WordPress > Staging.
- Bluehost: Use the “Staging” option in the WordPress section.
- WP Engine: Staging is built-in and easy to access.
If your host doesn’t offer staging, use a plugin like WP Staging or Duplicator to create a copy of your site.
Note: Never test theme changes directly on your live site—especially during business hours.
Step 3: Install and Preview the New Theme
Now it’s time to install your new theme. You can choose from thousands of free themes in the WordPress directory or upload a premium theme.
How to Install a Theme
- Go to Appearance > Themes in your WordPress dashboard.
- Click Add New.
- Search for a theme by name or browse categories.
- Click Install, then Activate (only on your staging site!).
For premium themes:
- Download the .zip file from the developer.
- Go to Appearance > Themes > Add New > Upload Theme.
- Select the .zip file and click Install Now.
Preview the Theme Before Activating
Instead of activating immediately, use the Live Preview feature:
- Hover over the theme and click Live Preview.
- This opens a preview in a new tab, showing how your content will look.
- You can browse different pages and see how menus, widgets, and posts appear.
This step helps you catch major layout issues before making the switch.
Step 4: Check for Compatibility Issues
Not all themes work well with every plugin or custom code. Before going live, test for compatibility.
Test Your Plugins
Some plugins rely on specific theme features. For example:
- Page builders like Elementor or WPBakery may need reconfiguration.
- WooCommerce themes require WooCommerce support.
- SEO plugins like Yoast may need schema adjustments.
Action step: On your staging site, go through your most important plugins and check if they still work. Look for error messages or missing features.
Review Custom Code and CSS
If you’ve added custom CSS or PHP code (via a child theme or plugin), save it before switching:
- Go to Appearance > Customize > Additional CSS and copy all code.
- If using a child theme, download the files via FTP.
- Paste the CSS into the new theme’s customizer or a plugin like Simple Custom CSS.
Tip: Some themes have built-in custom CSS panels—use those to keep your styles.
Step 5: Reassign Menus, Widgets, and Settings
When you activate a new theme, WordPress may not carry over your menu locations or widget placements.
Reassign Menus
- Go to Appearance > Menus.
- Select your existing menu.
- Under Menu Settings, assign it to the correct location (e.g., Primary, Footer).
- Save changes.
Reconfigure Widgets
- Go to Appearance > Widgets.
- Drag your existing widgets into the correct sidebars or footer areas.
- Some themes use widget areas with different names—match them carefully.
Update Theme-Specific Settings
Many themes come with their own options panel (e.g., Astra, GeneratePress). Check:
- Header and footer layouts
- Typography and color schemes
- Blog and archive settings
Spend time customizing these to match your brand.
Step 6: Test Your Site Thoroughly
Before making the switch live, test everything on your staging site.
What to Test
- Homepage: Does it load quickly and look good on mobile?
- Blog posts: Are images, formatting, and readability intact?
- Contact forms: Do they submit correctly?
- E-commerce pages: If using WooCommerce, test product pages and checkout.
- Navigation: Are all menu links working?
- 404 page: Does it display properly?
Use Browser Tools
Open your staging site in different browsers (Chrome, Firefox, Safari) and devices (phone, tablet, desktop). Use Chrome’s DevTools to simulate mobile views.
Check Page Speed
Use tools like Google PageSpeed Insights or GTmetrix to ensure your new theme isn’t slowing down your site.
Step 7: Switch to the New Theme on Your Live Site
Once you’re confident everything works on staging, it’s time to go live.
How to Activate the Theme
- Go to your live site’s WordPress dashboard.
- Navigate to Appearance > Themes.
- Find your new theme and click Activate.
Clear Your Cache
If you use a caching plugin (like WP Super Cache or W3 Total Cache), clear the cache immediately. Also, clear your browser cache or use incognito mode to see the changes.
Monitor Your Site
For the next 24–48 hours, check your site regularly for:
- Broken images or links
- Missing content
- Plugin errors
- Slow loading times
Set up uptime monitoring with tools like UptimeRobot to get alerts if your site goes down.
Troubleshooting Common Issues
Even with careful planning, issues can arise. Here’s how to fix the most common problems:
White Screen of Death (WSOD)
This usually means a PHP error. Fix it by:
- Accessing your site via FTP.
- Renaming the new theme folder (e.g., from “newtheme” to “newtheme-old”).
- WordPress will revert to the default theme (Twenty Twenty-Four).
- Reactivate your old theme and investigate the issue.
Missing Widgets or Menus
Go to Appearance > Widgets and Menus to reassign them. Some themes use different widget areas.
Styling Looks Off
Check if your custom CSS was preserved. Reapply it in the Customizer or a CSS plugin.
Plugin Conflicts
Deactivate plugins one by one to find the culprit. Reactivate them after fixing the issue.
Conclusion
Changing your WordPress theme doesn’t have to be a stressful experience. By following these steps—backing up your site, using a staging environment, testing thoroughly, and monitoring after launch—you can switch themes safely and confidently.
Remember, the key to a smooth transition is preparation. Take your time, test everything, and don’t rush the process. With the right approach, your new theme will enhance your site’s design, performance, and user experience—without breaking a thing.
Now go ahead and give your website the fresh look it deserves!