Creating a child theme in WordPress lets you customize your site safely while preserving updates to the parent theme. This guide walks you through every step—from setup to activation—so you can personalize your site with confidence.
Key Takeaways
- Protect your customizations: A child theme ensures your changes aren’t lost when the parent theme updates.
- Easy to set up: You only need two files—style.css and functions.php—to get started.
- Works with any theme: Most WordPress themes support child themes, including popular ones like Astra and Twenty Twenty-Four.
- Safe for beginners: No coding expertise required—just basic file editing and FTP or file manager access.
- Enables deeper customization: Override templates, add custom CSS, or modify functions without touching core files.
- Improves site performance: Only loads necessary code, keeping your site fast and efficient.
- Essential for long-term maintenance: Makes future updates and troubleshooting much easier.
Why Use a Child Theme in WordPress?
Before diving into the steps, let’s answer a common question: Why should you even use a child theme? When you install a WordPress theme, you might want to tweak colors, fonts, layouts, or add custom features. But if you edit the theme files directly and then update the theme, all your changes disappear. That’s where a child theme saves the day.
A child theme inherits all the functionality and styling of its parent theme but lets you override specific parts safely. Think of it like building on a solid foundation—you get the best of both worlds: the reliability of the parent theme and the flexibility to customize without risk.
Whether you’re using a free theme from the WordPress directory or a premium theme like Best WordPress Theme for SEO and Speed, creating a child theme is a smart move for any site owner.
Prerequisites: What You’ll Need
Before you begin, make sure you have:
- Access to your WordPress site’s files (via FTP, cPanel File Manager, or hosting dashboard)
- A working WordPress installation with a parent theme already installed
- A text editor (like Notepad++, VS Code, or even WordPress’s built-in theme editor)
- Basic familiarity with CSS and PHP (not required, but helpful)
Don’t worry if you’re not a coder—this process is beginner-friendly and only requires copying a few lines of code.
Step 1: Create a New Folder for Your Child Theme
Every WordPress theme lives in its own folder inside the /wp-content/themes/ directory. Your child theme needs its own folder too.
Visual guide about How to Create a Child Theme in WordPress
Image source: wpnewsify.com
How to Create the Folder
- Log in to your hosting account and navigate to
public_html/wp-content/themes/. - Create a new folder. Name it something clear, like
twentytwentyfour-childif your parent theme is Twenty Twenty-Four.
Pro Tip: Always include “-child” in the folder name so you (and others) can easily identify it later.
Step 2: Create the style.css File
This file tells WordPress that your folder is a valid theme and links it to the parent theme. It also holds your custom CSS.
Visual guide about How to Create a Child Theme in WordPress
Image source: wpcred.com
How to Create style.css
- Open your text editor.
- Paste the following code, replacing the details with your own:
/*
Theme Name:   Twenty Twenty-Four Child
Theme URI:    https://yourwebsite.com/
Description:  Child theme for Twenty Twenty-Four
Author:       Your Name
Author URI:   https://yourwebsite.com/
Template:     twentytwentyfour
Version:      1.0.0
*/
Important: The Template: line must exactly match the folder name of your parent theme (case-sensitive). For example, if your parent theme folder is astra, write Template: astra.
- Save the file as
style.cssand upload it to your child theme folder.
Step 3: Create the functions.php File
This file enqueues the parent theme’s stylesheet so your child theme inherits all the original styling. Without it, your site will look broken.
How to Create functions.php
- In your text editor, paste this code:
This function loads the parent theme’s main stylesheet. You can also add custom PHP functions here later.
- Save the file as
functions.phpand upload it to your child theme folder.
Now your child theme is technically ready! But let’s make sure it works properly.
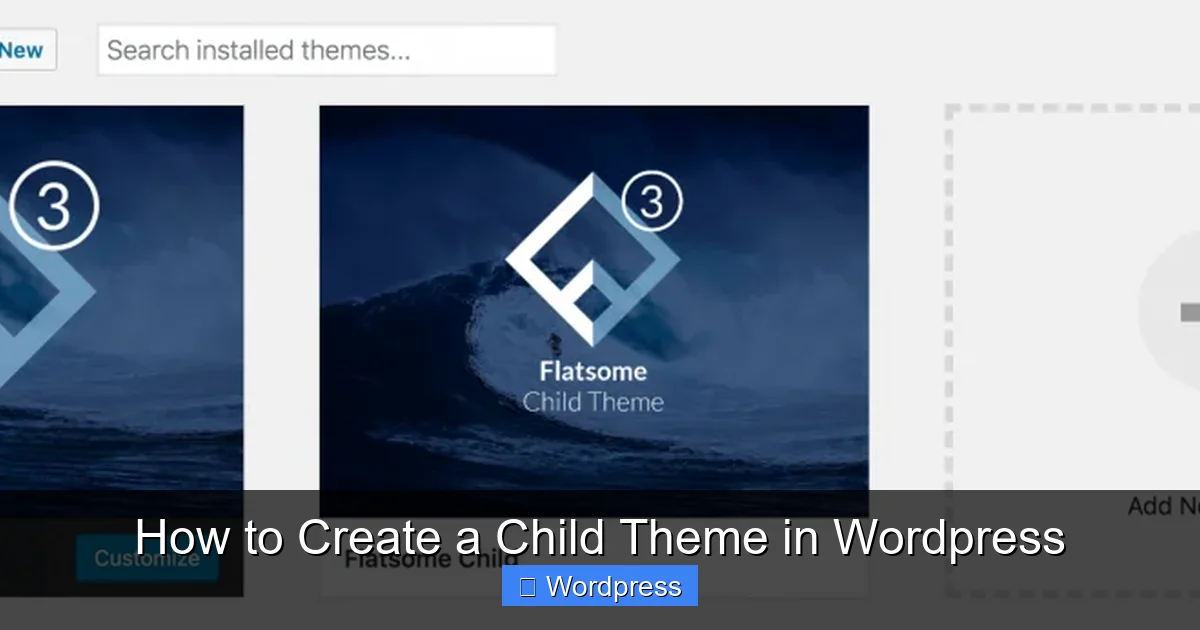
Step 4: Activate Your Child Theme
Time to see your hard work in action.
How to Activate the Theme
- Log in to your WordPress dashboard.
- Go to Appearance > Themes.
- You should now see your child theme listed. Click Activate.
Your site should look exactly the same as before—because the child theme inherits everything from the parent. But now you’re safe to make changes.
If something looks off, don’t panic. We’ll cover troubleshooting shortly.
Step 5: Customize Your Child Theme
Now comes the fun part—making your site uniquely yours.
Add Custom CSS
Open your child theme’s style.css file and add your custom styles at the bottom. For example:
/* Change header background color */
.site-header {
    background-color: #2c3e50;
}

/* Make headings bold */
h1, h2, h3 {
    font-weight: 700;
}
These changes will override the parent theme’s styles without touching the original files.
Override Template Files
Want to change how a page looks? Copy the template file from the parent theme (e.g., header.php or footer.php) into your child theme folder and edit it there.
WordPress will use the version in your child theme instead of the parent’s. This is perfect for customizing layouts, adding widgets, or inserting custom code.
Add Custom Functions
Use your functions.php file to add new features. For example, to add a custom widget area:
function my_child_theme_widgets_init() {
register_sidebar( array(
'name' => 'Custom Sidebar',
'id' => 'custom-sidebar',
'before_widget' => '',
'before_title' => '',
'after_title' => '
',
) );
}
add_action( 'widgets_init', 'my_child_theme_widgets_init' );
Now you can add widgets via Appearance > Widgets.
Troubleshooting Common Issues
Even with careful steps, things can go wrong. Here’s how to fix the most common problems.
Child Theme Not Appearing in Dashboard
- Double-check the folder name and location: it must be in
/wp-content/themes/. - Ensure
style.csshas the correctTemplate:value matching the parent folder name. - Make sure both
style.css andfunctions.phpare uploaded.
Styles Not Loading
- Verify that
functions.phpcorrectly enqueues the parent stylesheet. - Clear your browser and WordPress cache (if using a caching plugin).
- Check for typos in the file paths or function names.
Site Looks Broken After Activation
- This usually means the parent stylesheet isn’t loading. Recheck your
functions.phpcode. - If you copied template files, ensure they’re complete and not missing critical PHP tags.
- Switch back to the parent theme temporarily to confirm the issue is with the child theme.
For more help, see our guide on How to Update Theme on WordPress to understand how updates affect child themes.
Best Practices for Using Child Themes
To get the most out of your child theme, follow these tips:
- Keep it lightweight: Only override what you need. Don’t copy entire templates unless necessary.
- Document your changes: Add comments in your code so you remember what you did later.
- Test after updates: When the parent theme updates, check your site to ensure nothing broke.
- Use version control: If possible, use Git to track changes to your child theme files.
- Back up regularly: Always back up your site before making major changes.
And if you ever need to remove or replace your child theme, learn how to How to Delete Theme in WordPress safely without losing data.
Conclusion
Creating a child theme in WordPress is one of the smartest things you can do for your website. It gives you full creative control while protecting your work from being erased during updates. With just two files and a few minutes of setup, you’ve built a foundation for safe, scalable customization.
Whether you’re tweaking colors, adding custom code, or redesigning templates, a child theme keeps your site stable and future-proof. So go ahead—customize with confidence, knowing your changes are secure.
Ready to take your WordPress skills further? Explore our guide on How to Create WordPress Theme With Elementor to build fully custom designs without touching code.