Creating a custom header in WordPress using Elementor gives you full control over your site’s look and navigation. This guide walks you through the entire process—from setup to styling—so you can build a professional, responsive header without coding.
Key Takeaways
- Elementor Pro is required: You need Elementor Pro to access the Theme Builder and create custom headers.
- Use the Theme Builder: Headers are created using Elementor’s Theme Builder, not regular page templates.
- Design with drag-and-drop: Add widgets like site logo, navigation menu, and buttons easily using Elementor’s intuitive interface.
- Set display conditions: Choose where your header appears—site-wide, on specific pages, or excluded from certain areas.
- Make it responsive: Adjust header layout for mobile and tablet views to ensure a smooth user experience.
- Test before publishing: Always preview your header on different devices and fix any alignment or spacing issues.
How to Create Header in WordPress Elementor
If you’re building a WordPress website with Elementor, one of the first things you’ll want to customize is your header. The header is the top section of your site—it usually includes your logo, navigation menu, and sometimes a call-to-action button. A well-designed header improves user experience and helps visitors find what they’re looking for quickly.
In this guide, we’ll show you exactly how to create a header in WordPress Elementor using Elementor Pro’s Theme Builder. You’ll learn how to design a clean, responsive header that works on all devices—no coding needed.
What You’ll Need
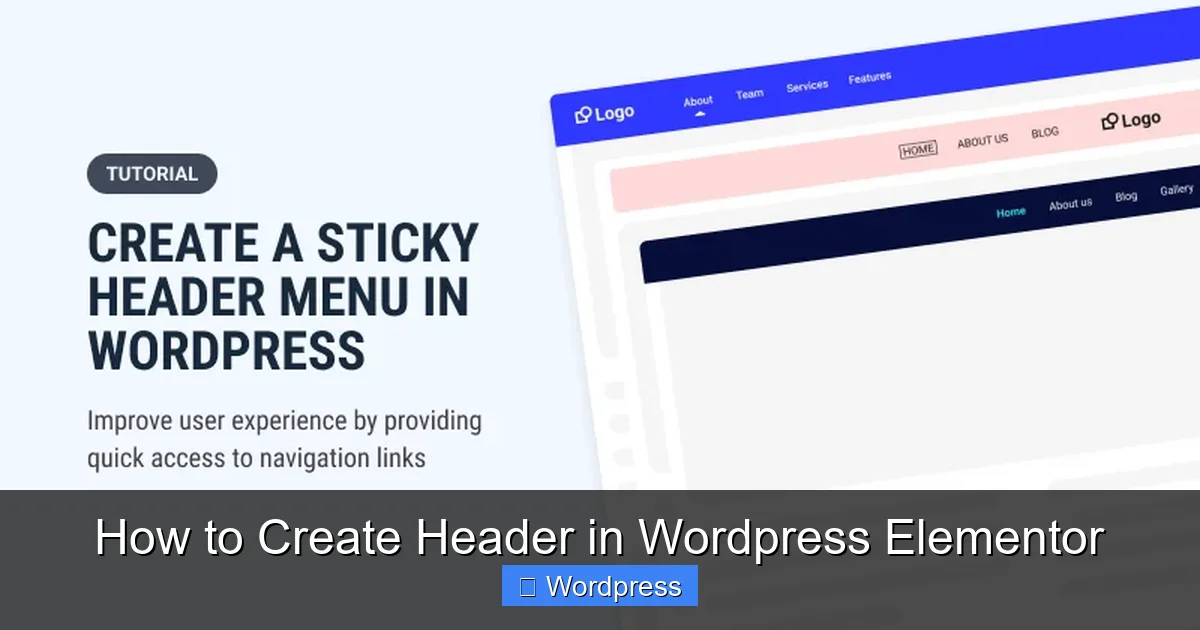
Visual guide about How to Create Header in WordPress Elementor
Image source: fireplugins.com
Before we begin, make sure you have the following:
- WordPress installed on your website
- Elementor plugin activated (free version)
- Elementor Pro license – this is required to access the Theme Builder
- A basic understanding of how Elementor works
If you don’t have Elementor Pro yet, you can purchase it from the official Elementor website. Without it, you won’t be able to create custom headers using the Theme Builder.
Step 1: Access the Theme Builder
Once Elementor Pro is installed and activated, follow these steps:
Go to the WordPress Dashboard
Log in to your WordPress admin area and navigate to Templates > Theme Builder.
Click “Add New”
On the Theme Builder screen, you’ll see options for Header, Footer, Single Post, Archive, and more. Click “Add New” next to Header.
Choose a Template (Optional)
Elementor will ask if you want to start from scratch or use a pre-designed template. For full control, select “Start from Scratch”. If you’re short on time, you can pick a header template and customize it later.
Step 2: Design Your Header
Now you’re in the Elementor editor, ready to build your header. The canvas represents the top section of your website.
Add a Section
Click the “+” icon to add a new section. Choose a single-column layout for a simple header, or use multiple columns if you want to place your logo on the left and menu on the right.
Insert the Site Logo
From the widget panel on the left, search for “Site Logo” and drag it into your section. Click on the widget to upload your logo or select one from the media library. You can adjust the size, alignment, and spacing using the Style tab.
Add the Navigation Menu
Drag the “Nav Menu” widget into your header. In the Content tab, select the menu you want to display (you must have created a menu in Appearance > Menus first). Customize the font, color, and hover effects in the Style tab.
Include Additional Elements (Optional)
You can enhance your header with:
- A search icon for quick site searches
- A button for “Contact Us” or “Get Started”
- Social media icons for brand visibility
- A language switcher if your site is multilingual
Style Your Header
Use the Style tab to:
- Set a background color or image
- Add padding and margins for spacing
- Apply shadows or borders for visual depth
- Adjust the height of the header section
Step 3: Set Display Conditions
After designing your header, you need to tell WordPress where to show it.
Click “Display Conditions”
In the left panel, click the “Display Conditions” button (it looks like a target icon).
Choose Where the Header Appears
Select “Entire Site” to display the header on every page. Or, choose specific conditions like:
- Include: All Archives
- Exclude: Single Posts
- Include: Pages > Home
This flexibility lets you use different headers for different parts of your site—like a simplified header for your blog or a special one for landing pages.
Step 4: Make It Responsive
A great header works on mobile, tablet, and desktop. Elementor makes it easy to adjust your design for different screen sizes.
Switch to Mobile View
Click the responsive mode icon (phone/tablet) in the bottom-left corner of the editor. Switch to mobile view.
Adjust Layout for Smaller Screens
On mobile, you might want to:
- Stack the logo and menu vertically
- Hide certain elements (like social icons)
- Use a hamburger menu instead of a full navigation bar
To add a hamburger menu, go back to desktop view, select your Nav Menu widget, and in the Style tab, enable “Mobile Menu”. Choose a breakpoint (e.g., 768px) where the menu collapses into a toggle button.
Test on All Devices
Use the preview button to see how your header looks on different screen sizes. Make adjustments as needed to ensure readability and usability.
Step 5: Publish Your Header
Once you’re happy with your design:
Click “Publish”
In the bottom-left corner, click the “Publish” button. Your header will now appear on your live site based on the display conditions you set.
Clear Cache (If Needed)
If you use a caching plugin, clear your cache to see the changes immediately.
Troubleshooting Common Issues
Even with a smooth process, you might run into a few hiccups. Here’s how to fix them:
Header Not Showing Up
- Double-check your display conditions—make sure they include the pages you’re viewing.
- Ensure your theme supports Elementor headers. Some themes override header templates. If needed, learn how to create a WordPress theme with Elementor for full compatibility.
- Disable conflicting plugins temporarily to test.
Logo or Menu Misaligned
- Use the Alignment settings in the widget’s Style tab.
- Add custom CSS if necessary—check out our guide on the best way to add CSS in WordPress website for safe methods.
Mobile Menu Not Working
- Verify that the mobile menu is enabled in the Nav Menu widget settings.
- Ensure your menu has items assigned in Appearance > Menus.
Header Overlapping Content
- Add top padding to your page content using Elementor’s section settings.
- Set the header to “Fixed” or “Sticky” if you want it to stay at the top while scrolling.
Tips for a Professional Header
- Keep it simple: Avoid cluttering your header with too many elements.
- Use consistent branding: Match colors and fonts to your overall site design.
- Optimize for speed: Compress your logo image and avoid heavy animations.
- Test user experience: Ask friends or colleagues to navigate your site and give feedback.
Conclusion
Creating a header in WordPress Elementor is a powerful way to personalize your website and improve navigation. With Elementor Pro’s Theme Builder, you can design a fully custom, responsive header in minutes—no coding required.
From adding your logo and menu to setting display conditions and optimizing for mobile, this guide covers everything you need to know. Remember to test your header across devices and make adjustments as needed.
Now that your header is ready, consider exploring other parts of your site. For example, you might want to create a coming soon page in WordPress for upcoming launches or learn how to apply a WordPress theme for a complete design overhaul.
With these tools and tips, you’re well on your way to building a professional, user-friendly website with Elementor.