Creating popups in WordPress using Elementor is simple and effective for capturing leads, promoting offers, or displaying important messages. This guide walks you through the entire process—from setup to styling—using Elementor’s built-in Popup Builder, so you can boost engagement without coding.
Key Takeaways
- Elementor Pro includes a powerful Popup Builder: You don’t need extra plugins to create professional popups.
- Popups can be triggered in multiple ways: On click, on scroll, on exit intent, or after a delay.
- Customize design and layout freely: Use Elementor’s drag-and-drop editor to match your brand.
- Target specific pages or audiences: Show popups based on user behavior, device, or page location.
- Test and optimize for better results: Use A/B testing and analytics to improve conversion rates.
- Mobile responsiveness is automatic: Popups adapt to all screen sizes with Elementor’s responsive controls.
- Troubleshooting is easy: Common issues like popups not showing can usually be fixed with display conditions or cache clearing.
How to Create Popup in WordPress Elementor
If you’re using WordPress with Elementor, you’re already halfway to creating stunning, high-converting popups. Popups are a great way to grow your email list, promote special offers, announce updates, or guide visitors through your site. The best part? You don’t need to install extra plugins or write code. With Elementor Pro’s built-in Popup Builder, you can design, customize, and launch popups in minutes.
In this guide, you’ll learn how to create a popup in WordPress Elementor from scratch. We’ll cover everything from setting up your first popup to advanced targeting and troubleshooting. Whether you’re a beginner or an experienced user, this step-by-step walkthrough will help you get professional results fast.
What You’ll Need
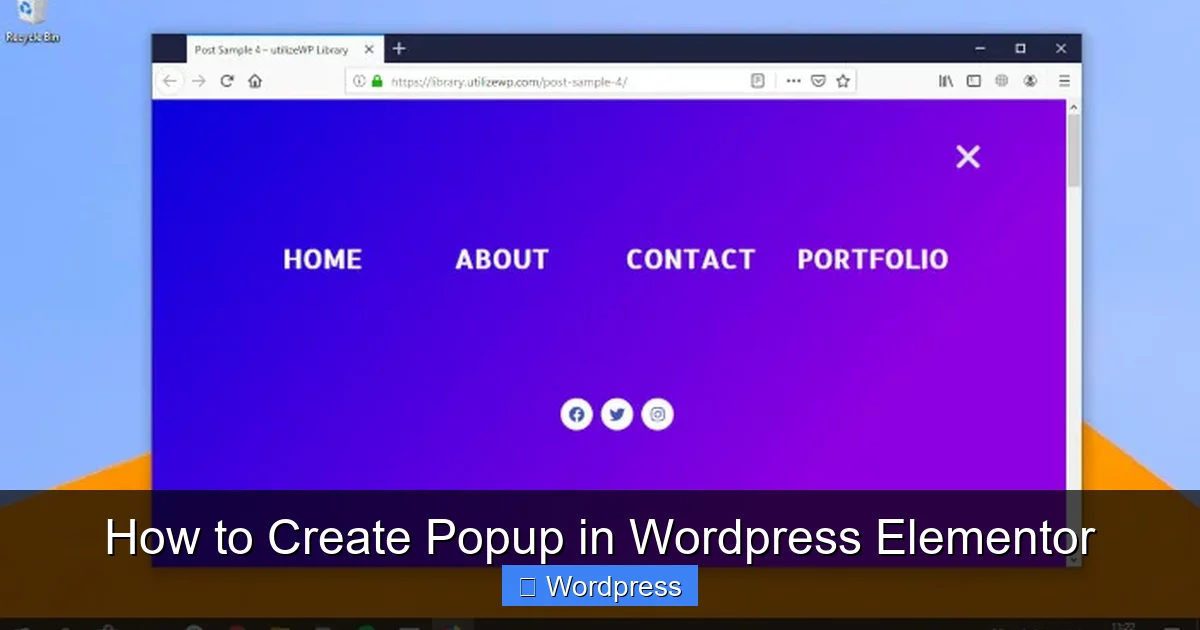
Visual guide about How to Create Popup in WordPress Elementor
Image source: bettertechtips.com
Before we begin, make sure you have the following:
- WordPress installed on your website
- Elementor plugin activated (free version works for basic page building)
- Elementor Pro license – this is required to access the Popup Builder
If you don’t have Elementor Pro yet, you can purchase it from the official Elementor website. The Popup Builder is one of the most valuable features in the Pro version, especially for marketers and business owners.
Step 1: Create a New Popup
Once you have Elementor Pro installed and activated, follow these steps to create your first popup:
Open the Popup Builder
Go to your WordPress dashboard. In the left sidebar, hover over Elementor and click on Templates. Then select Popups.
Click the Add New button. You’ll be prompted to name your popup—give it a descriptive name like “Newsletter Signup” or “Exit Intent Offer.”
Choose a Template (Optional)
Elementor offers pre-designed popup templates to save time. You can browse the library and select one that fits your goal, such as a contact form, discount offer, or welcome message. Click Insert to load it into the editor.
Alternatively, you can start from scratch by selecting a blank template.
Step 2: Design Your Popup
Now you’re inside the Elementor editor, where you can design your popup just like any other page.
Add Content and Widgets
Use the drag-and-drop interface to add elements like:
- Headings – for your main message
- Text Editor – for descriptions or details
- Image or Icon – to grab attention
- Form – integrate with tools like Mailchimp, HubSpot, or Elementor’s own form widget
- Button – for calls to action like “Subscribe” or “Get Offer”
For example, a simple newsletter popup might include a heading (“Get 10% Off!”), a short description, an email input field, and a submit button.
Style Your Popup
Click on any element to open the style panel. You can change fonts, colors, spacing, and animations. Make sure your popup matches your brand’s look and feel.
Use the Background settings to add a color, gradient, or image. A semi-transparent overlay behind the popup helps it stand out.
Set Popup Size and Position
In the left panel, go to Advanced > Motion Effects. Here you can choose how the popup appears—fade in, slide from top, zoom, etc.
Under Popup Settings, you can adjust the width and height. Most popups work well at 600px wide, but you can make them smaller for mobile or larger for full-screen overlays.
Step 3: Set Display Conditions
This is where you control when and where your popup appears.
Choose Trigger Events
Click on the Popup Settings tab (look for the popup icon in the left panel). Under Triggers, select how the popup should appear:
- On Click – when a user clicks a button or link
- On Page Load – after the page loads (you can set a delay)
- On Scroll – when the user scrolls down a certain percentage
- On Exit Intent – when the mouse moves toward the top of the browser (great for reducing bounce)
- On Inactivity – after the user hasn’t moved the mouse for a set time
For example, an exit intent popup is perfect for offering a discount when someone is about to leave your site.
Set Display Rules
Under Display Conditions, define where the popup should appear:
- Show on specific pages (e.g., only on the homepage or product pages)
- Hide on certain devices (e.g., only on desktop)
- Target by user role (e.g., only for logged-out visitors)
This ensures your popup doesn’t annoy returning users or appear on irrelevant pages.
Step 4: Publish and Test
Once your popup is designed and configured, click Publish.
Preview Your Popup
Use the Preview button to see how it looks on different devices. Make sure it’s readable and the form works.
Test the Trigger
Visit your live site and test the trigger. For example, if you set it to appear after 5 seconds, wait and see if it shows up. If it’s an exit intent popup, try moving your mouse toward the browser tab.
Advanced Tips for Better Popups
Use A/B Testing
Create multiple versions of your popup (different headlines, colors, or offers) and test which one converts better. Elementor doesn’t have built-in A/B testing, but you can use third-party tools or create separate popups and rotate them.
Add Close Button and Escape Option
Always include a clear close button (X) in the corner. Also, enable the option to close the popup by pressing the Escape key—this improves user experience.
Optimize for Mobile
Use Elementor’s responsive mode to adjust font sizes, padding, and layout for mobile users. A popup that looks great on desktop might be too small or cluttered on a phone.
Integrate with Email Marketing Tools
Connect your popup form to services like Mailchimp, ConvertKit, or ActiveCampaign. In the Form widget settings, go to Actions After Submit and choose your integration.
Troubleshooting Common Issues
Popup Not Showing?
- Check your display conditions—maybe it’s set to show only on a page you’re not viewing.
- Clear your browser and site cache.
- Ensure the trigger is set correctly (e.g., delay is too long).
- Disable conflicting plugins that might block JavaScript.
Popup Looks Broken on Mobile?
Go into Elementor’s responsive mode and adjust column widths, font sizes, and padding. Avoid using large images that slow down loading.
Form Not Submitting?
Double-check your form settings and email integration. Test the form on a regular page first to make sure it works outside the popup.
Conclusion
Creating a popup in WordPress Elementor is a smart way to engage visitors and grow your business. With Elementor Pro’s Popup Builder, you can design beautiful, functional popups without any coding. From setting triggers to targeting the right audience, every step is intuitive and customizable.
Remember to keep your popups user-friendly—don’t overuse them, and always provide value. A well-timed offer or helpful message can make a big difference in conversions.
Now that you know how to create popup in WordPress Elementor, try building one for your site today. Whether it’s a newsletter signup, a special discount, or a contact form, your popup can become a powerful tool for engagement.
And if you’re looking to go further with Elementor, check out our guide on how to create a WordPress theme with Elementor to unlock even more design possibilities.