This guide shows you how to create a table in WordPress Elementor using built-in widgets and third-party plugins. You’ll learn to design responsive, styled tables that enhance your content and improve user experience.
Key Takeaways
- Use Elementor’s HTML widget to insert custom table code for full control over structure and styling.
- Install a dedicated table plugin like TablePress or Ninja Tables for advanced features and easier management.
- Ensure mobile responsiveness by testing your table on different screen sizes and using responsive settings.
- Style your table with CSS to match your website’s design and improve readability.
- Keep tables simple—avoid overcrowding with too much data to maintain usability.
- Use headers and borders to organize information and guide readers through the content.
- Troubleshoot common issues like alignment problems or broken layouts with built-in Elementor tools.
Introduction: Why Use Tables in WordPress Elementor?
Tables are a powerful way to present data clearly and professionally on your WordPress website. Whether you’re comparing products, displaying pricing plans, or sharing research results, tables help organize information so visitors can scan and understand it quickly. With Elementor, one of the most popular page builders for WordPress, creating tables is easier than ever—even if you’re not a developer.
In this guide, you’ll learn how to create a table in WordPress Elementor using multiple methods: from simple HTML coding to powerful plugins. We’ll cover styling, responsiveness, and best practices to ensure your tables look great on all devices. By the end, you’ll be able to add clean, functional tables to any page or post built with Elementor.
Method 1: Using Elementor’s HTML Widget
The simplest way to add a table in Elementor is by using the built-in HTML widget. This method gives you full control over the table’s structure and allows for custom styling.
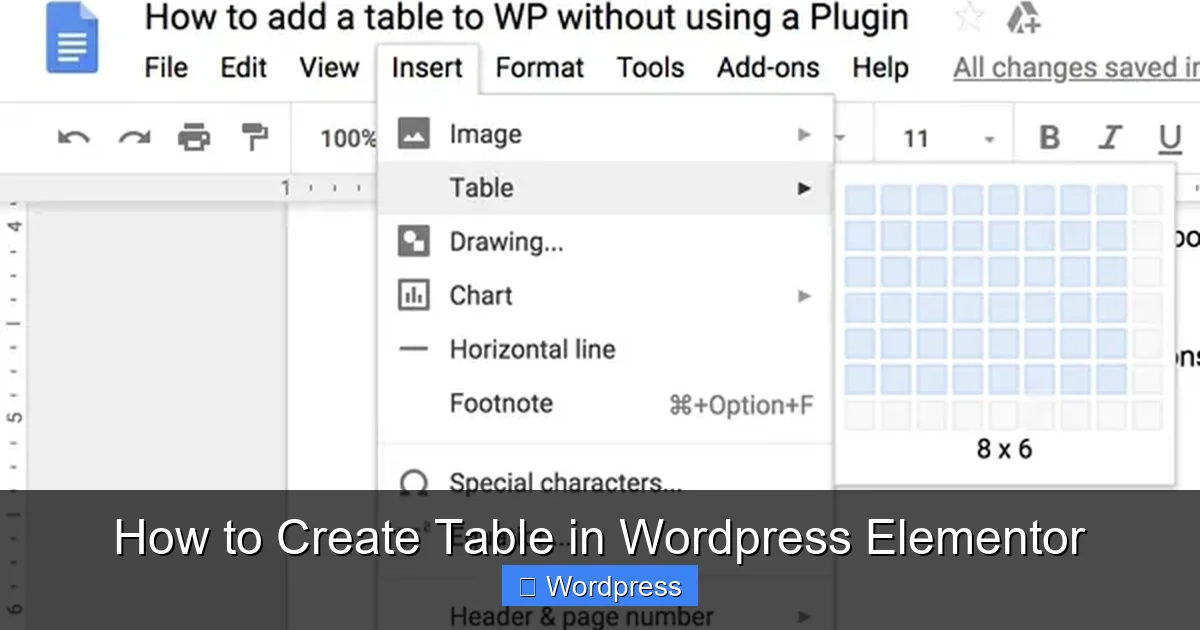
Visual guide about How to Create Table in WordPress Elementor
Image source: techwiser.com
Step 1: Open the Elementor Editor
Go to your WordPress dashboard, navigate to the page or post where you want to add the table, and click “Edit with Elementor.” Once the editor loads, find an empty section or add a new one.
Step 2: Add the HTML Widget
From the Elementor widget panel on the left, search for “HTML” and drag the HTML widget into your desired section. This widget lets you insert raw HTML code directly into your page.
Step 3: Insert Your Table Code
Inside the HTML widget, paste the following basic table code:
<table border="1" cellpadding="10" cellspacing="0" style="width:100%; border-collapse: collapse;">
  <tr>
    <th>Product</th>
    <th>Price</th>
    <th>Rating</th>
  </tr>
  <tr>
    <td>Laptop</td>
    <td>$999</td>
    <td>4.8★</td>
  </tr>
  <tr>
    <td>Tablet</td>
    <td>$499</td>
    <td>4.5★</td>
  </tr>
</table>
This creates a simple three-column table with headers. You can customize the content, add more rows, or adjust the styling directly in the code.
Step 4: Style the Table (Optional)
To make your table look more polished, add inline CSS or use Elementor’s custom CSS feature. For example, you can change font size, background color, or add hover effects. Here’s an enhanced version:
<table style="width:100%; border-collapse: collapse; font-family: Arial, sans-serif;">
  <tr style="background-color: #f2f2f2;">
    <th style="padding: 12px; text-align: left; border: 1px solid #ddd;">Product</th>
    <th style="padding: 12px; text-align: left; border: 1px solid #ddd;">Price</th>
    <th style="padding: 12px; text-align: left; border: 1px solid #ddd;">Rating</th>
  </tr>
  <tr>
    <td style="padding: 10px; border: 1px solid #ddd;">Laptop</td>
    <td style="padding: 10px; border: 1px solid #ddd;">$999</td>
    <td style="padding: 10px; border: 1px solid #ddd;">4.8★</td>
  </tr>
</table>
This improves readability and gives your table a clean, modern look.
Method 2: Using a Table Plugin (Recommended for Beginners)
While the HTML method works, it can be time-consuming and hard to manage for large tables. That’s where table plugins come in. They offer drag-and-drop interfaces, responsive design, and advanced features like sorting and filtering.
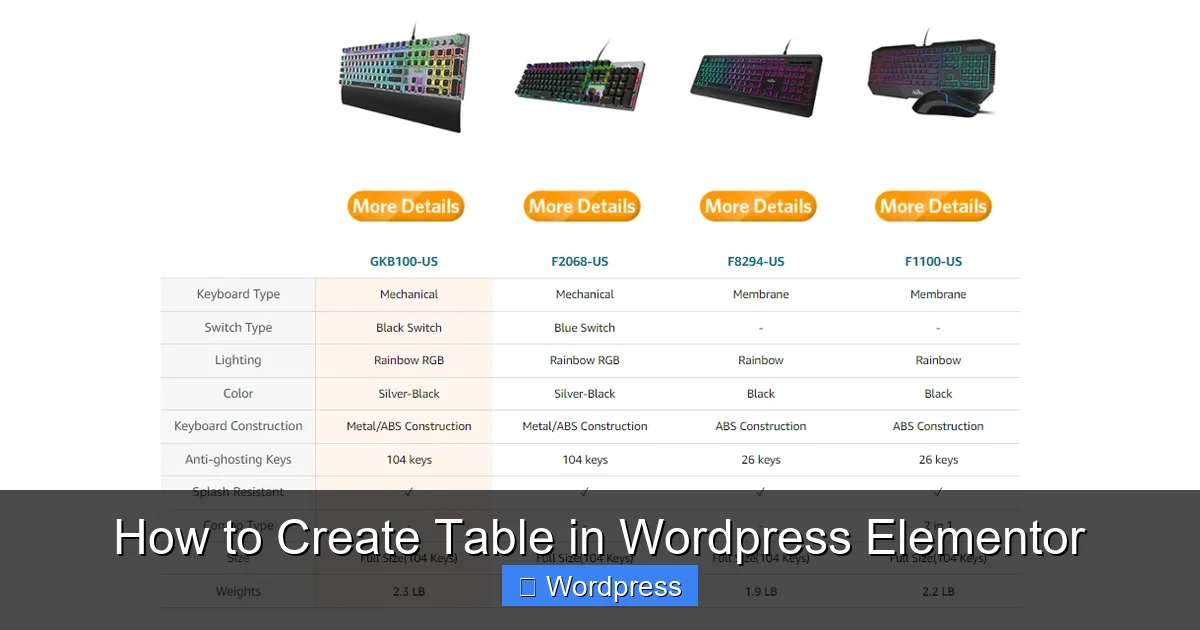
Visual guide about How to Create Table in WordPress Elementor
Image source: happyaddons.com
Step 1: Install a Table Plugin
Go to your WordPress dashboard, navigate to Plugins > Add New, and search for “TablePress” or “Ninja Tables.” Both are free, popular, and work seamlessly with Elementor.
Install and activate your chosen plugin. For this guide, we’ll use TablePress.
Step 2: Create a New Table
After activation, go to TablePress > Add New Table. Enter a name (e.g., “Product Comparison”) and set the number of rows and columns. Click “Add Table.”
Step 3: Enter Your Data
You’ll see a spreadsheet-like interface. Fill in your data just like in Excel. You can add headers, merge cells, and format text. TablePress also supports features like row highlighting and pagination.
Step 4: Insert the Table into Elementor
Once your table is ready, copy the shortcode provided by TablePress (e.g., [table id=1 /]). Return to your Elementor editor, add a Shortcode widget, and paste the shortcode inside.
Elementor will render the table live in the editor. You can now adjust spacing, alignment, and surrounding content as needed.
Method 3: Using Elementor Pro’s Advanced Data Table (If Available)
If you have Elementor Pro, you gain access to the Advanced Data Table widget, which offers dynamic content, conditional formatting, and integration with custom fields.
Step 1: Add the Advanced Data Table Widget
In the Elementor editor, search for “Advanced Data Table” and drag it into your layout.
Step 2: Configure Columns and Data
Click on the widget to open its settings. Under the “Content” tab, define your columns (e.g., Name, Email, Status). You can set each column to display static text, dynamic data from posts, or custom fields.
Step 3: Style and Responsiveness
Use the “Style” tab to customize fonts, colors, borders, and hover effects. The “Advanced” tab lets you add custom CSS for further refinement. Elementor Pro also includes responsive controls—toggle between desktop, tablet, and mobile views to ensure your table looks good on all devices.
Tips for Creating Effective Tables
- Keep it simple: Don’t overload your table with too much data. Focus on key information.
- Use clear headers: Label each column so users understand what they’re reading.
- Add borders and spacing: This improves readability and separates data visually.
- Make it mobile-friendly: Test your table on phones and tablets. Consider using horizontal scroll for wide tables.
- Highlight important rows: Use background colors or bold text to draw attention to key data.
Troubleshooting Common Issues
Even with the best tools, you might run into problems. Here’s how to fix the most common ones:
Table Not Displaying Correctly
If your table looks broken or misaligned, check your HTML code for missing tags or syntax errors. Also, ensure your plugin is active and the shortcode is correct.
Table Not Responsive on Mobile
Some tables overflow on small screens. To fix this, add this CSS in Elementor’s custom CSS section:
@media (max-width: 768px) {
  table {
    display: block;
    overflow-x: auto;
    white-space: nowrap;
  }
}
This enables horizontal scrolling on mobile devices.
Styling Conflicts with Theme
If your table doesn’t match your site’s design, it might be due to theme CSS overriding your styles. Use more specific CSS selectors or add !important to key properties (use sparingly).
Conclusion: Choose the Right Method for Your Needs
Now you know how to create a table in WordPress Elementor using three reliable methods: the HTML widget, third-party plugins, and Elementor Pro’s built-in tools. Each approach has its strengths—choose based on your skill level and project needs.
For quick, simple tables, the HTML widget works great. For complex, dynamic data, go with a plugin like TablePress or upgrade to Elementor Pro. Remember to keep your tables clean, responsive, and user-friendly.
With these skills, you can enhance your content, improve user experience, and present information like a pro. Start building better tables today!