This guide teaches you how to create a user in WordPress database using multiple methods including phpMyAdmin, WP-CLI, and direct SQL queries. You’ll learn best practices for security, role assignment, and avoiding common mistakes.
Key Takeaways
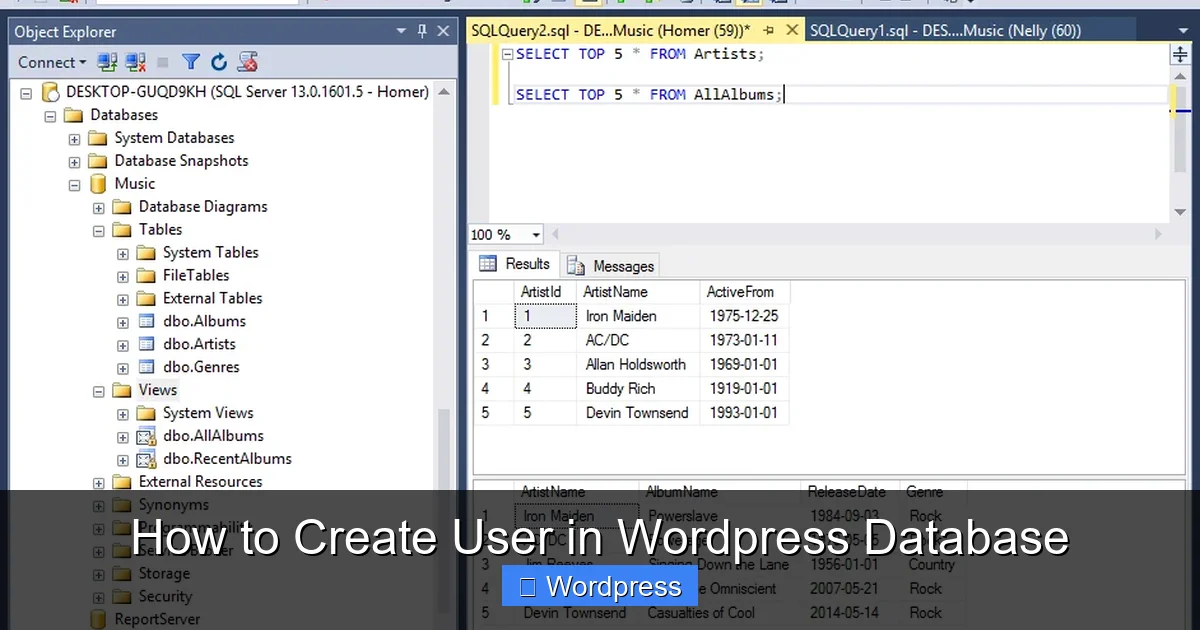
- Understand WordPress user tables: Users are stored in wp_users and wp_usermeta tables with specific fields like user_login, user_email, and user_pass.
- Use secure password hashing: Always use WordPress’s wp_hash_password() function or MD5 with proper salting to avoid plain-text passwords.
- Assign correct user roles: Set roles like subscriber, contributor, author, editor, or administrator via the wp_usermeta table using the wp_capabilities key.
- Prefer WP-CLI for safety: The wp user create command is the safest and easiest method for creating users without touching the database directly.
- Backup before editing: Always backup your database before making manual changes to prevent data loss or site crashes.
- Avoid direct SQL when possible: Manual SQL inserts can break your site if done incorrectly—use built-in WordPress functions instead.
- Test new users immediately: After creation, log in with the new credentials to confirm access and role permissions work as expected.
How to Create User in WordPress Database
If you’re managing a WordPress site, there may come a time when you need to create a user directly in the WordPress database. Maybe you’ve lost admin access, need to add a user programmatically, or are performing bulk imports. While WordPress provides a user-friendly dashboard for adding users, sometimes direct database manipulation is necessary—especially for developers or advanced administrators.
In this comprehensive guide, you’ll learn how to create a user in WordPress database using three reliable methods: via phpMyAdmin, using WP-CLI, and through custom PHP code. We’ll also cover essential security practices, troubleshooting tips, and why some methods are safer than others.
Whether you’re a beginner or an experienced developer, this guide will help you add users safely and correctly—without breaking your site.
Why Create a User Directly in the Database?
Most users are added through the WordPress admin panel under Users > Add New. But there are valid reasons to bypass the dashboard:
– You’ve lost access to the WordPress admin (e.g., forgot password and email recovery isn’t working).
– You’re automating user creation for a plugin or integration.
– You’re performing a bulk import of users from another system.
– You’re debugging or testing user roles and capabilities.
However, editing the database directly comes with risks. A single typo can corrupt user data or break your site. That’s why it’s crucial to follow best practices and always back up your database first.
Method 1: Create User Using WP-CLI (Recommended)
Visual guide about How to Create User in WordPress Database
Image source: quackit.com
The safest and easiest way to create a user in the WordPress database is using WP-CLI (WordPress Command Line Interface). This tool interacts with WordPress core functions, ensuring data integrity and proper password hashing.
Step 1: Access Your Server via SSH
You’ll need SSH access to your web server. Log in using a terminal or SSH client like PuTTY.
Step 2: Navigate to Your WordPress Directory
Use the cd command to go to your WordPress root folder:
cd /var/www/your-site.com
Step 3: Run the WP-CLI User Create Command
Use the following command to create a new user:
wp user create john_doe john@example.com --role=editor --user_pass=SecurePass123
This creates a user with:
– Username: john_doe
– Email: john@example.com
– Role: editor
– Password: SecurePass123
You can omit –user_pass to let WordPress generate a secure password automatically.
Step 4: Verify the User Was Created
Check if the user exists:
wp user get john_doe --field=user_email
This should return john@example.com.
Tip: WP-CLI handles password hashing, role assignment, and metadata automatically—making it the most reliable method.
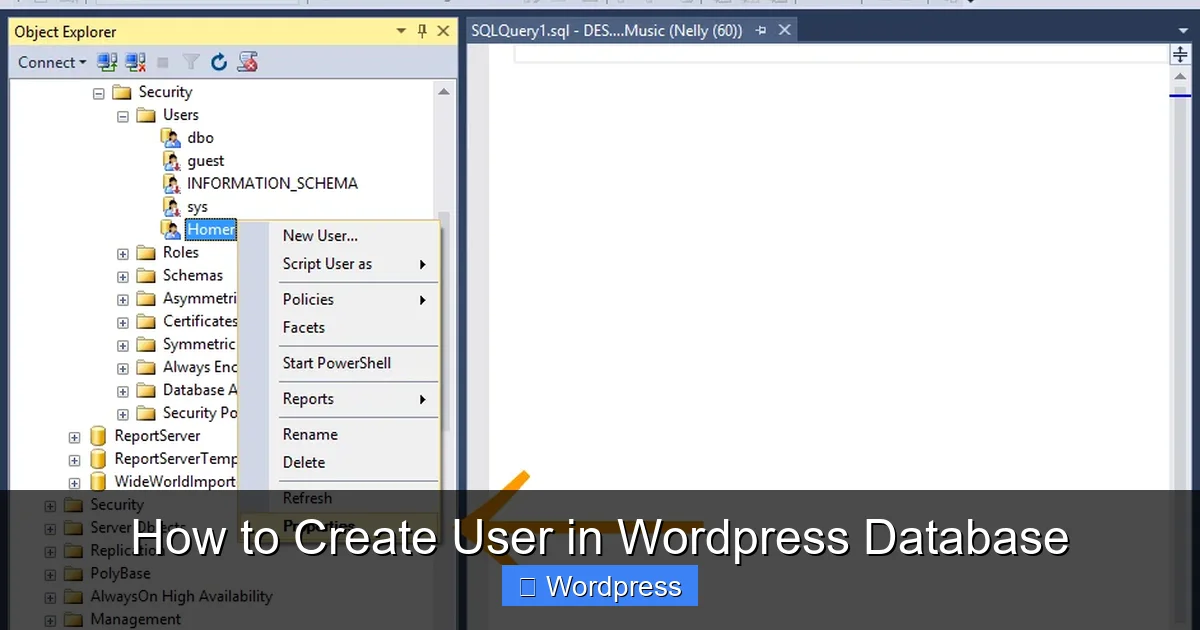
Method 2: Create User via phpMyAdmin (Manual SQL)
Visual guide about How to Create User in WordPress Database
Image source: quackit.com
If you don’t have WP-CLI access, you can use phpMyAdmin to insert a user directly into the database. This method requires caution.
Step 1: Backup Your Database
Before making any changes, go to phpMyAdmin, select your database, and click Export. Choose “Quick” and “SQL” format, then download the backup.
Step 2: Open the wp_users Table
In phpMyAdmin, locate your WordPress database and click on the wp_users table (prefix may vary, e.g., wp_123_users).
Step 3: Insert a New User Record
Click the Insert tab and fill in the following fields:
– ID: Leave empty (auto-increment)
– user_login: Desired username (e.g., jane_doe)
– user_pass: Use MD5 hash of the password (e.g., MD5(‘mypassword’)) — but see note below
– user_nicename: URL-friendly version of username (e.g., jane-doe)
– user_email: Valid email (e.g., jane@example.com)
– user_url: Optional (e.g., https://example.com)
– user_registered: Current timestamp (e.g., 2024-04-05 10:00:00)
– user_activation_key: Leave blank
– user_status: Set to 0
– display_name: Name shown publicly (e.g., Jane Doe)
Important: WordPress uses phpass hashing, not plain MD5. Using MD5 may work in older versions but is insecure. For better security, generate a proper hash using a tool or PHP script.
Step 4: Add User Role in wp_usermeta
After inserting the user, note the auto-generated ID. Then go to the wp_usermeta table and insert two records:
1. user_id: The ID from wp_users
meta_key: wp_capabilities
meta_value: a:1:{s:6:”editor”;b:1;} (for editor role)
2. user_id: Same ID
meta_key: wp_user_level
meta_value: 7 (editor level)
Replace “editor” with other roles as needed:
– subscriber → a:1:{s:10:”subscriber”;b:1;}
– author → a:1:{s:6:”author”;b:1;}
– administrator → a:1:{s:13:”administrator”;b:1;}
Step 5: Test the New User
Go to your WordPress login page and try logging in with the new credentials. If successful, the user is active.
Warning: Manual SQL insertion skips WordPress hooks and validation. Always double-check data formats.
Method 3: Create User Using Custom PHP Code
For developers, creating users programmatically is often the best approach—especially for plugins or automated systems.
Step 1: Use wp_create_user() Function
Add this code to your theme’s functions.php or a custom plugin:
$username = 'newuser';
$email = 'newuser@example.com';
$password = 'StrongPassword!';

$user_id = wp_create_user($username, $password, $email);

if (is_wp_error($user_id)) {
    echo 'Error: ' . $user_id->get_error_message();
} else {
    echo 'User created with ID: ' . $user_id;
}
This function handles password hashing, email validation, and inserts data into both wp_users and wp_usermeta.
Step 2: Assign a Role (Optional)
To assign a role after creation:
$userdata = array(
    'ID' => $user_id,
    'role' => 'author'
);
wp_update_user($userdata);
Step 3: Use wp_insert_user() for More Control
For advanced fields (first name, last name, etc.), use wp_insert_user():
$userdata = array(
    'user_login' => 'alice_smith',
    'user_email' => 'alice@example.com',
    'user_pass'  => 'Passw0rd!',
    'first_name' => 'Alice',
    'last_name'  => 'Smith',
    'role'       => 'contributor'
);

$user_id = wp_insert_user($userdata);
This method is secure, uses WordPress core functions, and triggers all necessary hooks.
Common Issues and Troubleshooting
User Can’t Log In After Creation
– Check if the password was hashed correctly. Plain text passwords won’t work.
– Verify the user_status is 0 (not blocked).
– Ensure the email is valid and not already in use.
Role Not Applying
– Confirm the wp_capabilities meta_value is correctly serialized.
– Use wp_get_current_user() to debug roles after login.
Database Errors
– Always backup before editing.
– Avoid editing tables directly unless necessary.
– Use WP-CLI or WordPress functions instead of raw SQL.
Email Not Sending
– WordPress doesn’t auto-send welcome emails when users are created via database.
– Use wp_mail() to send a custom notification.
Best Practices for Creating Users
– Always backup your database before making manual changes.
– Use WP-CLI or WordPress functions instead of raw SQL when possible.
– Never store plain-text passwords—always hash them.
– Validate email addresses to prevent duplicates.
– Test new users immediately to confirm access and permissions.
– Limit administrator accounts to trusted users only.
Conclusion
Learning how to create a user in WordPress database gives you greater control over your site’s user management. While the WordPress dashboard is sufficient for most cases, direct database methods are invaluable for recovery, automation, and development.
For most users, WP-CLI is the best option—it’s fast, secure, and error-resistant. Developers should prefer wp_create_user() or wp_insert_user() for programmatic access. Manual SQL via phpMyAdmin should be a last resort, used only with caution and proper backups.
By following this guide, you can safely add users to your WordPress site without risking data integrity. Remember: when in doubt, use WordPress core functions—they’re designed to handle the complexity so you don’t have to.
And if you’re managing themes alongside user accounts, check out our guide on how to delete a theme in WordPress or learn how to deactivate a theme in WordPress to keep your site clean and secure. For custom designs, explore how to create a WordPress theme with Elementor.