Creating a WordPress backup is essential to safeguard your website from crashes, hacks, or accidental changes. This guide walks you through easy, reliable methods—using plugins, manual backups, and hosting tools—so you can restore your site quickly if something goes wrong.
Key Takeaways
- Backups protect your website: They save your content, themes, plugins, and settings in case of hacking, server failure, or human error.
- Use trusted backup plugins: Tools like UpdraftPlus, BackupBuddy, or Jetpack automate the process and store files securely offsite.
- Manual backups give full control: Download your files via FTP and export your database using phpMyAdmin for complete ownership.
- Store backups offsite: Never keep backups only on your server—use cloud services like Google Drive, Dropbox, or Amazon S3.
- Test your backups regularly: A backup is useless if it doesn’t restore properly—practice restoring to ensure reliability.
- Schedule automatic backups: Set daily or weekly backups so you never forget to protect your site.
- Check with your host: Many WordPress hosts offer free or built-in backup solutions—check before installing extra plugins.
Why You Need a WordPress Backup
Imagine spending months building your WordPress site—only to lose everything because of a plugin update gone wrong or a hacker attack. That’s why creating a WordPress backup isn’t optional—it’s essential. Backups act like a safety net, letting you restore your site to a working state quickly.
Whether you run a blog, an online store, or a business website, data loss can mean lost traffic, revenue, and credibility. With regular backups, you reduce downtime and stress. Plus, many hosting providers don’t guarantee full data recovery—so relying solely on them is risky.
In this guide, you’ll learn how to create WordPress backup using three proven methods: backup plugins, manual file and database backups, and hosting-based tools. You’ll also discover best practices to keep your backups secure and usable.
Method 1: Create WordPress Backup Using Plugins
Backup plugins are the easiest and most popular way to protect your site. They automate the process, support scheduled backups, and often store copies in the cloud.
Step 1: Choose a Reliable Backup Plugin
Start by picking a trusted plugin. Some top options include:
- UpdraftPlus: Free, user-friendly, and supports Google Drive, Dropbox, and Amazon S3.
- BackupBuddy: Premium plugin with migration and staging features.
- Jetpack Backup: Offers real-time backups with a paid plan.
For most users, UpdraftPlus is the best starting point due to its simplicity and free version.
Step 2: Install and Activate the Plugin
Go to your WordPress dashboard. Navigate to Plugins > Add New. Search for “UpdraftPlus,” click Install Now, then Activate.
Step 3: Configure Backup Settings
After activation, go to Settings > UpdraftPlus Backups. Here, you’ll see options to:
- Choose what to back up (files, database, or both).
- Set a backup schedule (daily, weekly, etc.).
- Select a remote storage location (e.g., Google Drive).
Click Settings tab and connect your preferred cloud service. For example, to use Google Drive, click the link, sign in, and authorize access.
Step 4: Run Your First Backup
Once configured, click Backup Now. The plugin will save your files and database. This may take a few minutes, depending on your site size.
After completion, you’ll see a success message and a list of stored backups. You can restore anytime by clicking Restore next to a backup entry.
Pro Tip: Enable Email Notifications
In UpdraftPlus settings, turn on email notifications. This way, you’ll get an alert every time a backup runs—so you know it’s working.
Method 2: Create WordPress Backup Manually
If you prefer full control or your host doesn’t allow plugins, manual backups are a solid alternative. This method involves downloading your website files and exporting your database.
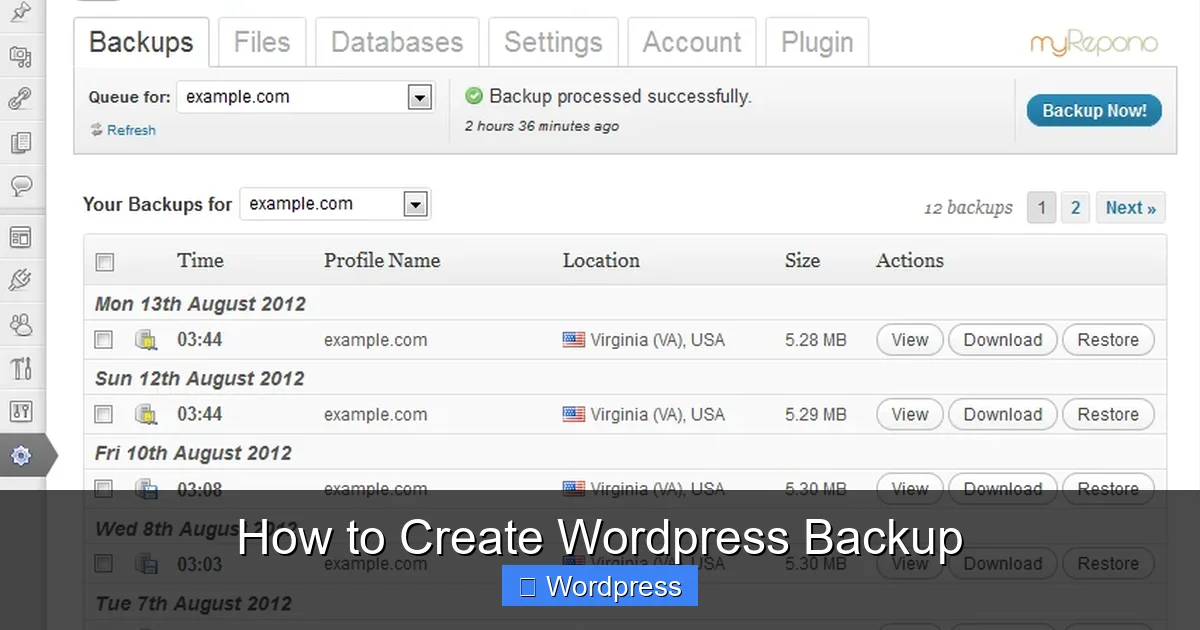
Visual guide about How to Create WordPress Backup
Image source: myrepono.com
Step 1: Download Website Files via FTP
Use an FTP client like FileZilla to connect to your server. Enter your FTP credentials (usually found in your hosting account).
Once connected, navigate to the root folder (often called public_html or www). Select all files and folders—including wp-content, wp-config.php, and .htaccess—and download them to your computer.
Save these in a clearly labeled folder, like “WordPress Backup – March 2024.”
Step 2: Export the Database Using phpMyAdmin
Your database contains all your posts, pages, users, and settings. To back it up:
- Log in to your hosting control panel (like cPanel).
- Find and open phpMyAdmin.
- Select your WordPress database from the left sidebar.
- Click the Export tab at the top.
- Choose Quick export method and SQL format.
- Click Go to download the .sql file.
Store this file with your downloaded website files.
Step 3: Store Backups Securely
Never keep backups only on your server. Upload them to a cloud service like Google Drive, Dropbox, or an external hard drive. This protects against server failures.
Method 3: Use Your Hosting Provider’s Backup Tools
Many WordPress hosts offer built-in backup solutions. These are often free and require no plugins.
For example, hosts like SiteGround, Bluehost, and WP Engine provide one-click backups and automatic daily saves. Check your hosting dashboard for a Backup or Snapshots section.
To restore, simply select a backup date and click Restore. This is the easiest method if available—but always verify how long backups are kept. Some hosts only store them for 7–30 days.
If your host doesn’t offer backups, consider upgrading or switching to one that does. It’s worth the peace of mind.
Best Practices for WordPress Backups
Creating a backup is just the first step. Follow these tips to ensure your backups are reliable:
1. Automate Your Backups
Manual backups are easy to forget. Use plugins or host tools to schedule automatic daily or weekly backups. This keeps your site protected without extra effort.
2. Store Backups Offsite
Always save backups in at least two locations—like Google Drive and Dropbox. This protects against cloud service outages or account issues.
3. Test Your Backups Regularly
A backup is only good if it works. Every few months, try restoring a backup on a test site or local server. This confirms your files and database are intact.
4. Keep Multiple Backup Versions
Don’t overwrite old backups. Keep at least 3–5 versions so you can roll back to different points in time.
5. Monitor Backup Success
Check backup logs or email alerts. If a backup fails, investigate immediately—don’t wait until you need it.
Troubleshooting Common Backup Issues
Even with the best setup, problems can happen. Here’s how to fix common issues:
Backup Fails or Times Out
Large sites may exceed server limits. Try splitting backups into smaller chunks or increasing PHP memory limits in wp-config.php.
Can’t Connect to Cloud Storage
Reauthorize your cloud account in the plugin settings. Sometimes tokens expire or permissions change.
Restored Site Shows Errors
This usually means the database wasn’t imported correctly. Double-check the SQL file and ensure file permissions are set properly after restore.
Plugin Conflicts During Backup
Temporarily deactivate security or caching plugins before running a backup. Reactivate them afterward.
Conclusion
Learning how to create WordPress backup is one of the smartest things you can do for your website. Whether you use a plugin like UpdraftPlus, manual FTP and database exports, or your host’s tools, regular backups keep your content safe.
Don’t wait for a crisis to act. Set up automated backups today, store them offsite, and test them regularly. With these steps, you’ll protect your hard work and ensure your site stays online—no matter what happens.
And if you’re using themes or plugins that need updating, always back up first. For example, before you update your WordPress theme, create a snapshot. That way, if something breaks, you can restore in seconds.
Remember: a backup isn’t just a file—it’s your website’s lifeline.