This guide teaches you how to create a WordPress template from scratch using core web technologies like PHP, HTML, and CSS. You’ll learn to build a fully functional, customizable theme that works seamlessly with WordPress.
Key Takeaways
- Understand the basics: A WordPress template is made up of PHP files that control how your site looks and behaves.
- Start with essential files: Every theme needs at least style.css and index.php to function properly.
- Use WordPress template tags: These built-in functions pull dynamic content like posts, titles, and menus into your theme.
- Structure your theme logically: Break your design into reusable parts like header, footer, and sidebar using separate template files.
- Test and debug regularly: Always preview your theme in the browser and fix errors early to avoid bigger issues later.
- Follow best practices: Use proper file naming, comment your code, and keep your theme lightweight for better performance.
How to Create WordPress Template from Scratch
Creating a WordPress template from scratch gives you full control over your website’s design and functionality. Whether you’re building a blog, portfolio, or business site, a custom theme ensures your site looks unique and performs well. In this guide, you’ll learn how to create a WordPress template from scratch using simple steps, even if you’re new to theme development.
You don’t need to be a coding expert, but basic knowledge of HTML, CSS, and a little PHP will help. We’ll walk through each step, from setting up your theme folder to adding dynamic content and testing your final design.
Step 1: Set Up Your Development Environment
Before you start coding, make sure your environment is ready.
Install a Local Server
Use tools like XAMPP, MAMP, or Local by Flywheel to run WordPress on your computer. This lets you test your theme safely without affecting a live site.
Install WordPress
Download the latest version of WordPress from wordpress.org and install it on your local server. This gives you a clean setup to work with.
Access Your Theme Folder
Navigate to wp-content/themes/ in your WordPress installation. This is where all themes live. You’ll create your new theme folder here.
Step 2: Create Your Theme Folder and Files
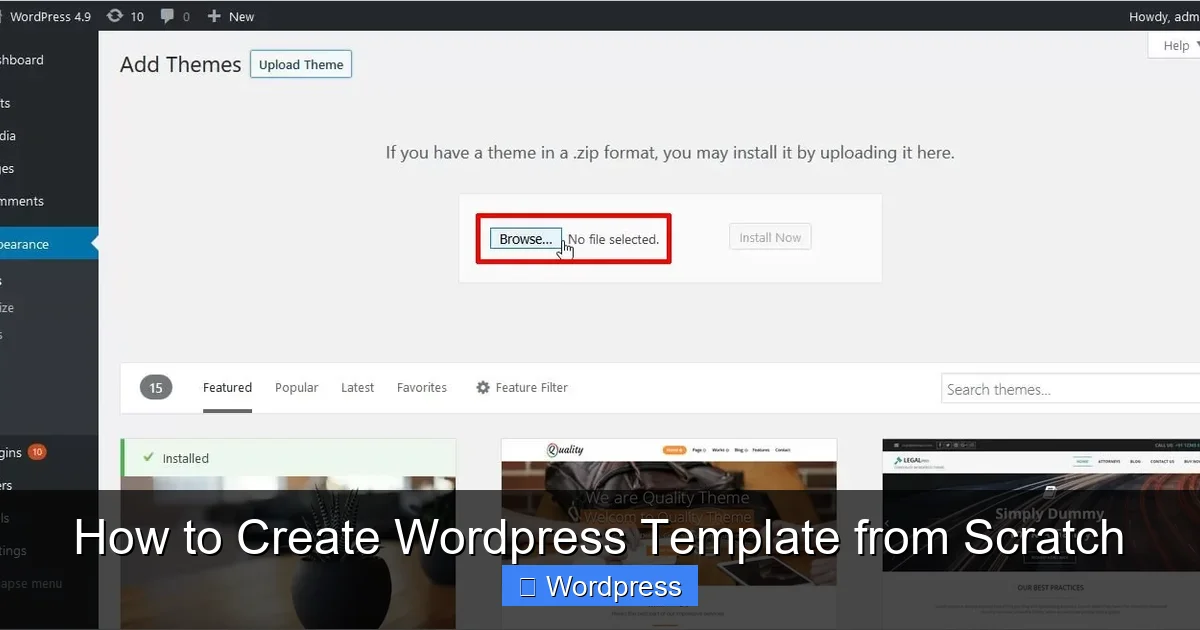
Visual guide about How to Create WordPress Template from Scratch
Image source: blog.templatetoaster.com
Now it’s time to build the foundation of your theme.
Create a New Folder
Inside the themes directory, create a new folder. Name it something descriptive, like my-custom-theme. This will be your theme’s home.
Add the Required Files
Every WordPress theme needs at least two files to be recognized:
- style.css – Contains theme metadata and your CSS styles.
- index.php – The main template file that displays content.
Create these files inside your theme folder.
Define Theme Information in style.css
Open style.css and add the following header comment at the top:
/*
Theme Name: My Custom Theme
Theme URI: https://example.com/my-custom-theme
Author: Your Name
Author URI: https://example.com
Description: A custom WordPress theme built from scratch.
Version: 1.0
License: GNU General Public License v2 or later
License URI: http://www.gnu.org/licenses/gpl-2.0.html
Text Domain: my-custom-theme
*/
This information tells WordPress about your theme. You can customize the details later.
Step 3: Build the Basic Template Structure
Visual guide about How to Create WordPress Template from Scratch
Image source: d1ng1bucl7w66k.cloudfront.net
Now let’s add structure to your theme using PHP and HTML.
Create the index.php File
Open index.php and start with a basic HTML structure:
<!DOCTYPE html>
<html >
<head>
    <meta charset="">
    <meta name="viewport" content="width=device-width, initial-scale=1">
    <title><?php wp_title(); ?></title>
    <?php wp_head(); ?>
</head>
<body >
    <header>
        <h1><a href=""><?php bloginfo('name'); ?></a></h1>
        <p><?php bloginfo('description'); ?></p>
    </header>

    <main>
        <?php
        if (have_posts()) :
            while (have_posts()) : the_post();
                the_title('<h2>', '</h2>');
                the_content();
            endwhile;
        else :
            echo '<p>No content found.</p>';
        endif;
        ?>
    </main>

    <footer>
        <p>©  . All rights reserved.</p>
    </footer>

    <?php wp_footer(); ?>
</body>
</html>
This code creates a simple layout with a header, main content area, and footer. The PHP functions like bloginfo() and the_post() pull dynamic data from WordPress.
Step 4: Add More Template Files
To keep your code clean and organized, split your theme into reusable parts.
Create header.php
Move the header section (from <!DOCTYPE html> to the closing </header>) into a new file called header.php. Then replace that section in index.php with:
<?php get_header(); ?>
Create footer.php
Do the same for the footer. Move everything from <footer> to </html> into footer.php, and replace it in index.php with:
<?php get_footer(); ?>
Create sidebar.php (Optional)
If you want a sidebar, create sidebar.php and add widgets or navigation. Include it in your template with:
<?php get_sidebar(); ?>
Step 5: Style Your Theme with CSS
Now make your theme look good.
Add CSS to style.css
After the theme header in style.css, add your custom styles:
body {
    font-family: Arial, sans-serif;
    margin: 0;
    padding: 0;
    background-color: #f4f4f4;
}

header {
    background-color: #333;
    color: white;
    padding: 20px;
    text-align: center;
}

main {
    padding: 20px;
    max-width: 800px;
    margin: 0 auto;
}

footer {
    background-color: #222;
    color: white;
    text-align: center;
    padding: 10px;
    margin-top: 40px;
}
You can expand this with responsive design, custom fonts, and more.
Step 6: Add Theme Support Features
Enable WordPress features your theme can use.
Enable Post Thumbnails
Add this line to your functions.php file (create it if it doesn’t exist):
add_theme_support('post-thumbnails');
This allows featured images on posts.
Register a Navigation Menu
Add this to functions.php:
function my_custom_theme_setup() {
    register_nav_menus(array(
        'primary' => __('Primary Menu', 'my-custom-theme'),
    ));
}
add_action('after_setup_theme', 'my_custom_theme_setup');
Then, in your header.php, replace the site title with:
<nav>
    <?php
    wp_nav_menu(array(
        'theme_location' => 'primary',
        'container' => false,
        'menu_class' => 'main-menu',
    ));
    ?>
</nav>
Now you can manage menus from the WordPress dashboard.
Step 7: Test and Activate Your Theme
Preview Your Theme
Go to your WordPress admin panel, then Appearance > Themes. You should see “My Custom Theme” listed. Click “Live Preview” to see how it looks.
Activate the Theme
If everything looks good, click “Activate.” Your site will now use your custom template.
Check for Errors
Visit different pages (home, single post, 404) to ensure they load correctly. Fix any PHP errors or missing styles.
Troubleshooting Common Issues
Theme Not Showing Up
Make sure your style.css has the correct header and your folder is in wp-content/themes/.
White Screen of Death
This usually means a PHP error. Check your code for syntax mistakes. Enable debugging in wp-config.php by setting define('WP_DEBUG', true);.
Menus Not Appearing
Ensure you’ve registered the menu in functions.php and assigned it in Appearance > Menus.
Conclusion
You’ve now learned how to create a WordPress template from scratch! By building your own theme, you gain full creative control and can tailor every part of your site. Start simple, test often, and expand your theme with more templates like single.php, page.php, and archive.php as you grow.
Remember, a great theme is not just about looks—it should be fast, responsive, and easy to maintain. Keep your code clean, follow WordPress standards, and always back up your work.
For more advanced customization, consider learning about child themes or using tools like Elementor. If you’re interested in visual theme building, check out our guide on how to create a WordPress theme with Elementor.
Once your theme is ready, you can apply it to any WordPress site. Learn how to activate and manage themes in our article on how to apply a WordPress theme.
And when it’s time to update or replace your theme, refer to our guide on how to update a theme on WordPress to keep your site secure and up to date.
Happy coding!