This guide walks you through creating a WordPress website using cPanel, from setting up your domain to installing WordPress with just a few clicks. You’ll learn essential steps, avoid common pitfalls, and launch your site quickly and confidently.
Key Takeaways
- Access cPanel securely: Always log in through your hosting provider’s portal to ensure a safe connection.
- Use Softaculous or QuickInstall: Most cPanel hosts offer one-click WordPress installers—use them to save time and avoid errors.
- Choose a strong database name and password: This protects your site from unauthorized access during setup.
- Set the correct file permissions: Incorrect permissions can cause installation failures or security risks.
- Install a default theme first: Start with a clean, responsive theme like Twenty Twenty-Four before customizing.
- Back up immediately after setup: Create your first backup right after installation to protect your new site.
- Keep WordPress updated: Regular updates prevent vulnerabilities and ensure compatibility with plugins and themes.
Introduction: Why Use cPanel to Create a WordPress Website?
If you’re new to web development or just want a fast, reliable way to launch a website, creating a WordPress website in cPanel is one of the easiest methods available. Most web hosting providers include cPanel—a user-friendly control panel that lets you manage domains, files, databases, and software installations with just a few clicks.
In this guide, you’ll learn how to set up WordPress on your domain using cPanel, even if you’ve never built a website before. We’ll cover everything from logging into cPanel to logging into your new WordPress dashboard. By the end, you’ll have a fully functional site ready for content, themes, and plugins.
Step 1: Log Into Your cPanel Account
Before you can install WordPress, you need access to your hosting account’s cPanel. Here’s how:
Find Your cPanel Login URL
Most hosts provide cPanel access via a URL like https://yourdomain.com/cpanel or https://cpanel.yourdomain.com. Alternatively, log in through your hosting provider’s client area (e.g., Bluehost, HostGator, or SiteGround) and look for a “cPanel” or “Control Panel” button.
Enter Your Credentials
Use the username and password provided by your host. If you’ve forgotten them, use the “Forgot Password?” link or contact support. Always ensure you’re on a secure (HTTPS) page to protect your login details.
Navigate the Dashboard
Once logged in, you’ll see a grid of icons. Look for sections like “Software,” “Web Applications,” or “WordPress Tools.” The exact layout varies by host, but the next step is usually nearby.
Step 2: Locate the WordPress Installer
Most modern cPanel installations include a one-click WordPress installer. The two most common tools are Softaculous Apps Installer and QuickInstall.
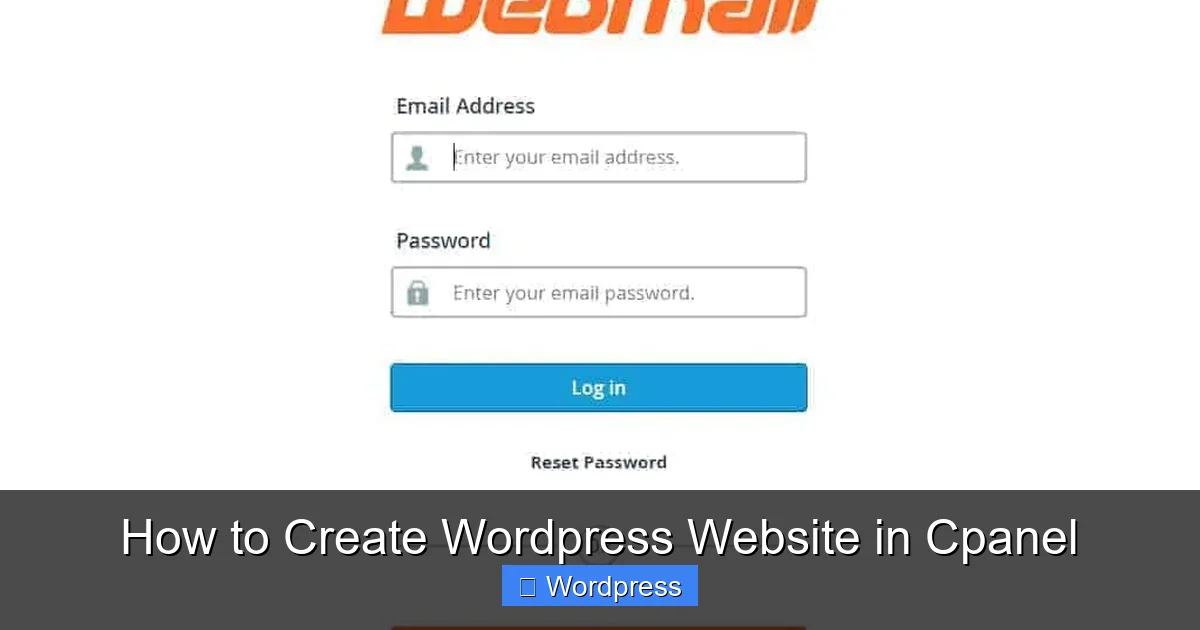
Visual guide about How to Create WordPress Website in Cpanel
Image source: kangxiang.info
Find Softaculous (Recommended)
Click the Softaculous Apps Installer icon (often under “Software”). Once opened, scroll or search for “WordPress.” Click the “Install” button next to it.
Alternative: QuickInstall or MOJO Marketplace
Some hosts use different installers. If you don’t see Softaculous, look for “QuickInstall” or “MOJO Marketplace.” The process is nearly identical—just follow the on-screen prompts to install WordPress.
Step 3: Configure Your WordPress Installation
Now comes the most important part: setting up your site correctly. Pay close attention to these settings to avoid issues later.
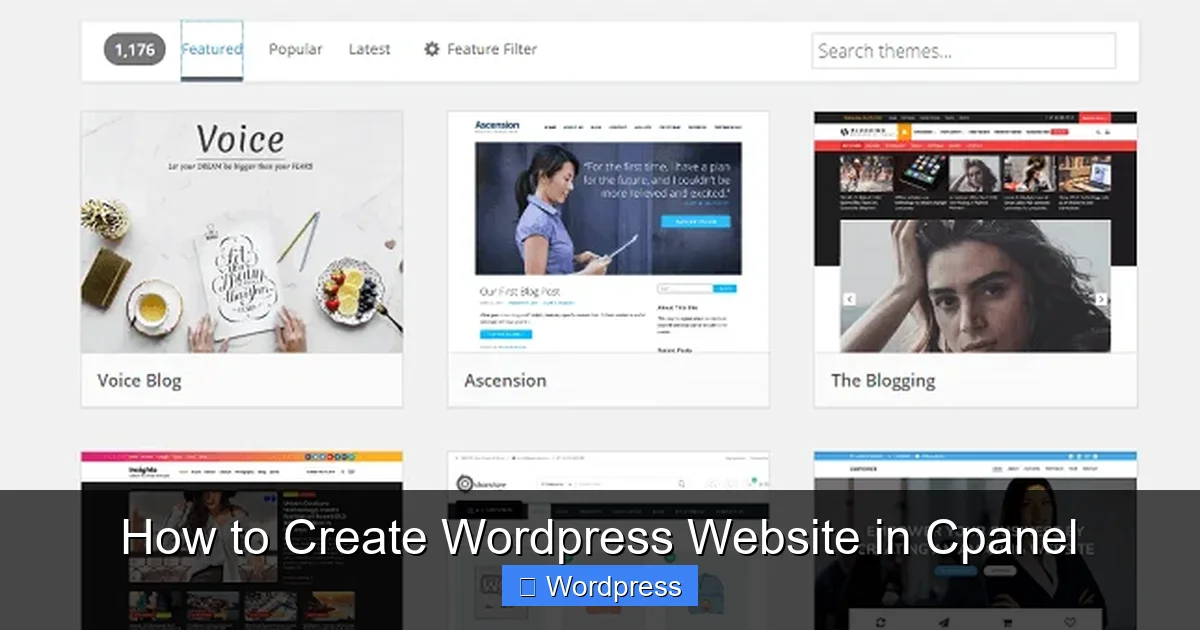
Visual guide about How to Create WordPress Website in Cpanel
Image source: images.websitebuilderexpert.com
Choose Your Domain
Select the domain where you want WordPress installed. If you have multiple domains, pick the correct one from the dropdown. You can also install in a subfolder (e.g., yourdomain.com/blog) by entering the folder name in the “In Directory” field—leave it blank to install on the root domain.
Set Site Information
Fill in the following fields:
- Site Name: Your website’s title (e.g., “My Coffee Blog”).
- Site Description: A short tagline (e.g., “Sharing the best brews worldwide”).
Create Admin Account
Enter a username, password, and email for your WordPress admin account. Never use “admin” as your username—it’s a common target for hackers. Choose a strong password with uppercase, lowercase, numbers, and symbols.
Select Language and Version
Pick your preferred language (e.g., English, Spanish). Unless you have a specific reason, stick with the latest stable version of WordPress—Softaculous usually selects this automatically.
Advanced Options (Optional but Recommended)
Click “Advanced Options” to:
- Set a custom database name (e.g.,
wp_mysite_2024instead of a random string). - Enable automatic backups (if offered).
- Disable search engine indexing during setup (check “ discourage search engines from indexing this site”)—you can change this later in WordPress Settings.
Step 4: Complete the Installation
After filling out all fields, click “Install.” Softaculous will create your database, upload files, and configure WordPress. This usually takes 10–30 seconds.
Save Your Login Details
Once complete, you’ll see a success message with your site URL and admin login link (typically yourdomain.com/wp-admin). Copy and save these details—you’ll need them to access your dashboard.
Test Your Site
Visit your domain in a browser. You should see the default WordPress homepage with a “Hello World!” post. If you see a “404 Not Found” error, double-check the installation directory or try clearing your browser cache.
Step 5: Log Into Your WordPress Dashboard
Go to yourdomain.com/wp-admin and log in with the admin username and password you created. You’ll land in the WordPress dashboard—your control center for managing content, themes, plugins, and settings.
Explore Key Sections
Familiarize yourself with these menus:
- Posts: Create blog articles.
- Pages: Add static pages like “About” or “Contact.”
- Appearance > Themes: Change your site’s design. Start with a default theme like Twenty Twenty-Four—it’s lightweight and mobile-friendly.
- Plugins: Add functionality (e.g., contact forms, SEO tools).
For theme management, you might later want to learn how to apply a WordPress theme or how to install WP themes manually for more customization options.
Troubleshooting Common Issues
Even with one-click installers, things can go wrong. Here’s how to fix the most common problems:
“Error Establishing a Database Connection”
This means WordPress can’t connect to your database. Causes include:
- Incorrect database name or password (recheck in Softaculous or cPanel’s MySQL Databases).
- Database server overload (wait a few minutes and retry).
- Corrupted installation (reinstall via Softaculous—it won’t delete existing data if done carefully).
White Screen of Death
A blank white page usually indicates a PHP error. Try:
- Renaming the
pluginsfolder via cPanel File Manager to disable all plugins. - Switching to a default theme by renaming your current theme folder.
404 Errors After Installation
If your site shows 404 errors, visit this guide on fixing 404 errors in WordPress to reset permalinks or check .htaccess rules.
Can’t Log Into wp-admin
Reset your password via cPanel:
- Go to cPanel > MySQL Databases.
- Find your WordPress database and click “Manage.”
- Use phpMyAdmin to run a password reset query (search online for “WordPress password reset SQL”).
Next Steps After Installation
Your WordPress site is live—but it’s not finished yet! Here’s what to do next:
Install a Theme
Go to Appearance > Themes > Add New. Browse free themes or upload a premium one. For beginners, we recommend starting simple. If you’re using Elementor, check out how to create a WordPress theme with Elementor for drag-and-drop design.
Add Essential Plugins
Install plugins for SEO (like Yoast), security (Wordfence), and backups (UpdraftPlus). Avoid installing too many—they can slow down your site.
Set Up Permalinks
Go to Settings > Permalinks and choose “Post name” for clean URLs (e.g., yourdomain.com/sample-post).
Enable HTTPS
If your host offers free SSL (most do), activate it in cPanel under “SSL/TLS” or “Let’s Encrypt.” Then install the “Really Simple SSL” plugin to force HTTPS across your site.
Conclusion
Creating a WordPress website in cPanel is fast, secure, and beginner-friendly—especially when using one-click installers like Softaculous. By following this guide, you’ve set up a solid foundation for your online presence. Remember to keep your site updated, back up regularly, and explore WordPress’s vast ecosystem of themes and plugins to grow your site over time.
Whether you’re launching a blog, portfolio, or small business site, WordPress on cPanel gives you full control without needing to code. Now go ahead—add your first post, customize your design, and share your voice with the world!