This guide walks you through fixing SSL certificate issues between IONOS and WordPress, ensuring your site loads securely over HTTPS. You’ll learn to diagnose common problems, update settings, and verify your SSL is working correctly.
Key Takeaways
- Check SSL status first: Always verify if your SSL certificate is active and properly installed on your IONOS hosting.
- Update WordPress URLs: Change your site and home URLs from HTTP to HTTPS in the WordPress dashboard or database.
- Use a plugin for mixed content: Install a plugin like Really Simple SSL to automatically fix insecure content warnings.
- Clear caches regularly: Clear browser, WordPress, and server caches to see changes immediately.
- Test your site after changes: Use online tools like SSL Labs to confirm your SSL is working correctly.
- Contact IONOS support if needed: If issues persist, IONOS customer support can help with server-side SSL configuration.
- Keep WordPress updated: Regular updates help prevent compatibility issues with SSL and security features.
How to Fix an SSL Certificate Between IONOS and WordPress
Running a WordPress website on IONOS hosting comes with many benefits—reliable servers, easy setup, and built-in security features. But one common issue users face is SSL certificate problems. If your site shows a “Not Secure” warning in the browser or fails to load over HTTPS, it’s likely an SSL issue between IONOS and WordPress.
In this guide, you’ll learn how to fix SSL certificate errors step by step. Whether you’re seeing mixed content warnings, redirect loops, or broken HTTPS, we’ll cover everything you need to get your site secure and running smoothly. By the end, your WordPress site will load safely over HTTPS, improving user trust and SEO rankings.
Step 1: Check If Your SSL Certificate Is Active on IONOS
Before making changes in WordPress, confirm that your SSL certificate is properly installed and active on your IONOS hosting account.
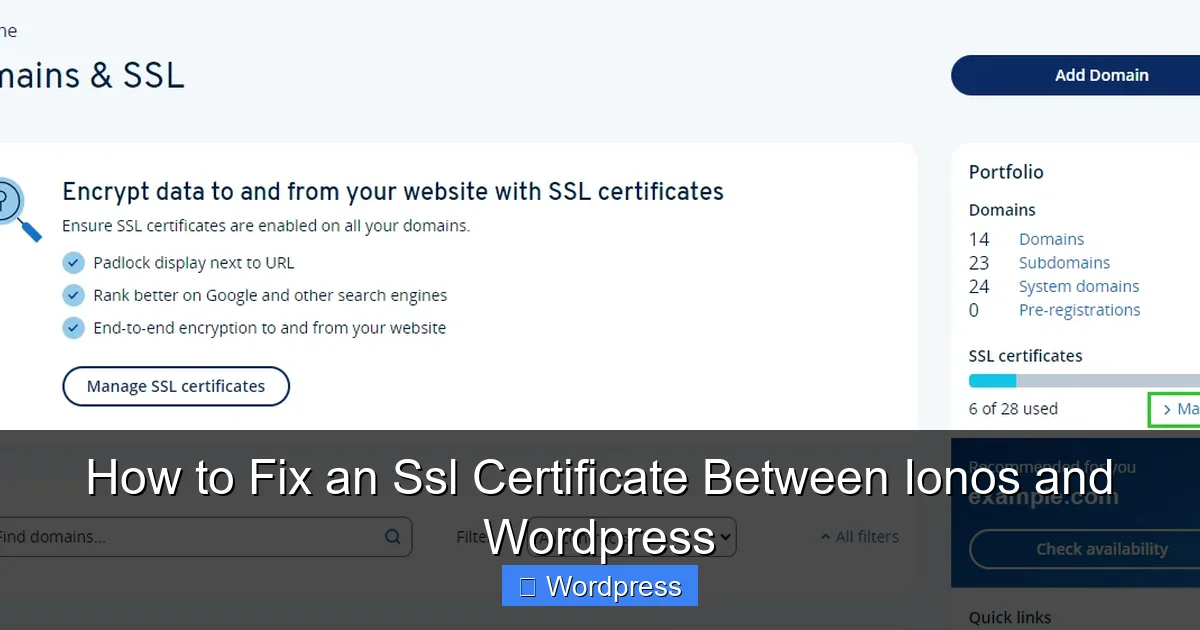
Visual guide about How to Fix an Ssl Certificate Between Ionos and WordPress
Image source: ionos.com
Log in to Your IONOS Control Panel
Go to the IONOS website and sign in to your customer account. Navigate to the Hosting & Domains section and select your domain.
Verify SSL Status
Look for the SSL Certificate section. You should see one of the following:
- Active: Your SSL is working correctly.
- Pending: The certificate is being issued—wait up to 24 hours.
- Inactive or Expired: You’ll need to renew or activate it.
If your SSL is inactive, click Activate SSL or follow IONOS’s prompts to enable it. IONOS often provides free SSL certificates with hosting plans, so check if yours is included.
Check Domain Pointing
Ensure your domain is correctly pointing to your IONOS hosting. If you recently transferred your domain or changed DNS settings, it may take time to propagate. Use a tool like WhatsMyDNS to verify DNS propagation.
Step 2: Update WordPress Site URLs to HTTPS
Even if your SSL is active, WordPress may still be using HTTP URLs. This causes redirect issues and mixed content warnings.
Method 1: Update via WordPress Dashboard
Log in to your WordPress admin panel. Go to Settings > General. You’ll see two fields:
- WordPress Address (URL)
- Site Address (URL)
Change both from http:// to https://. For example:
- From:
http://yourdomain.com - To:
https://yourdomain.com
Click Save Changes. Your site may temporarily go down—this is normal. Refresh after a few seconds.
Method 2: Update via wp-config.php (If Dashboard Is Inaccessible)
If you can’t access the dashboard after changing URLs, edit your wp-config.php file via FTP or IONOS File Manager.
Add these lines just above the /* That's all, stop editing! Happy publishing. */ comment:
define('WP_HOME','https://yourdomain.com');
define('WP_SITEURL','https://yourdomain.com');
Replace yourdomain.com with your actual domain. Save the file and reload your site.
Method 3: Update via Database (Advanced)
If the above methods fail, use phpMyAdmin (available in IONOS control panel) to update the URLs directly in the database.
Go to your database, find the wp_options table (prefix may vary), and update the siteurl and home fields to use https://.
Step 3: Fix Mixed Content Errors
Even after enabling HTTPS, some elements (images, scripts, stylesheets) may still load over HTTP. This causes “mixed content” warnings in browsers.
Install a Plugin to Fix Mixed Content
The easiest way to fix this is by using a plugin like Really Simple SSL.
Go to Plugins > Add New in WordPress. Search for “Really Simple SSL” and install it. Activate the plugin.
The plugin will automatically detect your SSL and fix most mixed content issues. It also sets up proper redirects from HTTP to HTTPS.
Manually Update Hardcoded Links
If you still see mixed content warnings, some links may be hardcoded in your theme or content.
Use the Better Search Replace plugin to find and replace http://yourdomain.com with https://yourdomain.com across your database.
Alternatively, edit your theme files (like header.php or footer.php) and update any hardcoded HTTP links.
Check Theme and Plugin Compatibility
Some older themes or plugins may not support HTTPS. If you’re using a custom theme, ensure it’s compatible with SSL.
For example, if you’re using a theme you installed manually, check for updates or consider upgrading. You can learn how to upgrade your WordPress theme safely without losing customizations.
Step 4: Set Up HTTPS Redirects
To ensure all visitors use HTTPS, set up a redirect from HTTP to HTTPS.
Use .htaccess for Redirects (Recommended)
Edit your .htaccess file (located in your WordPress root directory) and add this code at the top:
RewriteEngine On
RewriteCond %{HTTPS} off
RewriteRule ^(.*)$ https://%{HTTP_HOST}%{REQUEST_URI} [L,R=301]
This tells the server to redirect all HTTP traffic to HTTPS permanently.
Use a Plugin for Redirects
If you’re not comfortable editing files, use a plugin like Redirection or Really Simple SSL (which includes redirect functionality).
Step 5: Clear All Caches
After making changes, clear all caches to see the results immediately.
Clear WordPress Cache
If you’re using a caching plugin like WP Super Cache or W3 Total Cache, go to its settings and click Delete Cache.
Clear Browser Cache
Press Ctrl + Shift + R (Windows) or Cmd + Shift + R (Mac) to hard-refresh your browser.
Clear IONOS Server Cache
IONOS may cache SSL settings. Wait a few minutes or contact support if changes aren’t appearing.
Troubleshooting Common SSL Issues
Even after following these steps, you might still face issues. Here’s how to fix the most common ones.
“Too Many Redirects” Error
This happens when redirects loop between HTTP and HTTPS. Check your .htaccess file and WordPress settings. Remove duplicate redirect rules.
SSL Certificate Not Trusted
If your browser says the certificate is not trusted, it may be self-signed or expired. Ensure you’re using a valid certificate from IONOS or a trusted provider like Let’s Encrypt.
Mixed Content Still Appearing
Use your browser’s developer tools (F12 > Console) to identify which resources are loading over HTTP. Update those links manually or with a plugin.
WordPress Admin Not Loading Over HTTPS
If you can’t access https://yourdomain.com/wp-admin, try adding this to wp-config.php:
define('FORCE_SSL_ADMIN', true);
Test Your SSL Configuration
Once everything is set up, test your SSL to ensure it’s working correctly.
Use Online SSL Checkers
Visit tools like:
These tools will check your certificate, configuration, and mixed content issues.
Check Your Site in Different Browsers
Test your site in Chrome, Firefox, Safari, and Edge to ensure compatibility.
When to Contact IONOS Support
If you’ve tried all steps and your SSL still isn’t working, contact IONOS customer support. They can:
- Verify SSL installation on the server
- Check for server-side redirect issues
- Help with domain or DNS configuration
Have your domain name and error details ready when you contact them.
Conclusion
Fixing an SSL certificate between IONOS and WordPress doesn’t have to be complicated. By verifying your SSL status, updating WordPress URLs, fixing mixed content, and setting up proper redirects, you can secure your site and avoid browser warnings.
Remember to clear caches, test your site, and use tools like Really Simple SSL to simplify the process. If you run into issues, don’t hesitate to reach out to IONOS support or consult your theme documentation.
A secure website not only protects your visitors but also improves your search engine rankings and builds trust. Take the time to get your SSL right—it’s one of the best things you can do for your WordPress site.