SSL errors in WordPress can break your site’s security and user trust. This guide walks you through practical steps to diagnose and fix common SSL issues, including mixed content warnings, incorrect site URLs, and certificate problems—ensuring your WordPress site stays secure and accessible.
Key Takeaways
- Understand SSL errors: Learn what causes SSL errors in WordPress, such as mixed content or expired certificates.
- Update site URLs: Change HTTP to HTTPS in WordPress settings to match your SSL certificate.
- Fix mixed content: Use plugins or manual methods to replace insecure HTTP links with HTTPS.
- Clear caches: Always clear browser, plugin, and server caches after making SSL changes.
- Check certificate validity: Ensure your SSL certificate is active, properly installed, and not expired.
- Use reliable tools: Plugins like Really Simple SSL can automate many SSL fixes.
- Test your site: Use online tools to verify SSL functionality after applying fixes.
How to Fix SSL Error WordPress: A Complete Guide
If your WordPress site is showing an SSL error—like “Your connection is not private” or “Mixed Content” warnings—you’re not alone. These errors can scare away visitors, hurt your SEO, and damage your site’s credibility. The good news? Most SSL issues in WordPress are fixable with a few clear steps.
In this guide, you’ll learn how to identify and resolve the most common SSL errors in WordPress. Whether you’re seeing browser warnings, broken images, or login issues after enabling SSL, we’ll walk you through practical solutions. By the end, your site will be secure, fast, and trusted by both users and search engines.
What Causes SSL Errors in WordPress?
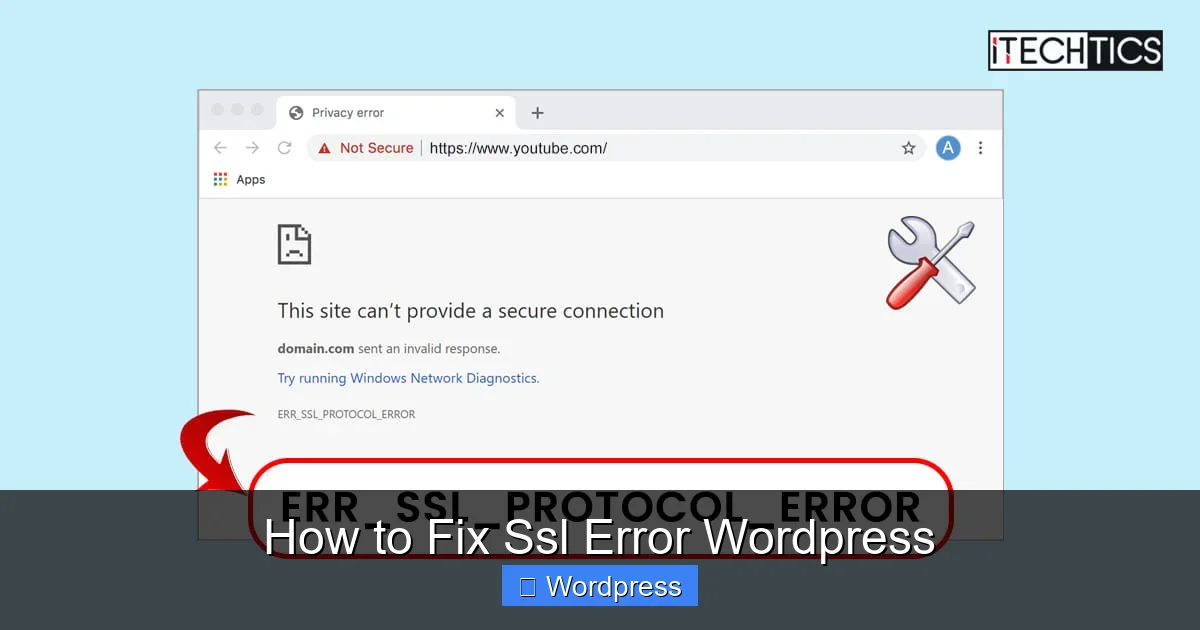
Visual guide about How to Fix Ssl Error WordPress
Image source: itechtics.com
Before fixing the problem, it helps to understand what’s causing it. SSL (Secure Sockets Layer) errors occur when your website fails to load securely over HTTPS. Common causes include:
- Mixed content: Some resources (like images or scripts) are still loading over HTTP instead of HTTPS.
- Incorrect site URL: WordPress is still configured to use HTTP in the settings.
- Expired or invalid SSL certificate: The certificate may have expired or wasn’t installed correctly.
- Plugin or theme conflicts: Some plugins or themes may hardcode HTTP links.
- Caching issues: Old cached versions of your site may still reference insecure content.
Identifying the root cause is the first step to a lasting fix.
Step 1: Verify Your SSL Certificate Is Active
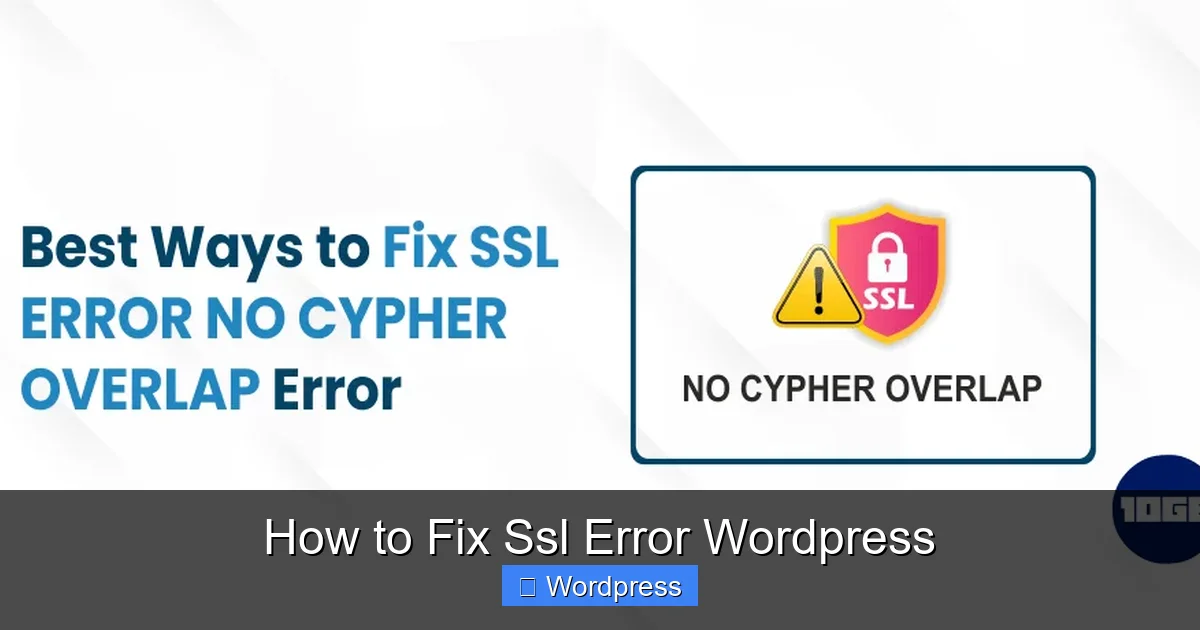
Visual guide about How to Fix Ssl Error WordPress
Image source: 10gbhosting.com
Before making changes in WordPress, confirm that your SSL certificate is properly installed and active.
Check Certificate Status
Visit your site using https://yourdomain.com in a browser. Look for a padlock icon in the address bar. If you see a warning, click on it to view details. Common messages include “Certificate expired” or “Invalid certificate.”
Use Online SSL Checkers
Tools like SSL Labs’ SSL Test or Why No Padlock? can scan your site and pinpoint issues. These tools will tell you if your certificate is trusted, properly configured, or missing intermediate certificates.
Renew or Reinstall if Needed
If your certificate is expired, contact your hosting provider or SSL issuer to renew it. Most hosts offer free Let’s Encrypt SSL certificates that auto-renew. If you’re using a paid certificate, follow the provider’s installation guide.
Step 2: Update WordPress Site URLs to HTTPS
WordPress stores your site’s address in two places: the WordPress Address (URL) and Site Address (URL). If these still use HTTP, your site will try to load insecurely—even with a valid SSL certificate.
Access WordPress Dashboard
Log in to your WordPress admin panel (https://yourdomain.com/wp-admin).
Go to Settings > General
Look for the “WordPress Address (URL)” and “Site Address (URL)” fields. Both should start with https://.
Change HTTP to HTTPS
If they currently say http://yourdomain.com, change them to https://yourdomain.com. Save your changes.
Pro Tip: If you can’t access the dashboard after changing URLs, you may need to update them manually via the database or wp-config.php file.
Step 3: Fix Mixed Content Errors
Mixed content occurs when your site loads over HTTPS, but some elements (images, scripts, stylesheets) are still pulled from HTTP sources. Browsers block these insecure resources, causing layout breaks and security warnings.
Use a Plugin to Automate Fixes
The easiest way to fix mixed content is with a plugin like Really Simple SSL. This free plugin detects and resolves most mixed content issues automatically.
- Go to Plugins > Add New.
- Search for “Really Simple SSL”.
- Install and activate it.
- The plugin will run a scan and prompt you to enable SSL. Click “Activate SSL”.
The plugin will also update your .htaccess file to redirect HTTP to HTTPS.
Manually Update Hardcoded Links
Some themes or plugins may hardcode HTTP links in templates or databases. To find and fix these:
- Use the Better Search Replace plugin to search your database for
http://yourdomain.comand replace it withhttps://yourdomain.com. - Check theme files (like
header.phporfooter.php) for hardcoded URLs. - Update any custom CSS or JavaScript files that reference HTTP resources.
Use Protocol-Relative URLs (Optional)
For external resources, consider using protocol-relative URLs (e.g., //example.com/script.js). These automatically use HTTPS if the page is secure.
Step 4: Clear All Caches
Caching can store old versions of your site that still use HTTP. After making SSL changes, clear all caches to ensure visitors see the updated, secure version.
Clear Browser Cache
Press Ctrl + F5 (Windows) or Cmd + Shift + R (Mac) to force-reload your site.
Clear Plugin Cache
If you use caching plugins like WP Super Cache, W3 Total Cache, or LiteSpeed Cache, go to their settings and click “Clear Cache.”
Clear Server Cache
Many hosts (like SiteGround, Bluehost, or WP Engine) have server-level caching. Log into your hosting control panel and clear any CDN or server cache.
Purge CDN Cache
If you use a CDN like Cloudflare, log in and purge the cache from the dashboard.
Step 5: Update .htaccess for HTTPS Redirect
To ensure all visitors are redirected to the secure version of your site, add an HTTPS redirect to your .htaccess file.
Access Your .htaccess File
Use FTP, SFTP, or your hosting file manager to locate the .htaccess file in your WordPress root directory.
Add Redirect Rules
Insert the following code at the top of the file:
RewriteEngine On
RewriteCond %{HTTPS} off
RewriteRule ^(.*)$ https://%{HTTP_HOST}%{REQUEST_URI} [L,R=301]
This redirects all HTTP traffic to HTTPS with a 301 (permanent) redirect, which is good for SEO.
Note: Be careful when editing .htaccess—incorrect code can break your site. Always back up the file first.
Step 6: Test Your Site After Fixes
Once you’ve applied all changes, test your site thoroughly.
Check for Mixed Content
Use browser developer tools (F12 > Console) to look for “Mixed Content” warnings. Fix any remaining HTTP links.
Verify SSL Functionality
Revisit SSL Labs to confirm your site passes with an A or A+ rating.
Test on Multiple Devices
Check your site on desktop, mobile, and different browsers to ensure consistent behavior.
Troubleshooting Common SSL Issues
Even after following these steps, you might still face problems. Here’s how to handle them:
Can’t Access WordPress Admin After Enabling SSL?
If you’re locked out after changing URLs, manually update them in the database:
- Access phpMyAdmin via your hosting panel.
- Find the
wp_optionstable (prefix may vary). - Change
siteurlandhomevalues tohttps://yourdomain.com.
Images or Styles Still Broken?
This is usually a mixed content issue. Use the Really Simple SSL plugin or search your database for HTTP links.
SSL Works on Homepage but Not Other Pages?
Check for hardcoded links in theme files or plugins. Also, ensure your permalinks are set correctly under Settings > Permalinks.
Theme or Plugin Conflicts?
Temporarily switch to a default theme like Twenty Twenty-Four. If SSL works, the issue is with your theme. Similarly, deactivate plugins one by one to find the culprit. For help managing themes, see our guide on how to deactivate a theme in WordPress.
Conclusion
Fixing SSL errors in WordPress doesn’t have to be stressful. By verifying your certificate, updating site URLs, resolving mixed content, and clearing caches, you can restore security and trust to your site. Most issues are resolved with simple tools and a bit of patience.
Remember, a secure site isn’t just about avoiding browser warnings—it’s about protecting your visitors and boosting your SEO. Once your SSL is working, keep an eye on certificate expiration dates and test your site regularly.
With the steps in this guide, you’re well-equipped to handle any SSL error WordPress throws your way. Stay secure, stay confident, and keep your site running smoothly.