Struggling to upload large files in WordPress? This guide shows you step-by-step how to increase the WordPress file upload size using safe, proven methods. Whether you’re uploading videos, images, or plugins, we’ll help you remove that frustrating limit.
Key Takeaways
- Default upload limit is often 2MB: Most WordPress installations start with a small upload limit set by PHP, which blocks large media or plugin uploads.
- Multiple methods to increase the limit: You can edit php.ini, .htaccess, wp-config.php, or use your hosting control panel—no coding expertise required.
- Hosting provider plays a key role: Some hosts restrict file size changes, so contacting support may be the fastest fix.
- Always back up before editing files: Mistakes in configuration files can break your site, so create a backup first.
- Test after each change: After increasing the limit, try uploading a large file to confirm it works.
- Use plugins as a last resort: While plugins exist to change upload size, they often don’t work on restricted servers.
- Security matters: Don’t set the upload limit too high—this can expose your site to abuse or slow performance.
Why Can’t I Upload Large Files in WordPress?
If you’ve ever tried uploading a high-resolution image, a video, or a large plugin to your WordPress site only to see an error like “The uploaded file exceeds the upload_max_filesize directive in php.ini,” you’re not alone. This happens because WordPress relies on PHP settings to control how big a file can be uploaded. By default, many hosting providers set this limit to just 2MB or 8MB—way too small for modern media needs.
Fortunately, increasing the WordPress file upload size is straightforward once you know where to look. In this guide, we’ll walk you through several reliable methods, from editing server files to using your hosting dashboard. You’ll be uploading large files in minutes—no developer skills needed.
Method 1: Edit the php.ini File
The php.ini file controls PHP settings on your server, including upload limits. This is often the most effective method if you have access to it.
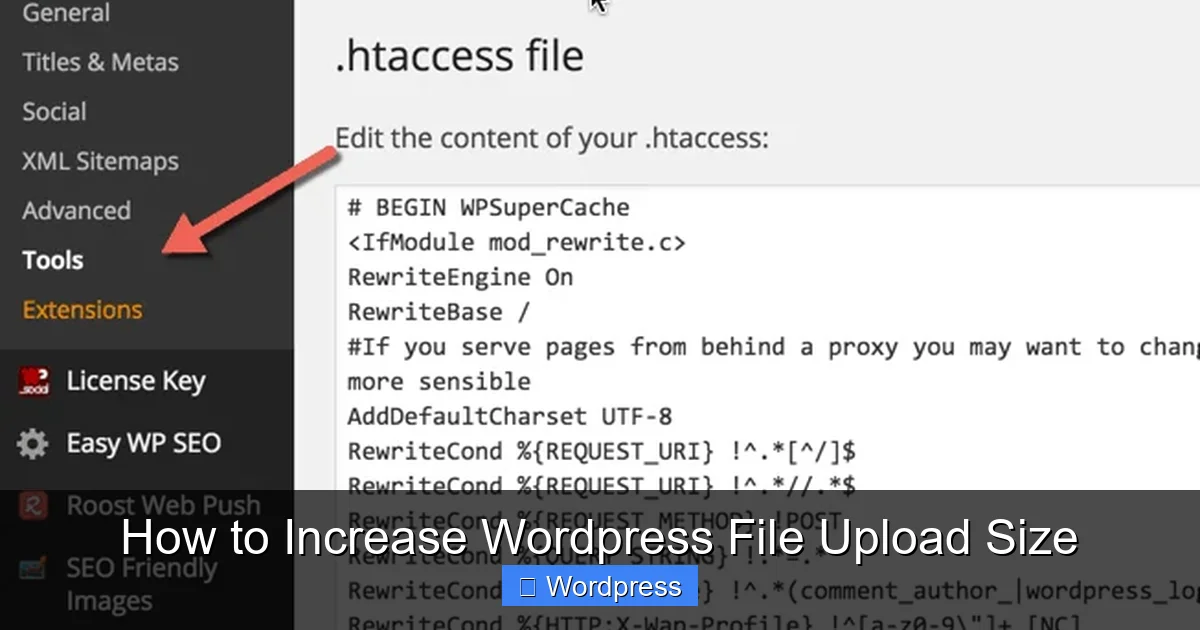
Visual guide about How to Increase WordPress File Upload Size
Image source: wpsutra.com
Step 1: Locate or Create php.ini
Log in to your hosting account via FTP or your file manager (like cPanel). Look for a file named php.ini in your website’s root directory (usually public_html). If it doesn’t exist, create a new file and name it php.ini.
Step 2: Add These Lines
Open the file and paste the following code:
upload_max_filesize = 64M
post_max_size = 64M
max_execution_time = 300
You can adjust 64M to any size you need (e.g., 128M for 128MB). The post_max_size should be equal to or larger than upload_max_filesize. The max_execution_time gives PHP more time to process large uploads.
Step 3: Save and Test
Save the file and upload it to your server. Then, go to your WordPress dashboard > Media > Add New and try uploading a large file. If it works, you’re done!
Tip: Some hosts don’t allow custom php.ini files. If this method fails, try the next one.
Method 2: Modify the .htaccess File
If you’re on an Apache server, you can use the .htaccess file to override PHP settings.
Step 1: Find Your .htaccess File
Using FTP or your file manager, navigate to your WordPress root folder. The .htaccess file is usually hidden—make sure your FTP client shows hidden files.
Step 2: Add PHP Directives
Open the file and add these lines at the bottom:
php_value upload_max_filesize 64M
php_value post_max_size 64M
php_value max_execution_time 300
php_value max_input_time 300
Again, change 64M to your desired size. Save the file and test your uploads.
Note: This method only works if your host allows PHP overrides in .htaccess. If you get a 500 error, remove the lines—your host likely blocks this.
Method 3: Edit wp-config.php
WordPress’s configuration file can also help increase upload limits, though it’s less direct.
Step 1: Open wp-config.php
Locate wp-config.php in your WordPress root directory. This file contains your database and core settings.
Step 2: Add ini_set Commands
Just before the line that says /* That's all, stop editing! Happy publishing. */, add:
@ini_set( 'upload_max_size' , '64M' );
@ini_set( 'post_max_size', '64M' );
@ini_set( 'max_execution_time', '300' );
Save the file and test your uploads. This method works on some hosts but not all—especially shared hosting with strict security.
Method 4: Use Your Hosting Control Panel
Many hosts offer built-in tools to change PHP settings—no file editing required.
Step 1: Log Into Your Hosting Account
Go to your hosting provider’s dashboard (e.g., cPanel, Plesk, or a custom panel like SiteGround’s).
Step 2: Find PHP Settings
Look for options like “PHP Version,” “PHP Selector,” or “MultiPHP INI Editor.” For example, in cPanel, click “MultiPHP INI Editor” under the Software section.
Step 3: Adjust Upload Limits
Select your domain, then change upload_max_filesize and post_max_size to your desired value (e.g., 64M). Save changes.
This is often the easiest and safest method—especially for beginners. If you’re unsure, check your host’s help docs or contact support.
Method 5: Contact Your Hosting Provider
If none of the above methods work, your host may have locked down PHP settings for security. In that case, reach out to their support team.
Most reputable hosts will increase your upload limit upon request—especially if you explain you need it for legitimate content like videos or backups. Simply open a support ticket and ask them to raise upload_max_filesize and post_max_size to your desired value.
Pro Tip: Mention that you’ve tried editing php.ini and .htaccess but need server-level changes. This shows you’ve done your homework.
Troubleshooting Common Issues
Even after following these steps, you might still hit upload limits. Here’s how to fix common problems:
Changes Don’t Take Effect
Sometimes, your server caches PHP settings. Try restarting your web server (if you have access) or wait 5–10 minutes. You can also create a phpinfo.php file with <?php phpinfo(); ?> to check current settings.
500 Internal Server Error
This usually means your .htaccess or php.ini syntax is wrong, or your host blocks overrides. Double-check your code for typos, or remove the changes and try another method.
Upload Still Fails After Increasing Limit
Check if your WordPress theme or a plugin is limiting uploads. Some security plugins restrict file sizes. Also, ensure your browser isn’t timing out—large uploads can take time on slow connections.
Memory Limit Issues
If you see “Allowed memory size exhausted,” increase WordPress memory by adding this to wp-config.php:
define('WP_MEMORY_LIMIT', '256M');
Best Practices and Security Tips
While increasing upload size is useful, don’t go overboard. Setting it to 1GB might seem convenient, but it can slow your site, increase server load, and attract malicious uploads.
- Set realistic limits: 64M–128M is enough for most sites. Only go higher if you regularly upload videos.
- Use secure file types: Restrict uploads to safe formats (e.g., .jpg, .png, .pdf) via plugins or server rules.
- Keep backups: Always back up your site before editing core files. If something breaks, you can restore quickly.
- Update regularly: Ensure WordPress, themes, and plugins are up to date to avoid security vulnerabilities.
Speaking of themes, if you’re managing your site’s appearance, you might also want to learn how to update a WordPress theme safely to avoid conflicts after making server changes.
Conclusion
Increasing the WordPress file upload size doesn’t have to be complicated. Whether you edit php.ini, tweak .htaccess, use your hosting panel, or contact support, there’s a method that will work for your setup. Start with the hosting control panel—it’s the easiest—and move to file edits if needed.
Remember to test after each change and keep your upload limits reasonable. With these steps, you’ll never be blocked by a 2MB limit again. Happy uploading!