This guide walks you through how to install Wordfence plugin in WordPress quickly and safely. You’ll learn two easy methods—via the dashboard or manual upload—and get essential setup tips to protect your site from threats.
Key Takeaways
- Wordfence is essential for WordPress security: It offers a robust firewall, malware scanner, and real-time threat defense to keep your site safe.
- Two installation methods available: Install directly from your WordPress dashboard or upload the plugin manually via FTP.
- Always back up your site first: Before installing any plugin, create a full backup to avoid data loss during setup.
- Complete the initial configuration: After activation, run the setup wizard to enable firewall protection and schedule scans.
- Keep Wordfence updated: Regular updates ensure you have the latest security definitions and features.
- Monitor scan results regularly: Check for malware, suspicious files, and login attempts to maintain site health.
- Use strong admin credentials: Combine Wordfence with secure passwords and two-factor authentication for maximum protection.
Why Install Wordfence on Your WordPress Site?
WordPress powers over 40% of all websites, making it a prime target for hackers, malware, and brute-force attacks. While WordPress itself is secure, vulnerabilities can arise from outdated plugins, weak passwords, or poorly coded themes. That’s where Wordfence Security comes in—a free, powerful plugin that acts as a digital shield for your site.
Wordfence provides a web application firewall (WAF), malware scanner, login security, and real-time threat intelligence. It blocks malicious traffic before it reaches your site and scans your files for known malware patterns. Whether you run a blog, business site, or online store, installing Wordfence is one of the smartest moves you can make to protect your content, users, and reputation.
In this guide, you’ll learn how to install Wordfence plugin in WordPress using two reliable methods. We’ll also cover setup best practices, troubleshooting tips, and how to keep your site secure long-term.
Method 1: Install Wordfence via WordPress Dashboard (Recommended)
The easiest and most common way to install Wordfence is directly from your WordPress admin panel. This method requires no technical skills and takes just a few minutes.
Step 1: Log in to Your WordPress Admin
Go to your website’s login page (usually yoursite.com/wp-admin) and enter your username and password. Once logged in, you’ll see the WordPress dashboard.
Step 2: Navigate to the Plugins Section
In the left-hand menu, click on Plugins, then select Add New. This opens the plugin repository where you can search and install thousands of free plugins.
Step 3: Search for Wordfence
In the search bar at the top right, type “Wordfence Security” and press Enter. You should see the official Wordfence plugin by Defiant Inc. appear at the top of the results. Make sure it’s the one with over 4 million active installations and a high rating.
Step 4: Install and Activate
Click the Install Now button next to the Wordfence plugin. WordPress will download and install it automatically. Once the installation is complete, click Activate to enable the plugin on your site.
Step 5: Complete the Setup Wizard
After activation, a setup wizard will appear. Click Start Wizard to begin. The wizard will guide you through enabling the firewall, setting up email alerts, and scheduling malware scans. We recommend enabling all recommended settings for maximum protection.
Method 2: Manual Installation via FTP (Advanced)
If your hosting environment blocks plugin installations or you prefer more control, you can install Wordfence manually using FTP. This method is useful if your site has restricted permissions or if the dashboard method fails.
Step 1: Download Wordfence from the Official Site
Go to the official WordPress plugin directory at wordpress.org/plugins/wordfence and click Download. Save the ZIP file to your computer.
Step 2: Extract the ZIP File
Use a tool like WinRAR, 7-Zip, or your operating system’s built-in extractor to unzip the file. You’ll get a folder named wordfence.
Step 3: Connect to Your Site via FTP
Use an FTP client like FileZilla to connect to your website. Enter your FTP credentials (host, username, password, and port) provided by your hosting provider.
Step 4: Upload the Plugin Folder
Navigate to the wp-content/plugins/ directory on your server. Drag and drop the wordfence folder from your computer into this directory. Wait for the upload to complete.
Step 5: Activate the Plugin in WordPress
Return to your WordPress dashboard. Go to Plugins > Installed Plugins. You should now see Wordfence listed. Click Activate to enable it. The setup wizard will appear—follow the prompts to configure your security settings.
Configuring Wordfence for Maximum Security
Installing Wordfence is just the first step. Proper configuration ensures it works effectively. Here’s how to set it up for optimal protection.
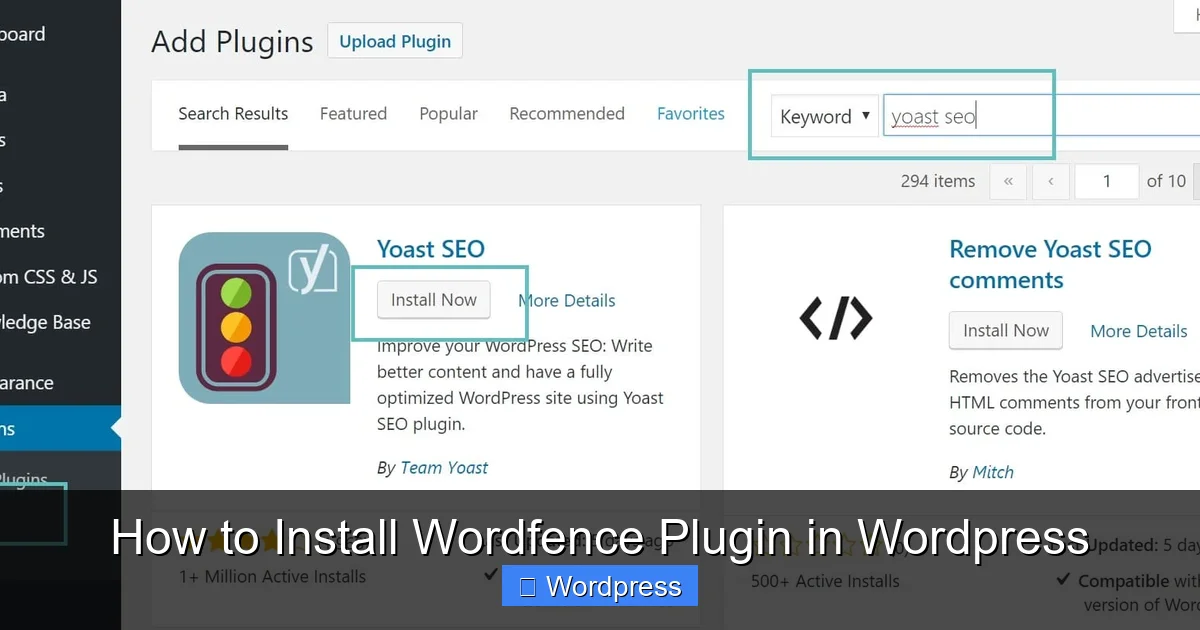
Visual guide about How to Install Wordfence Plugin in WordPress
Image source: kinsta.com
Enable the Firewall
Wordfence includes a powerful firewall that blocks malicious traffic. After installation, go to Wordfence > Firewall and click Enable. The firewall will switch to “Learning Mode” initially, then automatically switch to “Enabled” after analyzing traffic patterns.
Schedule Regular Scans
Go to Wordfence > Scan and click Schedule Scans. Set daily or weekly scans to check for malware, suspicious code, and outdated plugins. You’ll receive email alerts if issues are found.
Set Up Login Security
Under Wordfence > Login Security, enable features like two-factor authentication (2FA), reCAPTCHA, and limit login attempts. This prevents brute-force attacks and unauthorized access.
Configure Email Alerts
In Wordfence > All Options > Email Alert Preferences, enter your email address to receive notifications about security events, scan results, and login attempts.
Troubleshooting Common Installation Issues
Most users install Wordfence without problems, but occasional issues can arise. Here’s how to fix them.
Plugin Not Appearing After Upload
If you used the manual method and Wordfence doesn’t show up in your plugins list, double-check that the folder was uploaded to wp-content/plugins/ and not a subfolder. Also, ensure the folder name is exactly wordfence—not wordfence-master or similar.
White Screen or Site Crash After Activation
This rare issue may occur due to a conflict with another plugin or theme. To fix it, use FTP to rename the wordfence folder to wordfence-old. This deactivates the plugin and restores your site. Then, try reinstalling or check for conflicts with other security plugins.
Firewall Not Enabling
If the firewall stays in “Learning Mode” or won’t enable, your server may not support the required PHP functions. Contact your hosting provider to ensure mod_security and cURL are enabled. Alternatively, switch to “Extended Protection” mode in the firewall settings.
Best Practices After Installation
To get the most out of Wordfence, follow these ongoing security habits:
- Update regularly: Keep Wordfence, WordPress, themes, and plugins updated to patch vulnerabilities.
- Review scan reports: Check scan results weekly and investigate any flagged files.
- Use strong passwords: Combine Wordfence with complex admin passwords and 2FA.
- Limit user roles: Only grant admin access to trusted users. Use editor or author roles for others.
- Backup your site: Use a plugin like UpdraftPlus to create regular backups. If malware is detected, you can restore your site quickly.
For additional security, consider reviewing your active themes. If you’re using outdated or unused themes, you can delete them safely to reduce potential attack vectors. Similarly, always update your active theme to the latest version for security patches and performance improvements.
Conclusion
Installing Wordfence is a critical step in securing your WordPress site. Whether you use the dashboard method or manual upload, the process is straightforward and takes less than 10 minutes. Once installed, configure the firewall, enable scans, and monitor alerts to stay ahead of threats.
Remember, security isn’t a one-time task—it’s an ongoing commitment. Combine Wordfence with strong passwords, regular updates, and smart user management to keep your site safe. With this guide, you now know exactly how to install Wordfence plugin in WordPress and protect your digital presence.