This step-by-step guide shows you how to setup WordPress in cPanel using Softaculous or manual installation. You’ll learn to create databases, configure settings, and launch your site quickly and securely.
Key Takeaways
- Use cPanel’s Auto-Installer: Most hosting providers offer Softaculous, which lets you install WordPress in under 5 minutes with one click.
- Create a Database First: If installing manually, always create a MySQL database and user before uploading WordPress files.
- Secure Your Installation: Change default admin username, use strong passwords, and keep WordPress updated to prevent hacks.
- Set the Right File Permissions: Ensure wp-config.php and uploads folder have correct permissions (usually 644 and 755) for security and functionality.
- Choose a Lightweight Theme: After setup, pick a fast, responsive theme like Astra or Kadence—avoid bloated designs that slow your site.
- Backup Regularly: Use plugins like UpdraftPlus to back up your site after initial setup and before major changes.
- Troubleshoot Common Errors: Fix “Error Establishing Database Connection” by verifying database credentials in wp-config.php.
Introduction: Why Use cPanel to Install WordPress?
If you’re new to web development or just want a fast, reliable way to launch a website, learning how to setup WordPress in cPanel is one of the smartest moves you can make. cPanel is the control panel used by most web hosts—it’s user-friendly, widely supported, and packed with tools that simplify WordPress installation.
In this guide, you’ll learn two proven methods: using cPanel’s built-in auto-installer (like Softaculous) and manual installation for more control. By the end, you’ll have a fully functional WordPress site ready for content, plugins, and customization. Whether you’re building a blog, portfolio, or small business site, this process works every time.
Method 1: Install WordPress Using Softaculous (Recommended)
Most modern hosting providers include Softaculous Apps Installer in cPanel. It’s the easiest and fastest way to get WordPress up and running—no technical skills required.
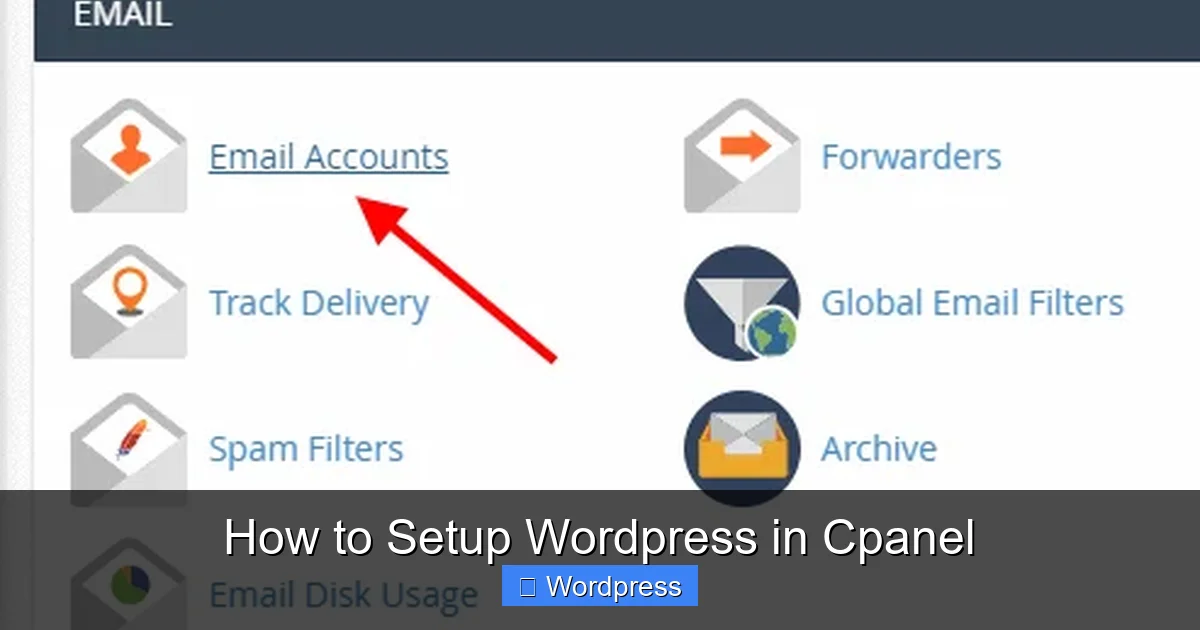
Visual guide about How to Setup WordPress in Cpanel
Image source: io.bikegremlin.com
Step 1: Log Into Your cPanel Account
Go to your hosting provider’s login page (usually something like yourdomain.com/cpanel) and enter your username and password. Once logged in, look for the Softaculous Apps Installer icon—it’s usually under the “Software” section.
Step 2: Find WordPress in Softaculous
Click the Softaculous icon. On the left sidebar, click WordPress. Then click the Install Now button at the top right.
Step 3: Fill Out the Installation Form
You’ll see a form with several fields:
- Choose Protocol: Select
https://if you have an SSL certificate (recommended), otherwisehttp://. - Choose Domain: Pick the domain where you want WordPress installed (e.g.,
yourdomain.com). - Directory: Leave this blank to install on the root (e.g.,
yourdomain.com). If you typeblog, it will install atyourdomain.com/blog. - Site Name & Description: Enter your website title and tagline (you can change these later in WordPress).
- Admin Username: Avoid using “admin”—choose something unique like “mywebsitename_editor”.
- Admin Password: Use a strong password (Softaculous can generate one for you).
- Admin Email: Use a real email address—this is where password resets and notifications go.
Step 4: Complete the Installation
Scroll down and click Install. Softaculous will create the database, upload files, and configure everything automatically. Within seconds, you’ll see a success message with links to your new site and admin dashboard.
Pro Tip: Enable Automatic Updates
In the Softaculous install form, check the box for “Automatically update WordPress”. This keeps your site secure without extra effort.
Method 2: Manual WordPress Installation in cPanel
If your host doesn’t offer Softaculous or you prefer full control, you can install WordPress manually. This method teaches you how WordPress works under the hood.
Step 1: Download WordPress
Go to wordpress.org/download and click Download WordPress. Save the ZIP file to your computer.
Step 2: Create a MySQL Database and User
In cPanel, find the MySQL® Database Wizard under the “Databases” section.
- Enter a database name (e.g.,
wp_mysite) and click Next Step. - Create a database user with a strong password. Write down both the username and password—you’ll need them soon.
- Assign ALL PRIVILEGES to the user and click Next Step.
- Click Continue to finish.
Step 3: Upload WordPress Files
Go to the File Manager in cPanel. Navigate to public_html (or a subfolder if installing in a subdirectory). Click Upload, select the WordPress ZIP file, and wait for it to upload.
Step 4: Extract and Configure
Back in File Manager, right-click the ZIP file and select Extract. Move all files from the extracted wordpress folder into your target directory (e.g., public_html).
Step 5: Edit wp-config.php
Rename wp-config-sample.php to wp-config.php. Right-click it and select Edit. Update these lines:
define('DB_NAME', 'wp_mysite');
define('DB_USER', 'your_db_username');
define('DB_PASSWORD', 'your_strong_password');
define('DB_HOST', 'localhost');
Save the file.
Step 6: Run the WordPress Installer
Visit your domain in a browser (e.g., https://yourdomain.com). You’ll see the WordPress setup screen. Enter your site title, admin username, password, and email. Click Install WordPress.
Post-Installation Setup Tips
Once WordPress is installed, take these steps to secure and optimize your site:
1. Log Into Your Dashboard
Go to yourdomain.com/wp-admin and log in with your admin credentials.
2. Choose and Apply a Theme
Go to Appearance > Themes > Add New. Search for a lightweight, mobile-friendly theme like Astra or Kadence. Click Install, then Activate.
Need help choosing? Check out our guide on how to apply a WordPress theme for step-by-step instructions.
3. Install Essential Plugins
Go to Plugins > Add New and install:
- UpdraftPlus: For automatic backups.
- Wordfence Security: To protect against malware and brute-force attacks.
- WP Super Cache: To speed up page loading.
4. Set Your Homepage and Blog Page
Go to Settings > Reading. Choose “A static page” and select your homepage. Create a new page called “Blog” and assign it as your posts page.
5. Update Permalinks
Go to Settings > Permalinks and select “Post name” for clean URLs (e.g., yourdomain.com/sample-post/).
Troubleshooting Common Issues
Even with careful setup, you might run into problems. Here’s how to fix the most common ones:
“Error Establishing a Database Connection”
This means WordPress can’t connect to your database. Double-check the DB_NAME, DB_USER, DB_PASSWORD, and DB_HOST values in wp-config.php. Ensure the database user has full privileges.
“White Screen of Death”
Usually caused by a plugin or theme conflict. Rename the plugins folder via File Manager to disable all plugins. If the site loads, reactivate them one by one to find the culprit.
File Permission Errors
If you see “Could not create directory” during plugin installation, set folder permissions to 755 and files to 644. In File Manager, right-click the folder, select Change Permissions, and enter the correct values.
404 Errors After Changing Permalinks
This often happens when .htaccess isn’t writable. Go to Settings > Permalinks and click “Save Changes” again—WordPress will try to update .htaccess automatically. If not, manually add the rewrite rules.
For more help, read our article on fixing 404 errors in WordPress.
Conclusion
Setting up WordPress in cPanel is straightforward whether you use Softaculous or manual installation. The auto-installer is perfect for beginners, while manual setup gives developers more flexibility. Either way, you now have a powerful, customizable website ready for content and growth.
Remember to keep your site secure with strong passwords, regular updates, and backups. And when it’s time to refresh your design, explore our guide on how to upgrade a WordPress theme safely without losing data.
With your WordPress site live, you’re ready to share your ideas, sell products, or grow your audience—all from a platform trusted by over 40% of the web.