This guide walks you through the process of applying a downloaded theme in WordPress, whether it’s free or premium. You’ll learn how to upload, activate, and customize your new theme safely and effectively.
Key Takeaways
- Backup your site first: Always create a full backup before changing themes to avoid data loss.
- Upload via WordPress dashboard: Use the built-in theme uploader for safe and easy installation.
- Check theme compatibility: Ensure your WordPress version and plugins support the new theme.
- Use a child theme for customizations: Protect your changes from being overwritten during updates.
- Test on a staging site: Try the theme on a copy of your site before going live.
- Clear cache after activation: Refresh your browser and clear caching plugins to see changes.
- Review theme settings: Configure menus, widgets, and homepage settings after activation.
How Do I Apply a Downloaded Theme?
So you’ve found the perfect WordPress theme—maybe it’s sleek, fast, and packed with features. But now you’re wondering: How do I actually apply this downloaded theme to my site? Don’t worry—you’re not alone. Many WordPress users, especially beginners, feel a bit overwhelmed when it’s time to switch themes.
In this guide, we’ll walk you through the entire process of applying a downloaded theme to your WordPress website. Whether you’ve purchased a premium theme from a marketplace like ThemeForest or downloaded a free one from WordPress.org, the steps are simple and straightforward. By the end, you’ll know exactly how to upload, activate, and customize your new theme—safely and confidently.
Step 1: Prepare Your Website
Before you install any new theme, it’s smart to prepare your site. This helps prevent issues like broken layouts or lost content.
Visual guide about How Do I Apply a Downloaded Theme?
Image source: rfmri.org
Create a Full Backup
Always start by backing up your website. This includes your files, database, and media. If something goes wrong, you can restore your site quickly. You can use plugins like UpdraftPlus or your hosting provider’s backup tool.
Set Up a Staging Site (Optional but Recommended)
If your host offers staging (like SiteGround or Bluehost), create a copy of your live site. Test the new theme there first. This way, your visitors won’t see any glitches while you’re making changes. Learn more about how to update a theme on WordPress safely using staging environments.
Deactivate Unnecessary Plugins
Some plugins may conflict with new themes. Temporarily deactivate non-essential ones (like page builders or custom code plugins) to reduce the risk of errors.
Step 2: Upload the Downloaded Theme
Now it’s time to get your theme onto your WordPress site. There are two main ways to do this: through the WordPress dashboard or via FTP. We’ll focus on the dashboard method—it’s the easiest and safest for most users.
Visual guide about How Do I Apply a Downloaded Theme?
Image source: exceldemy.com
Access the Themes Section
Log in to your WordPress admin dashboard. In the left-hand menu, go to Appearance > Themes. Click the Add New button at the top of the page.
Upload the Theme File
Click the Upload Theme button, then choose the ZIP file you downloaded. Make sure it’s the theme file—not a documentation or license folder. Click Install Now.
WordPress will upload and extract the theme. Once it’s done, you’ll see a success message with two options: Activate or Live Preview.
Alternative: Manual Upload via FTP
If the dashboard method fails (due to file size limits), you can upload manually. Use an FTP client like FileZilla to connect to your site. Navigate to /wp-content/themes/, then upload the unzipped theme folder. After that, go back to Appearance > Themes in WordPress, and your new theme should appear in the list.
For a detailed walkthrough, check out our guide on how to install WP themes manually.
Step 3: Activate the Theme
Once the theme is uploaded, it’s time to make it live.
Preview Before Activating
Click Live Preview to see how the theme looks with your current content. This is a great way to spot issues before going live. You can navigate through your pages, check the homepage, and see how posts display.
Activate the Theme
When you’re happy with the preview, click Activate. Your site will now use the new theme. Visit your homepage to see the changes.
Pro Tip: If your site looks broken after activation, don’t panic. It’s common for themes to require additional setup, like assigning menus or setting a homepage.
Step 4: Configure Theme Settings
Most themes come with customization options. Here’s how to set them up properly.
Set Up Menus
Go to Appearance > Menus. Your old menu may still exist, but it might not be assigned to the new theme’s menu locations. Create or assign a menu to the primary, footer, or mobile locations as needed.
Assign Widgets
Visit Appearance > Widgets. The new theme may have different widget areas (sidebars, footers, etc.). Drag and drop your existing widgets or add new ones.
Set the Homepage
Some themes use a custom homepage template. Go to Settings > Reading and choose whether your homepage displays your latest posts or a static page. If you’ve created a custom homepage, select it here.
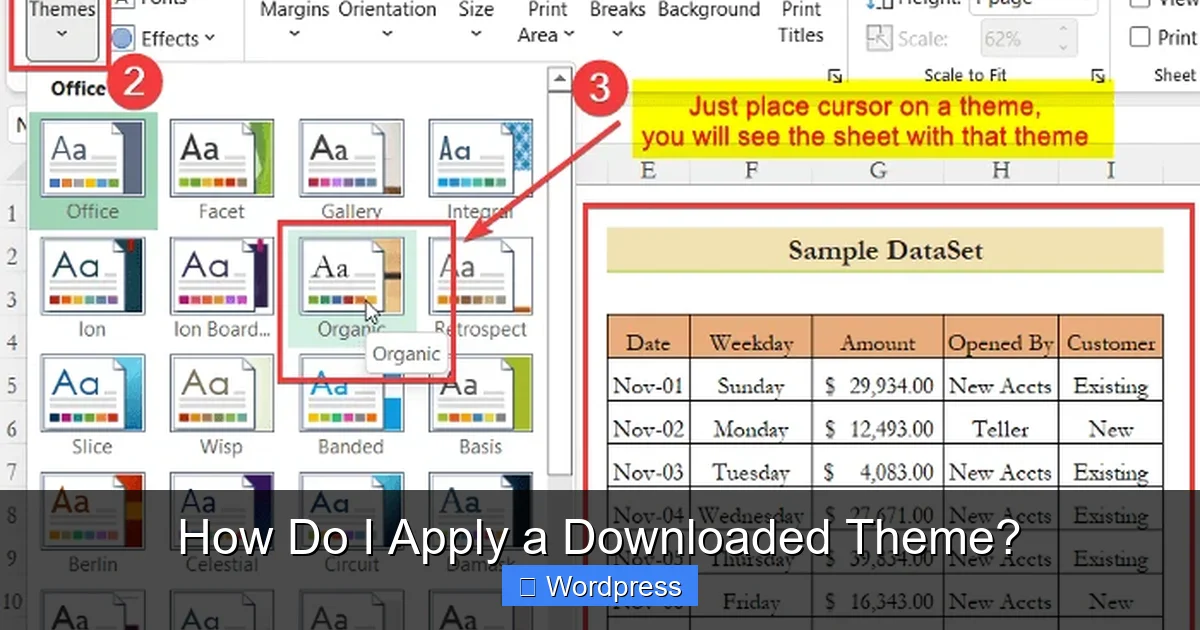
Customize with the Customizer
Click Appearance > Customize to access the WordPress Customizer. Here, you can change colors, fonts, logos, and layout settings. Most themes add their own panels here for advanced options.
Step 5: Install Required Plugins
Many premium themes recommend or require specific plugins for full functionality (like sliders, contact forms, or page builders).
Check for Plugin Notices
After activation, WordPress may show a notice like “This theme recommends the following plugin: Slider Revolution.” Click Begin installing plugins to add them automatically.
Install and Activate Plugins
Go to Plugins > Add New and search for any missing plugins. Install and activate them. Some themes bundle plugins—these will be installed automatically.
Step 6: Test Your Site
Before celebrating, make sure everything works correctly.
Check All Pages and Posts
Visit your homepage, blog, contact page, and any custom templates. Look for broken images, missing text, or layout issues.
Test on Mobile Devices
Use your phone or tablet to view the site. Responsive themes should look great on all screen sizes. If not, go back to the Customizer and adjust mobile settings.
Run a Speed Test
Use tools like Google PageSpeed Insights or GTmetrix to check performance. Some themes are heavy and slow down your site. If needed, optimize images or use a caching plugin.
Troubleshooting Common Issues
Even with careful planning, problems can happen. Here’s how to fix the most common ones.
White Screen After Activation
This usually means a PHP error. Enable debugging by adding this line to your wp-config.php file: define('WP_DEBUG', true);. Check the error message and deactivate conflicting plugins or switch to a default theme like Twenty Twenty-Four.
Missing Styles or Layouts
Clear your browser cache and any caching plugins (like WP Super Cache or W3 Total Cache). Also, check if your theme requires a specific page builder or plugin.
Menus or Widgets Not Appearing
Go to Appearance > Menus and reassign your menu to the correct location. For widgets, ensure they’re placed in active widget areas.
Theme Looks Different Than Demo
Demo sites often use placeholder content and custom settings. You’ll need to import demo content (if available) or recreate layouts manually. Some themes offer a one-click demo import tool under Appearance > Import Demo Data.
Best Practices for Theme Changes
To keep your site stable and secure, follow these tips:
- Use a child theme: If you plan to modify theme files, always use a child theme. This protects your changes during updates. Learn more in our guide: What Is a Child Theme in WordPress?
- Update regularly: Keep your theme and plugins updated to fix bugs and security issues. See how to upgrade a WordPress theme safely.
- Monitor performance: Use tools like Query Monitor or New Relic to track site speed and errors after switching themes.
- Document changes: Keep notes on customizations so you can recreate them if needed.
Conclusion
Applying a downloaded theme in WordPress doesn’t have to be scary. With the right preparation and steps, you can switch themes smoothly and give your site a fresh new look. Remember to back up your site, test on staging if possible, and configure settings carefully after activation.
Whether you’re using a free theme from the WordPress directory or a premium design from a third-party marketplace, the process is the same: upload, activate, customize, and test. And if you run into trouble, the WordPress community and support forums are always there to help.
Now that you know how to apply a downloaded theme, you’re ready to explore new designs and take your website to the next level. Happy theming!