This guide teaches you how to create a landing page in WordPress using Elementor, from setup to launch. You’ll learn essential design tips, best practices, and troubleshooting tricks to build high-converting pages fast.
Key Takeaways
- Elementor simplifies landing page creation: Its drag-and-drop editor lets you design professional pages without coding.
- Start with a clear goal: Define your landing page’s purpose—lead capture, product launch, or event sign-up—before designing.
- Use templates to save time: Elementor offers pre-designed landing page templates you can customize in minutes.
- Optimize for mobile: Always preview and adjust your design on mobile devices to ensure a seamless user experience.
- Test and tweak: Use A/B testing and analytics to improve conversion rates after publishing.
- Ensure fast loading: Compress images and avoid heavy plugins to keep your landing page speedy.
- Connect with tools: Integrate email marketing services like Mailchimp or ConvertKit to capture leads effectively.
How to Create a Landing Page in WordPress Using Elementor
Creating a high-converting landing page doesn’t require advanced coding skills—thanks to tools like Elementor. Whether you’re promoting a product, collecting email sign-ups, or launching a new service, Elementor makes it easy to build beautiful, responsive landing pages directly in WordPress.
In this guide, you’ll learn how to create a landing page in WordPress using Elementor from scratch. We’ll walk through setup, design, optimization, and publishing—step by step. By the end, you’ll have a polished, functional landing page ready to drive results.
Step 1: Install and Activate Elementor
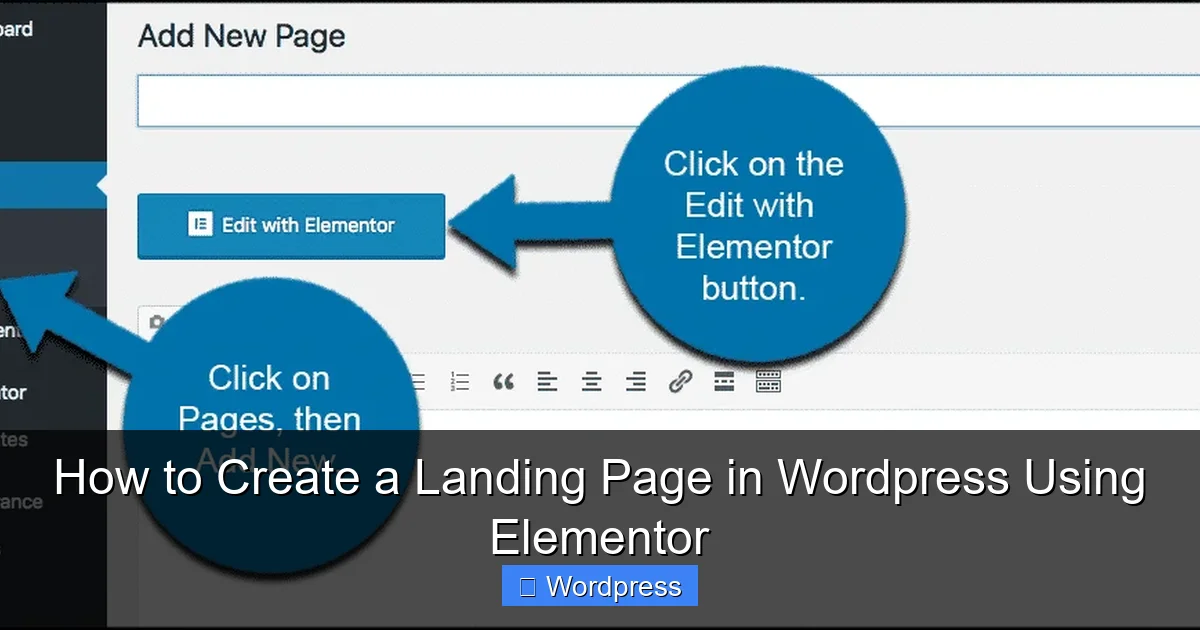
Visual guide about How to Create a Landing Page in WordPress Using Elementor
Image source: greengeeks.com
Before you can start designing, you need to install Elementor on your WordPress site.
Install the Plugin
Go to your WordPress dashboard. Navigate to Plugins > Add New. In the search bar, type “Elementor” and click Install Now on the official Elementor plugin. Once installed, click Activate.
Install Elementor Pro (Optional but Recommended)
While the free version of Elementor is powerful, Elementor Pro unlocks advanced features like theme builder, popup builder, and premium widgets—perfect for professional landing pages. You can purchase it from the Elementor website and upload it via Plugins > Add New > Upload Plugin.
Step 2: Create a New Page
Now it’s time to create your landing page.
Add a New Page
In your WordPress dashboard, go to Pages > Add New. Give your page a title—like “Free Ebook Download” or “Summer Sale Landing Page.”
Launch Elementor
Click the Edit with Elementor button. This opens the Elementor editor, where you’ll design your page using drag-and-drop tools.
Step 3: Choose a Template or Start from Scratch
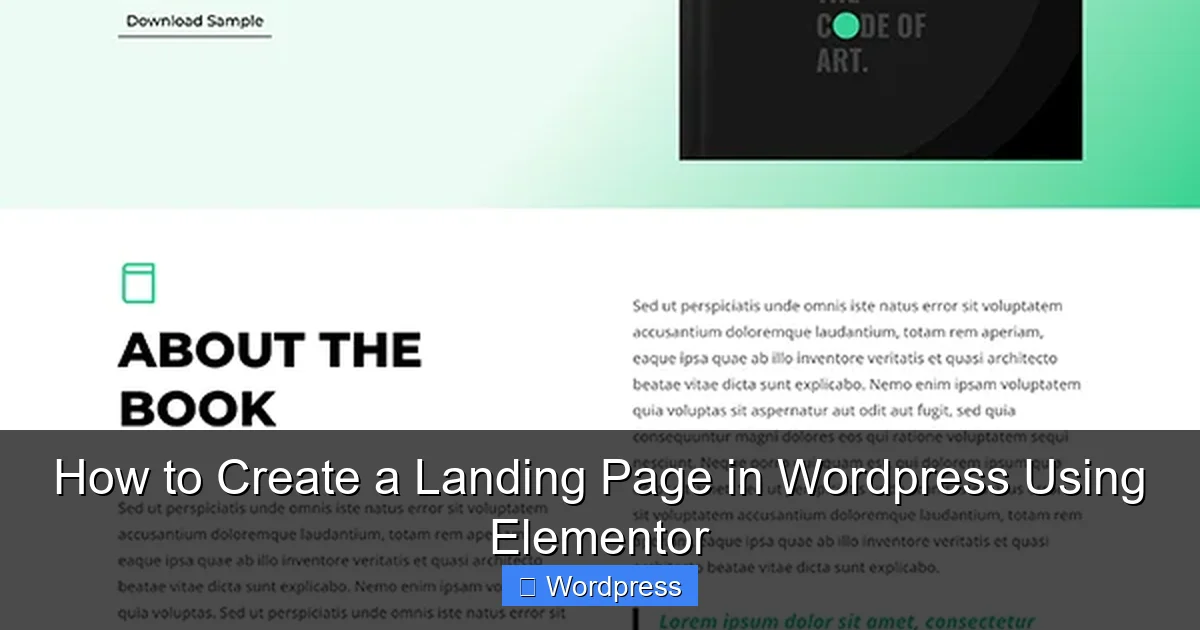
Visual guide about How to Create a Landing Page in WordPress Using Elementor
Image source: wppagebuilders.com
Elementor offers two main ways to begin: using a pre-designed template or building from a blank canvas.
Use a Landing Page Template
Click the Folder icon in the Elementor editor to open the template library. Search for “landing page” and browse options. Templates are categorized by niche—e.g., business, eCommerce, webinar.
Select a template that matches your goal. Click Insert to add it to your page. You can then customize every element—text, images, colors, and layout.
Start from Blank
If you prefer full control, click Blank Page to start with a clean slate. This is ideal if you have a specific design in mind or want to learn the basics of Elementor’s interface.
Step 4: Design Your Landing Page
Now comes the fun part—designing your page. A great landing page has a clear headline, compelling copy, strong visuals, and a prominent call-to-action (CTA).
Add Sections and Columns
In Elementor, content is organized into sections, which contain columns. Click the + icon to add a new section. Choose a layout—like one column for a hero section or two columns for text and an image.
Insert Key Elements
Use Elementor’s widgets to build your page:
- Heading: Add a bold, benefit-driven headline (e.g., “Get Your Free Guide to SEO Success”).
- Text Editor: Write persuasive copy that explains your offer and builds trust.
- Image: Upload a relevant photo, illustration, or product shot. Use high-quality, compressed images.
- Button: Create a CTA button (e.g., “Download Now” or “Sign Up Free”). Link it to a form or thank-you page.
- Form: Use Elementor’s Form widget to collect leads. Connect it to email services like Mailchimp or ConvertKit.
Style Your Elements
Click any element to open its styling options. Adjust fonts, colors, spacing, and alignment. Use consistent branding—your logo, brand colors, and tone of voice should match your website.
Use Backgrounds and Dividers
Enhance visual appeal with background images, gradients, or videos. Add section dividers (like waves or angles) to separate content blocks cleanly.
Step 5: Optimize for Mobile
Over 60% of web traffic comes from mobile devices, so your landing page must look great on all screens.
Switch to Mobile View
In the Elementor editor, click the Responsive Mode icon (phone/tablet) at the bottom left. Preview how your page looks on mobile and tablet.
Adjust Mobile Layouts
You may need to resize text, stack columns vertically, or hide certain elements on smaller screens. Use the Advanced tab in each widget to set mobile-specific settings.
Test Touch Targets
Ensure buttons and links are large enough to tap easily—at least 44×44 pixels.
Step 6: Set Up Lead Capture
A landing page’s main job is to convert visitors into leads or customers.
Add a Form
Drag the Form widget into your page. Add fields like Name and Email. Customize the submit button text and success message.
Connect to Email Marketing Tools
Go to the form’s Actions After Submit settings. Choose “Email” to send submissions to your inbox, or connect to services like Mailchimp, HubSpot, or ActiveCampaign using integrations or third-party plugins.
Create a Thank-You Page
Set up a simple “Thank You” page (e.g., “Thanks for downloading! Check your email.”). In the form settings, under Redirect, link the submit button to this page for a smooth user experience.
Step 7: Publish Your Landing Page
Once you’re happy with your design, it’s time to go live.
Preview and Test
Click the Preview button to see how your page looks to visitors. Test all links, forms, and buttons.
Publish
Click Publish in the bottom-left corner. Your landing page is now live!
Set as Homepage (Optional)
If this is your main landing page, go to Settings > Reading in WordPress and set this page as your static homepage.
Troubleshooting Common Issues
Even with a user-friendly tool like Elementor, you might run into issues. Here’s how to fix common problems:
Page Not Loading in Elementor
Clear your browser cache or try a different browser. If the issue persists, disable conflicting plugins temporarily.
Design Looks Different on Frontend
This is often due to theme conflicts. Switch to a default WordPress theme like Twenty Twenty-Four to test. For more on managing themes, see our guide on how to set a default theme in WordPress.
Forms Not Submitting
Check your email settings and spam folder. Ensure your email service integration is properly configured.
Slow Loading Speed
Optimize images, minimize plugins, and use a caching plugin. For advanced tweaks, learn the best way to add CSS in WordPress to clean up code.
Conclusion
Creating a landing page in WordPress using Elementor is fast, flexible, and effective—even if you’re not a developer. By following this guide, you’ve learned how to install Elementor, choose templates, design for conversion, optimize for mobile, and publish a high-performing page.
Remember, the best landing pages are focused, fast, and user-friendly. Test different headlines, CTAs, and layouts to see what works best for your audience.
Ready to take your WordPress skills further? Explore our guide on how to create a WordPress theme with Elementor to build custom designs from the ground up.
With Elementor, your next landing page is just a few clicks away.