This guide walks you through how to create a WordPress plugin from start to finish. You’ll learn the basics of plugin structure, hooks, and best practices to build functional, secure plugins.
Key Takeaways
- Understand plugin basics: Learn what a WordPress plugin is and how it extends site functionality.
- Set up your development environment: Use a local server like XAMPP or Local by Flywheel for safe testing.
- Create the main plugin file: Write the header comment and activate your plugin in the dashboard.
- Use hooks effectively: Leverage actions and filters to integrate your code with WordPress core.
- Add admin menus and settings: Build user-friendly interfaces for plugin configuration.
- Follow security best practices: Sanitize inputs, validate data, and use nonces to protect your plugin.
- Test and debug thoroughly: Ensure your plugin works across themes and doesn’t break site functionality.
Introduction: Why Create a WordPress Plugin?
WordPress powers over 40% of the web, and one of its biggest strengths is extensibility. While themes control appearance, plugins add functionality—from contact forms to SEO tools. If you’ve ever wanted to customize your site beyond what themes offer, learning how to create a WordPress plugin is the next logical step.
In this guide, you’ll learn how to build a simple but functional plugin from scratch. Whether you’re a developer or a curious site owner, this tutorial uses plain language and practical examples. By the end, you’ll have a working plugin and the confidence to expand it.
Step 1: Set Up Your Development Environment
Before writing code, you need a safe place to test your plugin. Never develop directly on a live site—mistakes can break your website or expose security risks.
Visual guide about How to Create a WordPress Plugin
Image source: cdn.deliciousbrains.com
Use a Local Server
Install a local server stack like XAMPP, MAMP, or Local by Flywheel. These tools let you run WordPress on your computer without affecting your live site.
Install WordPress Locally
Download the latest version of WordPress from wordpress.org and install it on your local server. This gives you a clean, controllable environment for testing.
Access the Plugins Folder
Once WordPress is running, navigate to your installation directory. Go to wp-content/plugins/. This is where all plugins live. You’ll create your new plugin folder here.
Step 2: Create the Plugin Folder and Main File
Every WordPress plugin needs a unique folder and a main PHP file. Let’s build a simple “Hello World” plugin to get started.
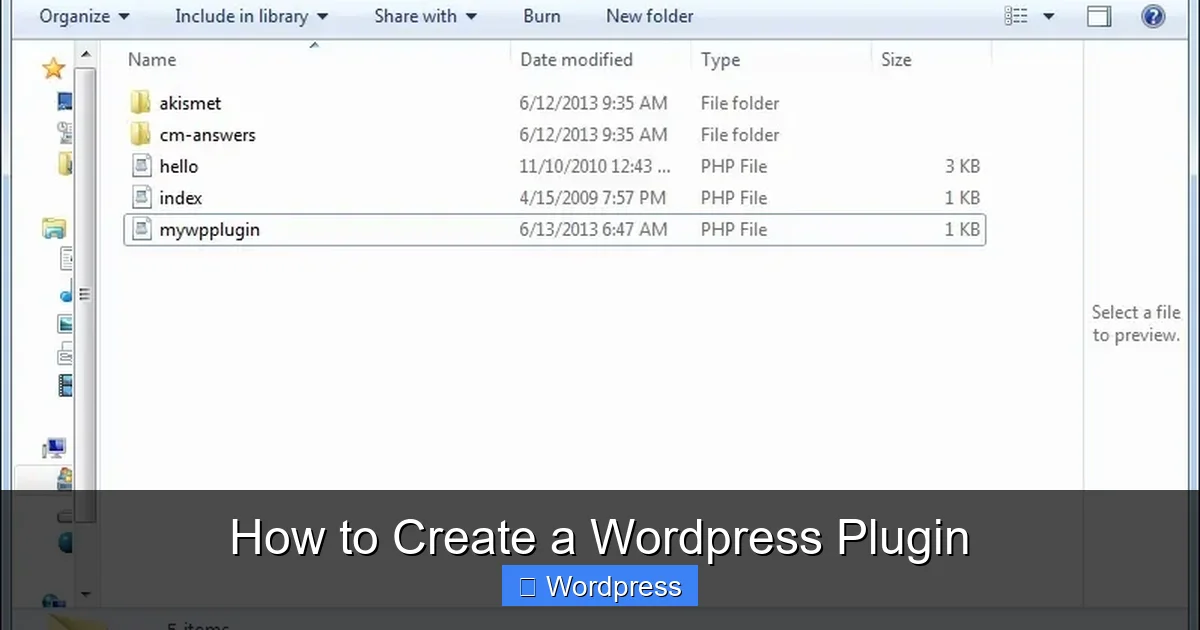
Visual guide about How to Create a WordPress Plugin
Image source: i0.wp.com
Create the Folder
In wp-content/plugins/, create a new folder named hello-world-plugin. Use lowercase and hyphens—this follows WordPress naming conventions.
Create the Main PHP File
Inside that folder, create a file called hello-world-plugin.php. This will be your plugin’s main file.
Add the Plugin Header
Open the file in a code editor and add this header comment at the top:
This metadata tells WordPress your plugin exists. Without it, the plugin won’t appear in the dashboard.
Step 3: Activate Your Plugin
Now let’s see your plugin in action.
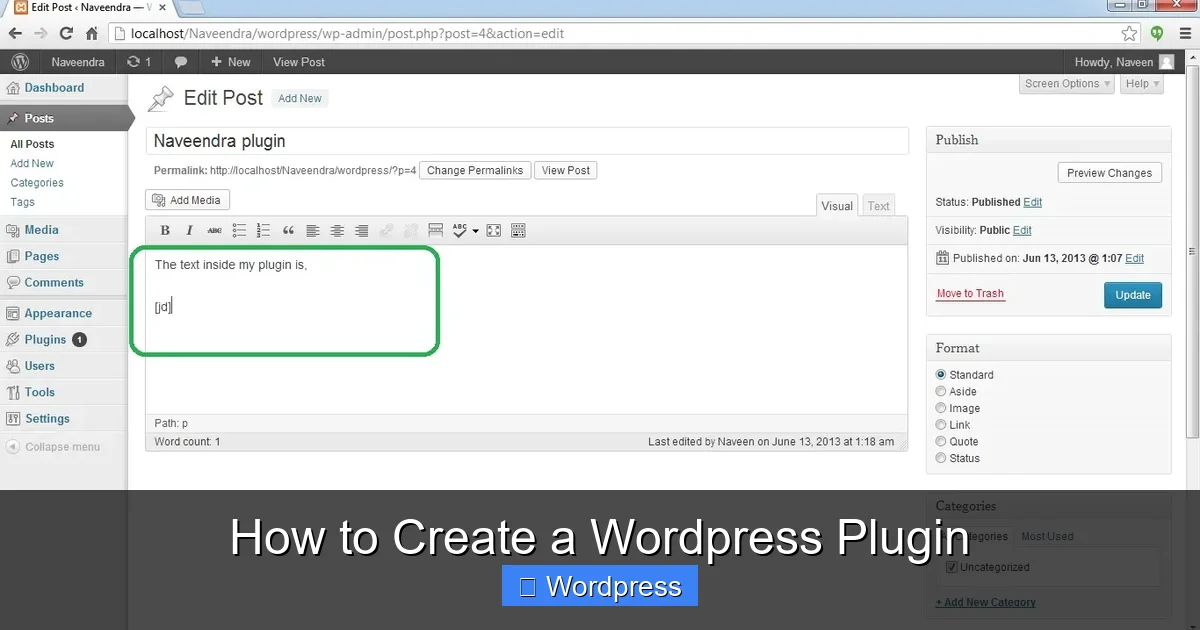
Visual guide about How to Create a WordPress Plugin
Image source: i0.wp.com
Go to the WordPress Dashboard
Log in to your local WordPress admin panel. Navigate to Plugins > Installed Plugins.
Find and Activate
You should see “Hello World Plugin” in the list. Click Activate. If you don’t see it, double-check the folder name and header comment.
Congratulations! You’ve just created and activated your first plugin.
Step 4: Add Functionality with Hooks
Plugins work by “hooking” into WordPress core functions. The two main types are actions and filters.
Use the ‘wp_footer’ Action
Let’s make your plugin display “Hello World” in the footer of every page. Add this code below the header:
function hw_display_message() {
echo 'Hello World from my custom plugin!
';
}
add_action('wp_footer', 'hw_display_message');
The add_action() function tells WordPress to run hw_display_message() when the wp_footer hook fires—usually just before the closing </body> tag.
Test It Out
Visit any page on your local site. Scroll to the bottom. You should see your message in the footer.
Step 5: Add an Admin Menu (Optional but Useful)
Most plugins include a settings page. Let’s add one so users can customize the message.
Create the Menu Page
Add this function to your plugin file:
function hw_add_admin_menu() {
    add_menu_page(
        'Hello World Settings',      // Page title
        'Hello World',               // Menu title
        'manage_options',            // Capability
        'hello-world-settings',      // Menu slug
        'hw_settings_page_html',     // Callback function
        'dashicons-smiley',          // Icon (optional)
        61                           // Position
    );
}
add_action('admin_menu', 'hw_add_admin_menu');
Build the Settings Page
Now create the HTML for the settings page:
function hw_settings_page_html() {
if (!current_user_can('manage_options')) {
return;
}
?>
Register a Setting
To save the message, register a setting:
function hw_register_settings() {
register_setting('hw_options_group', 'hw_custom_message');
add_settings_section('hw_main_section', 'Message Settings', null, 'hello-world-settings');
add_settings_field(
'hw_message_field',
'Custom Message',
'hw_message_field_html',
'hello-world-settings',
'hw_main_section'
);
}
add_action('admin_init', 'hw_register_settings');
function hw_message_field_html() {
$message = get_option('hw_custom_message', 'Hello World from my custom plugin!');
echo '';
}
Update the Display Function
Modify your original function to use the saved message:
function hw_display_message() {
$message = get_option('hw_custom_message', 'Hello World from my custom plugin!');
echo '' . esc_html($message) . '
';
}
Now go to Hello World in your admin menu, change the message, and save. The footer will update automatically.
Step 6: Follow Security Best Practices
Even simple plugins can introduce vulnerabilities. Always follow these rules:
Sanitize and Validate Input
When saving user input, use sanitize_text_field() or similar functions. In our example, register_setting() handles this automatically, but be cautious with custom forms.
Escape Output
Use esc_html(), esc_attr(), or wp_kses() when outputting data to prevent XSS attacks. We used esc_html() and esc_attr() above—good job!
Use Nonces for Forms
For forms that change data, add a nonce field:
wp_nonce_field('hw_save_settings', 'hw_nonce');
Then verify it on submission:
if (!isset($_POST['hw_nonce']) || !wp_verify_nonce($_POST['hw_nonce'], 'hw_save_settings')) {
return;
}
Troubleshooting Common Issues
Even experienced developers run into problems. Here’s how to fix the most common ones.
Plugin Not Showing in Dashboard
- Check the plugin folder name—no spaces or special characters.
- Ensure the main file has the correct header comment.
- Verify the file is in
wp-content/plugins/your-plugin-folder/.
White Screen of Death
- This usually means a PHP syntax error. Check your code for missing semicolons or brackets.
- Enable debugging by adding
define('WP_DEBUG', true);towp-config.php.
Changes Not Appearing
- Clear your browser cache.
- Deactivate and reactivate the plugin.
- Check if another plugin or your theme is conflicting.
Conclusion: You’ve Built Your First Plugin!
Creating a WordPress plugin might seem daunting at first, but as you’ve seen, it’s just about organizing code and using hooks wisely. You started with a simple "Hello World" message and added a settings page—imagine what you can build next!
From here, explore more hooks, learn about custom post types, or integrate with the REST API. The WordPress Codex and Developer Handbook are great resources. And remember: always test on a local site before going live.
If you're interested in theme customization, check out our guide on what is a child theme in WordPress to understand how themes and plugins work together. For those using page builders, how to create a WordPress theme with Elementor offers a visual approach to design. And if you ever need to reset your site during development, how to use WP Reset plugin can save you time.
Now go forth and build something amazing!