This guide walks you through how to create a sitemap in WordPress using Yoast SEO, one of the most popular SEO plugins. You’ll learn how to enable, customize, and troubleshoot your sitemap to help search engines crawl your site more effectively.
Key Takeaways
- Yoast SEO automatically generates sitemaps: Once activated, Yoast creates an XML sitemap without any extra setup.
- Access your sitemap via /sitemap_index.xml: Your sitemap URL is usually yoursite.com/sitemap_index.xml.
- Customize included content: You can exclude posts, pages, or custom post types from the sitemap.
- Submit your sitemap to Google Search Console: This helps Google discover and index your pages faster.
- Troubleshoot common issues: Fix 404 errors, plugin conflicts, or missing content in your sitemap.
- Use clean permalinks: Ensure your WordPress permalink structure is set to “Post name” for best results.
- Keep Yoast SEO updated: Regular updates ensure compatibility and access to the latest sitemap features.
Introduction: Why You Need a Sitemap in WordPress
If you’re running a WordPress website, you’ve probably heard about sitemaps. But what exactly are they, and why do you need one? A sitemap is a file that lists all the important pages on your website. It acts like a map for search engines like Google and Bing, helping them find and index your content more efficiently.
One of the easiest ways to create a sitemap in WordPress is by using the Yoast SEO plugin. This powerful tool not only helps with on-page SEO but also automatically generates a clean, structured XML sitemap. In this guide, you’ll learn exactly how to create a sitemap in WordPress using Yoast SEO, customize it to fit your needs, and ensure it’s working properly.
Whether you’re a beginner or have some experience with WordPress, this step-by-step tutorial will make the process simple and stress-free.
Step 1: Install and Activate Yoast SEO
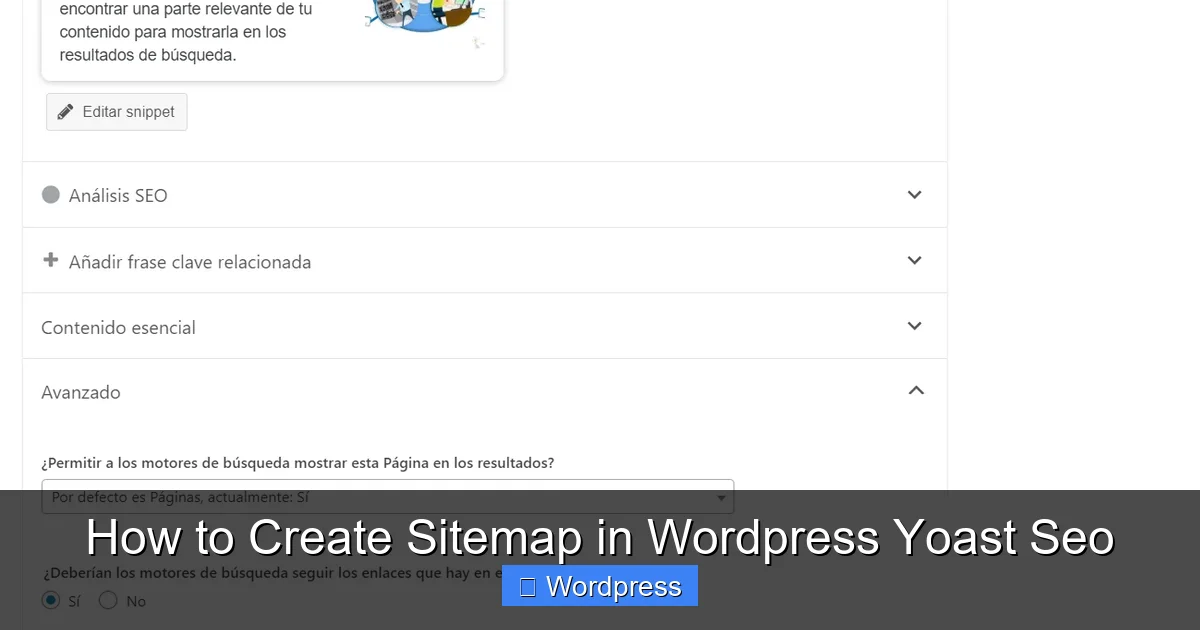
Visual guide about How to Create Sitemap in WordPress Yoast Seo
Image source: smythsys.es
Before you can create a sitemap, you need to have the Yoast SEO plugin installed and activated on your WordPress site.
How to Install Yoast SEO
- Log in to your WordPress dashboard.
- Go to Plugins > Add New.
- In the search bar, type “Yoast SEO”.
- Click Install Now on the “Yoast SEO” plugin by Team Yoast.
- Once installed, click Activate.
After activation, you’ll see a new “SEO” menu in your WordPress sidebar. This is where you’ll manage all your SEO settings, including your sitemap.
Verify Plugin Activation
To confirm Yoast SEO is working, go to SEO > General. You should see a welcome message and setup options. If you don’t see this, try reactivating the plugin or check for conflicts with other plugins.
Step 2: Enable the Sitemap Feature
The great news is that Yoast SEO enables sitemaps by default. But it’s always good to double-check that the feature is turned on.
Check Sitemap Status
- Go to SEO > General.
- Click on the Features tab.
- Look for the “XML sitemaps” option.
- Make sure the toggle is switched to On.
If it’s already on, great! If not, simply click the toggle to enable it. Yoast will immediately start generating your sitemap.
View Your Sitemap
Once enabled, your sitemap is live. To view it, go to:
yoursite.com/sitemap_index.xml
Replace “yoursite.com” with your actual domain name.
For example, if your site is exampleblog.com, your sitemap URL will be:
https://exampleblog.com/sitemap_index.xml
Open this URL in your browser. You should see a structured list of your website’s pages, posts, categories, and other content — all neatly organized for search engines.
Step 3: Customize Your Sitemap
While Yoast SEO does a great job automatically including your content, you may want to exclude certain pages or post types. Here’s how to customize your sitemap.
Exclude Specific Posts or Pages
- Go to the post or page you want to exclude.
- Scroll down to the Yoast SEO meta box.
- Click on the Advanced tab.
- Check the box that says “Noindex” or “Exclude from sitemap”.
- Update or publish the post.
This tells Yoast not to include that page in the sitemap. Use this for private pages, thank-you pages, or content you don’t want indexed.
Exclude Custom Post Types or Taxonomies
If you’re using custom post types (like portfolios or products), you can control whether they appear in the sitemap.
- Go to SEO > Search Appearance.
- Click on the Content Types tab.
- Find the custom post type you want to adjust.
- Toggle “Show in search results” to Off if you don’t want it in the sitemap.
You can also do this for taxonomies (like categories or tags) under the Taxonomies tab.
Set Image Inclusion Preferences
Yoast SEO can include images in your sitemap, which helps Google index your visuals.
- Go to SEO > Search Appearance.
- Click the Content Types tab.
- Scroll down to the “Images in sitemap” section.
- Choose whether to include images from featured images, content, or both.
Including images can improve your visibility in Google Images, so it’s usually a good idea to keep this enabled.
Step 4: Submit Your Sitemap to Google Search Console
Creating a sitemap is only half the battle. To get the most benefit, you need to submit it to Google Search Console (formerly Webmaster Tools).
How to Submit Your Sitemap
- Go to Google Search Console and sign in.
- Select your website property.
- In the left menu, click Sitemaps.
- In the “Add a new sitemap” field, type:
sitemap_index.xml - Click Submit.
Google will now start crawling your sitemap and indexing your pages. You can monitor the progress and see how many pages have been indexed under the “Sitemaps” report.
Step 5: Troubleshooting Common Sitemap Issues
Sometimes, your sitemap might not work as expected. Here are some common problems and how to fix them.
Sitemap Returns a 404 Error
If you get a 404 error when visiting your sitemap URL, it usually means the permalink structure is broken.
- Go to Settings > Permalinks in WordPress.
- Make sure the structure is set to “Post name” (recommended).
- Click Save Changes even if you didn’t make any changes.
This refreshes your permalink rules and often fixes the issue.
Sitemap Is Missing Pages
If certain pages aren’t appearing in your sitemap:
- Check if the page is set to “Noindex” in Yoast SEO.
- Ensure the post type is enabled in SEO > Search Appearance.
- Verify the page is published, not draft or private.
Also, make sure no other SEO plugin is conflicting with Yoast. If you’re using Rank Math or All in One SEO, deactivate them to avoid conflicts.
Sitemap Is Too Large
Large websites may have sitemaps with thousands of URLs. Yoast automatically splits these into multiple files (e.g., sitemap-posts-1.xml, sitemap-posts-2.xml). This is normal and helps search engines process your content efficiently.
If your sitemap is extremely large, consider using a WordPress theme optimized for SEO and speed to improve performance.
Best Practices for Sitemap Maintenance
To keep your sitemap effective, follow these tips:
- Update Yoast SEO regularly: New versions often include sitemap improvements and bug fixes.
- Monitor Google Search Console: Check for indexing errors or warnings related to your sitemap.
- Avoid duplicate content: Use canonical tags (Yoast handles this automatically) to prevent duplicate pages from appearing in the sitemap.
- Use a child theme: If you’re customizing your theme, use a child theme in WordPress to avoid losing changes during updates.
- Test after major changes: After updating plugins or themes, always check your sitemap to ensure it’s still working.
Conclusion: Your Sitemap Is Ready!
Congratulations! You’ve successfully learned how to create a sitemap in WordPress using Yoast SEO. From installation to customization and troubleshooting, you now have a fully functional XML sitemap that helps search engines discover and index your content.
Remember, a sitemap is a small but powerful tool in your SEO toolkit. It doesn’t directly boost rankings, but it ensures your pages are found and crawled efficiently. Combined with quality content and good on-page SEO, your sitemap will help your website grow in visibility and traffic.
Keep your Yoast SEO plugin updated, monitor your sitemap regularly, and don’t forget to submit it to Google Search Console. With these steps, you’re well on your way to better search engine performance.