Editing your WordPress navigation bar is easier than you think. This guide walks you through multiple methods—using the built-in Customizer, block themes, and plugins—so you can customize menus, add links, and improve site navigation with confidence.
Key Takeaways
- Use the WordPress Customizer: The easiest way to edit your navigation bar for most themes, with live preview and drag-and-drop menu management.
- Block themes require the Site Editor: If you’re using a block-based theme like Twenty Twenty-Four, edit menus via Appearance > Editor.
- Menus are reusable and assignable: Create multiple menus and assign them to different locations (header, footer, mobile).
- Custom links and pages can be added: Easily include external URLs, blog posts, or custom pages in your navigation.
- Plugins extend functionality: Use plugins like Max Mega Menu for advanced dropdowns, animations, and mobile responsiveness.
- Always test on mobile: Ensure your edited navigation looks good and works well on all devices.
- Backup before major changes: Especially when editing theme files or using custom CSS, always back up your site first.
How to Edit Navigation Bar in WordPress
Your website’s navigation bar is one of the most important elements of user experience. It helps visitors find what they’re looking for quickly and keeps them engaged. Whether you’re building a blog, business site, or online store, knowing how to edit navigation bar in WordPress is a must-have skill.
In this guide, we’ll walk you through several proven methods to customize your WordPress navigation menu—no coding required. You’ll learn how to add, remove, and rearrange menu items, assign menus to different locations, and even enhance your nav bar with plugins. By the end, you’ll be able to create a clean, functional, and visually appealing navigation bar that fits your site perfectly.
Method 1: Using the WordPress Customizer
The WordPress Customizer is the most user-friendly way to edit your navigation bar. It works with most traditional themes and gives you a real-time preview of changes.
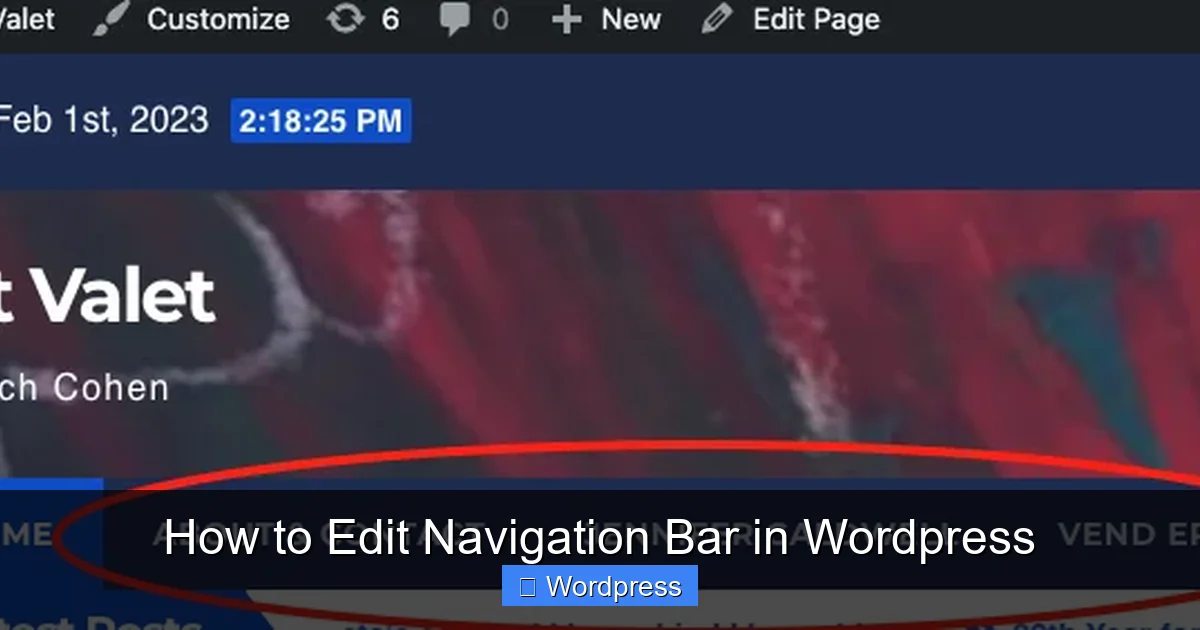
Visual guide about How to Edit Navigation Bar in WordPress
Image source: artvalet.com
Step 1: Access the Customizer
Go to your WordPress dashboard. Navigate to Appearance > Customize. This opens the Customizer interface, where you can tweak various site elements.
Step 2: Open the Menus Section
In the left sidebar, click on Menus. If you haven’t created a menu yet, you’ll see an option to create one. If you already have a menu, select it from the dropdown.
Step 3: Add or Remove Menu Items
To add a new item, click Add Items. You can choose from:
- Existing pages (like Home, About, Contact)
- Posts or blog categories
- Custom links (for external URLs)
- Custom post types (if your theme supports them)
Simply check the items you want and click Add to Menu. To remove an item, click the small arrow next to it and select Remove.
Step 4: Reorder Menu Items
Drag and drop menu items to reorder them. This changes the sequence in which they appear in your navigation bar. For dropdown menus, drag an item slightly to the right under a parent item.
Step 5: Assign the Menu to a Location
At the bottom of the Menus panel, you’ll see Menu Locations. Assign your menu to a theme location like “Primary,” “Header,” or “Footer.” Not all themes support multiple locations, so check your theme’s documentation if you’re unsure.
Step 6: Publish Changes
Once you’re happy with your menu, click Publish at the top of the Customizer. Your changes will go live immediately.
Method 2: Using the Site Editor (Block Themes)
If you’re using a modern block theme like Twenty Twenty-Four or one built with Full Site Editing (FSE), the Customizer may not be available. Instead, use the Site Editor.
Step 1: Open the Site Editor
Go to Appearance > Editor in your dashboard. This opens the block-based editor for your entire site.
Step 2: Edit the Header Template
In the editor, look for the Header template. Click on it to edit. Most block themes include a Navigation block in the header by default.
Step 3: Modify the Navigation Block
Click on the Navigation block. In the right sidebar, you’ll see options to:
- Add or remove menu items
- Change the menu source (select an existing menu or create a new one)
- Adjust alignment (left, center, right)
- Enable mobile menu toggle
You can also style the navigation using the block settings—change colors, font size, spacing, and more.
Step 4: Save and Update
When finished, click Update in the top-right corner. Your navigation changes will be saved and applied across all pages.
Method 3: Using a Plugin for Advanced Menus
For more control—like mega menus, icons, or animations—consider using a plugin. Max Mega Menu is a popular free option that works with most themes.
Step 1: Install and Activate the Plugin
Go to Plugins > Add New. Search for “Max Mega Menu,” install it, and activate.
Step 2: Configure Menu Locations
After activation, go to Appearance > Mega Menu. Here, you can enable mega menu functionality for specific theme locations (e.g., Primary Menu).
Step 3: Customize Your Menu
The plugin integrates with the WordPress menu system. Go back to Appearance > Menus, edit your menu, and you’ll now see new options like:
- Adding widgets (search bar, image, text)
- Creating multi-column dropdowns
- Adding icons or descriptions to menu items
These enhancements make your navigation more interactive and user-friendly.
Troubleshooting Common Issues
Even with simple tools, things can go wrong. Here are quick fixes for common problems:
Menu Not Appearing?
Check if the menu is assigned to a theme location. Go to Appearance > Menus, select your menu, and ensure it’s assigned under “Menu Locations.” Also, confirm your theme supports menus—most do, but some minimal themes may not.
Changes Not Showing?
Clear your browser cache and any caching plugins (like WP Super Cache or W3 Total Cache). Sometimes changes are delayed due to cached versions of your site.
Mobile Menu Not Working?
Ensure your theme supports responsive menus. If using a block theme, check the Navigation block settings for mobile toggle options. For older themes, consider a plugin like WP Mobile Menu to improve mobile navigation.
Broken Links in Menu?
If a page was deleted or renamed, the menu link may break. Edit the menu and update the link or remove the item. You can also use the guide on fixing broken links in WordPress to scan and repair all broken URLs site-wide.
Pro Tips for Better Navigation
- Keep it simple: Avoid too many menu items. 5–7 is ideal for readability.
- Use clear labels: “Services” is better than “What We Do.”
- Highlight important pages: Use a button-style link for “Contact” or “Get Started.”
- Test on real devices: Always check how your menu looks on phones and tablets.
- Use a child theme for custom CSS: If you’re adding custom styles, use a child theme in WordPress to avoid losing changes during updates.
Conclusion
Editing your WordPress navigation bar doesn’t have to be complicated. Whether you’re using the Customizer, Site Editor, or a plugin, you now have the tools to create a navigation menu that’s both functional and attractive. Remember to keep your menu organized, test it across devices, and update it as your site grows.
With a well-designed navigation bar, you’ll improve user experience, boost engagement, and help visitors find what they need faster. So go ahead—customize that menu and make your site shine!