This guide walks you through the complete process of installing a WordPress theme from Envato, from downloading your purchase to activating it on your site. Whether you’re using ThemeForest or another Envato marketplace, you’ll get clear, beginner-friendly instructions.
Key Takeaways
- Download the correct file: Always choose the “Installable WordPress file” from your Envato download page to avoid errors.
- Use the WordPress dashboard: The easiest method is uploading via Appearance > Themes > Add New > Upload.
- Check theme requirements: Ensure your WordPress version, PHP, and plugins meet the theme’s minimum requirements.
- Install required plugins: Most premium themes need companion plugins for full functionality—don’t skip this step.
- Backup before installing: Always create a full site backup to prevent data loss during theme changes.
- Troubleshoot common issues: White screen, missing styles, or demo content errors often stem from incorrect file uploads or server limits.
- Keep themes updated: Regularly update your Envato theme through the dashboard or Envato Market plugin for security and performance.
Introduction
So you’ve just bought a sleek new WordPress theme from Envato—maybe from ThemeForest—and you’re ready to give your website a fresh look. Great choice! But now comes the slightly tricky part: actually getting that theme installed and running on your WordPress site. Don’t worry—this guide will walk you through every step, from downloading your purchase to activating the theme and setting it up properly.
Whether you’re a beginner or have some WordPress experience, this tutorial covers everything you need to know to install an Envato WordPress theme safely and efficiently. We’ll also share practical tips and troubleshoot common problems so you can avoid frustration and get your site live faster.
Step 1: Purchase and Download Your Theme from Envato
Visual guide about How to Install WordPress Theme from Envato
Image source: envato.com
Before you can install anything, you need to have the right file. Here’s how to get it:
Log in to Your Envato Account
Go to [Envato Market](https://themeforest.net/) and sign in with your credentials. Navigate to “Downloads” in your account menu.
Locate Your Purchased Theme
Find the theme you bought. Click on it to open the download page.
Download the Correct File
You’ll see several download options. Look for the one labeled **“Installable WordPress file only”** (it usually ends in .zip). Avoid downloading the entire package (which includes documentation, PSD files, etc.)—that won’t work for direct installation.
> 💡 Pro Tip: Save this .zip file to an easy-to-find folder on your computer, like your Desktop or Downloads.
Step 2: Log in to Your WordPress Dashboard
Visual guide about How to Install WordPress Theme from Envato
Image source: envato.com
Open your website’s admin area by going to `yoursite.com/wp-admin` and logging in with your username and password.
Once inside, you’ll be in the WordPress dashboard—the control center for your site.
Step 3: Upload the Theme via WordPress
This is the most common and beginner-friendly method.
Go to Appearance > Themes
In the left-hand menu, hover over “Appearance” and click “Themes.”
Click “Add New”
At the top of the page, click the blue “Add New” button.
Upload the Theme ZIP File
Click the “Upload Theme” button at the top. Then click “Choose File,” select the .zip file you downloaded from Envato, and hit “Install Now.”
WordPress will upload and extract the theme automatically. This may take 10–30 seconds depending on your internet speed and server performance.
Activate the Theme
Once installed, you’ll see a success message with an “Activate” button. Click it to make your new theme live.
> ⚠️ Note: If you see an error like “The package could not be installed,” double-check that you uploaded the correct .zip file (the installable one, not the full package).
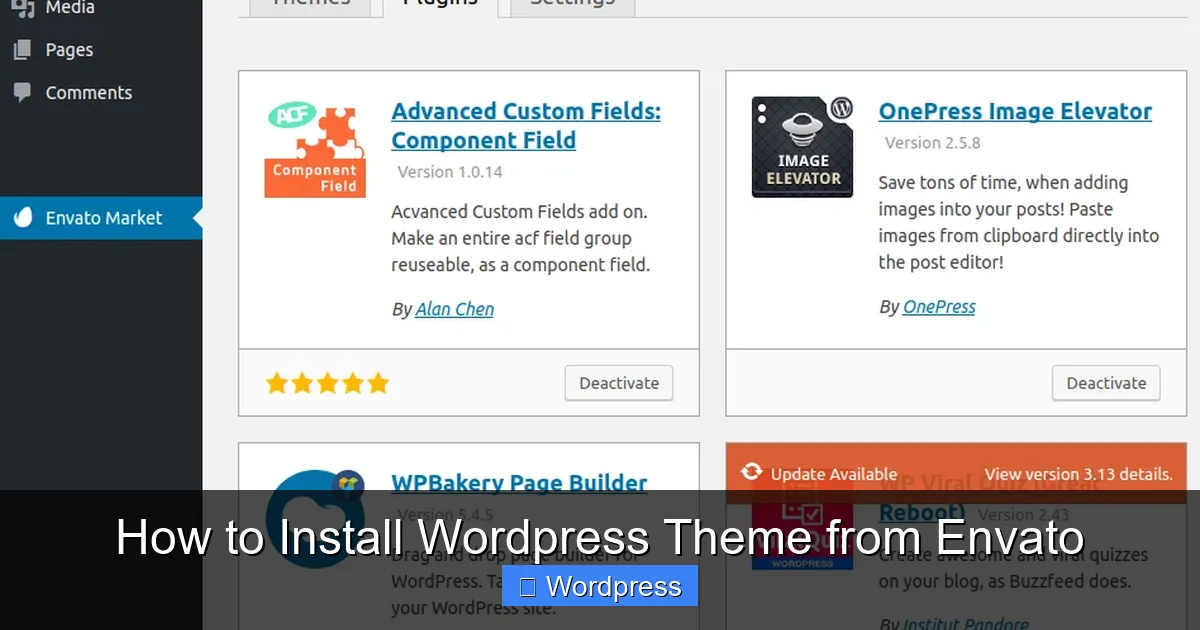
Step 4: Install Required Plugins (If Any)
Many premium Envato themes rely on specific plugins to work properly—like page builders (Elementor, WPBakery), sliders, or custom widgets.
Check for Plugin Notices
After activating your theme, WordPress may show a notice saying “Required plugins are missing.” Click “Begin installing plugins” or go to **Appearance > Install Plugins**.
Install and Activate All Required Plugins
Select all recommended plugins and click “Install,” then “Activate.” Some themes also suggest optional plugins—install those too if you plan to use their features.
> 🔗 For more details on managing themes after installation, check out our guide on how to apply a WordPress theme.
Step 5: Import Demo Content (Optional but Recommended)
Most Envato themes come with demo content that helps you replicate the look of the live preview. This saves hours of setup time.
Look for a Demo Importer
Go to **Appearance > Import Demo Data** or **Theme Options > Demo Import** (the exact location varies by theme).
Choose a Demo Layout
Select the demo style that matches your vision (e.g., “Business,” “Portfolio,” “Blog”).
Start the Import
Click “Import.” This may take a few minutes. Do not close your browser during this process.
> 💡 Important: Importing demo content will add sample pages, posts, menus, and widgets. It won’t overwrite your existing content unless you explicitly choose to replace it.
Step 6: Customize Your New Theme
Now that your theme is active and demo content is loaded, it’s time to make it your own.
Use the WordPress Customizer
Go to **Appearance > Customize**. Here you can change colors, fonts, logos, header layouts, and more—all in real time.
Set Up Menus and Widgets
Assign your navigation menu under **Appearance > Menus** and add widgets to sidebars or footers under **Appearance > Widgets**.
Configure Homepage Settings
If your theme uses a static homepage, go to **Settings > Reading** and select “A static page,” then choose your desired homepage.
> 🔗 Need help updating your theme later? Read our guide on how to update a theme on WordPress.
Troubleshooting Common Issues
Even with careful steps, things can go wrong. Here’s how to fix the most common problems:
“The package could not be installed. No style.css was found.”
This means you uploaded the wrong file. Re-download the “Installable WordPress file only” from Envato and try again.
White Screen After Activation (“White Screen of Death”)
This usually indicates a PHP memory limit or plugin conflict. Increase your PHP memory limit in `wp-config.php` or deactivate all plugins via FTP, then reactivate them one by one.
Missing Styles or Broken Layout
Often caused by incomplete demo import or caching. Clear your browser and site cache, then re-import demo content.
Theme Options Not Appearing
Make sure all required plugins are installed and activated. Some themes hide settings until dependencies are met.
> 🔗 If you ever need to revert changes, learn how to deactivate a theme in WordPress safely.
Best Practices After Installation
To keep your site secure and performant:
– **Backup regularly:** Use a plugin like UpdraftPlus before making major changes.
– **Keep everything updated:** Use the Envato Market plugin to receive theme updates directly in your dashboard.
– **Use a child theme:** If you plan to modify code, always use a child theme to preserve changes during updates. Learn more about what a child theme is in WordPress.
– **Optimize for speed:** Pair your new theme with caching and image optimization plugins.
Conclusion
Installing a WordPress theme from Envato doesn’t have to be intimidating. By following these steps—downloading the right file, uploading via the dashboard, activating required plugins, and importing demo content—you can transform your site in under 30 minutes. Remember to backup first, double-check file types, and keep your theme updated for the best experience.
With your new Envato theme live, you’re ready to customize, grow, and impress your visitors. Happy designing!