This guide shows you how to add custom CSS to your WordPress theme without breaking your site. You’ll learn multiple safe methods, including using the WordPress Customizer, plugins, and child themes, so you can style your site exactly how you want.
Key Takeaways
- Use the WordPress Customizer: The safest and easiest way to add custom CSS without touching theme files.
- Install a CSS plugin: Plugins like Simple Custom CSS make adding and managing styles simple, even for beginners.
- Create a child theme: For advanced users, editing a child theme’s style.css ensures changes survive theme updates.
- Always back up your site: Before making any changes, create a backup to avoid losing data if something goes wrong.
- Test on a staging site first: Try your CSS changes on a copy of your site before applying them live.
- Use specific selectors: Target elements precisely to avoid unintended style changes across your site.
- Keep CSS clean and organized: Comment your code and group related styles for easier maintenance.
How to Add Custom CSS to WordPress Theme
Adding custom CSS to your WordPress theme lets you personalize your site’s look and feel beyond what the theme options allow. Whether you want to change colors, adjust spacing, or tweak fonts, custom CSS gives you full control. The good news? You don’t need to be a coding expert to do it.
In this guide, you’ll learn how to add custom CSS to WordPress theme using three safe and effective methods. We’ll cover the built-in WordPress Customizer, popular plugins, and the child theme approach. Each method has its pros and cons, so you can pick the one that fits your skill level and needs.
By the end, you’ll be able to confidently style your site, fix design issues, and make your WordPress website truly unique—without risking a broken layout.
Method 1: Use the WordPress Customizer
The WordPress Customizer is the easiest and safest way to add custom CSS. It’s built into WordPress, requires no plugins, and lets you see changes in real time.
Step 1: Access the Customizer
Log in to your WordPress dashboard. Go to Appearance > Customize. This opens the live preview of your site with editing tools on the left.
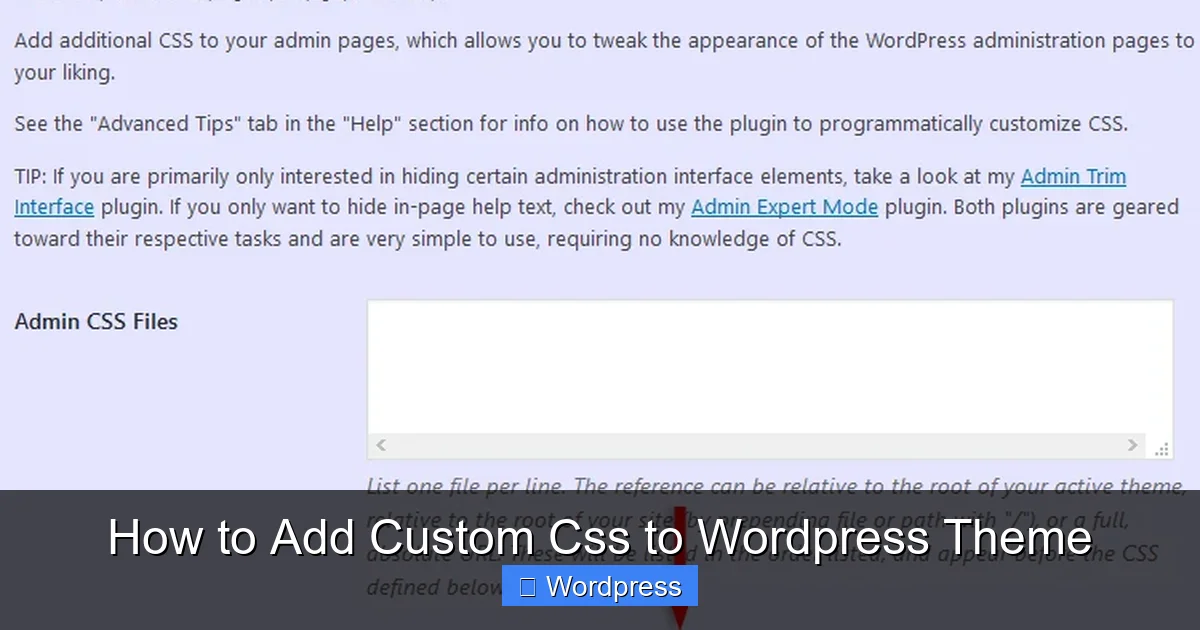
Step 2: Find the Additional CSS Section
In the Customizer menu, scroll down and click on Additional CSS. This is where you’ll add your custom code.
Step 3: Add Your CSS Code
Type or paste your CSS into the box. For example, to change the background color of your site, you could use:
body {
  background-color: #f0f8ff;
}
As you type, you’ll see the change happen instantly on the right side of the screen. This live preview helps you fine-tune your styles without guessing.
Step 4: Publish Your Changes
When you’re happy with the result, click the Publish button at the top. Your CSS is now live on your site.
Tip: Always use specific CSS selectors. For example, instead of styling all paragraphs, target a specific class like .entry-content p to avoid affecting other parts of your site.
Method 2: Use a Custom CSS Plugin
If you prefer a dedicated space for your CSS or want more control, a plugin is a great choice. One of the most popular is Simple Custom CSS and JS, but there are others like SiteOrigin CSS and WP Add Custom CSS.
Step 1: Install the Plugin
Go to Plugins > Add New in your dashboard. Search for “Simple Custom CSS and JS”. Click Install Now, then Activate.
Step 2: Add Your CSS
After activation, go to Settings > Custom CSS & JS. Click “Add Custom CSS” and give your code a name, like “Homepage Styling”.
Paste your CSS into the editor. For example:
h1 {
  color: #2c3e50;
  font-family: 'Georgia', serif;
}
Click Save when done.
Step 3: Check Your Site
Visit your site to see the changes. If something looks off, go back and adjust the code. Plugins often include syntax highlighting and error checking, making it easier to spot mistakes.
Why use a plugin? It keeps your CSS separate from theme files, so updates won’t erase your work. It’s also great if you manage multiple sites and want consistent styling.
Method 3: Edit a Child Theme’s Style.css File
For advanced users, editing a child theme is the most powerful method. It gives you full access to all CSS and ensures your changes survive theme updates.
Note: Always use a child theme. Editing the parent theme directly is risky—updates will overwrite your changes.
Step 1: Create or Activate a Child Theme
If you don’t have one, create a child theme. You can do this manually or use a plugin like Child Theme Configurator. For a detailed guide, check out What Is a Child Theme in WordPress.
Visual guide about How to Add Custom Css to WordPress Theme
Image source: themeskills.com
Once created, go to Appearance > Themes and activate your child theme.
Step 2: Access the Child Theme Files
Go to Appearance > Theme File Editor. In the right sidebar, select your child theme from the dropdown menu.
Look for the style.css file and click to open it.
Step 3: Add Your Custom CSS
At the bottom of the file, add your custom styles. For example:
/* Custom button styling */
.button-custom {
  background: #3498db;
  color: white;
  padding: 12px 24px;
  border-radius: 5px;
  text-decoration: none;
}
Click Update File to save.
Step 4: Test and Refine
Visit your site to see the changes. If something doesn’t work, double-check your selectors and syntax. Use your browser’s developer tools (right-click > Inspect) to debug.
Pro Tip: Add comments to your CSS to remember what each block does. This makes future edits much easier.
Best Practices for Adding Custom CSS
No matter which method you use, follow these best practices to keep your site safe and your code clean.
1. Always Back Up Your Site
Before making any changes, back up your site. Use a plugin like UpdraftPlus or your hosting provider’s backup tool. This way, you can restore your site if something goes wrong.
2. Use a Staging Site
If possible, test your CSS on a staging site first. Many hosts offer one-click staging. This lets you experiment without affecting your live site.
3. Write Specific and Efficient CSS
Avoid overly broad selectors. Instead of p { color: red; }, use .blog-post p { color: red; } to target only blog paragraphs.
Also, avoid duplicating styles. Group similar rules and use classes wisely.
4. Validate Your Code
Use online tools like the W3C CSS Validator to check for errors. Even small typos can break your layout.
5. Keep It Organized
Group related styles together. For example:
/* Header Styles */
.site-header { ... }
.site-title { ... }

/* Button Styles */
.button { ... }
.button-primary { ... }
This makes your code easier to read and maintain.
Troubleshooting Common Issues
Sometimes, your CSS might not work as expected. Here’s how to fix common problems.
CSS Not Applying?
- Check specificity: Another rule might be overriding yours. Use more specific selectors or add
!important(use sparingly). - Clear your cache: If you use a caching plugin or CDN, clear it to see changes.
- Check for typos: A missing semicolon or curly brace can break your entire stylesheet.
Site Looks Broken After Update?
- Restore from backup: If you edited the parent theme, your changes may have been lost. Restore your backup and use a child theme next time.
- Reapply CSS: If using the Customizer or a plugin, re-add your code.
Mobile Layout Issues?
- Use media queries: Add responsive styles to ensure your design works on all devices.
@media (max-width: 768px) {
  .site-header {
    padding: 10px;
  }
}
Conclusion
Adding custom CSS to your WordPress theme is a powerful way to personalize your site and fix design issues. Whether you use the built-in Customizer, a plugin, or a child theme, you now have the tools to make your site look exactly how you want.
The WordPress Customizer is perfect for beginners, while plugins offer more flexibility. For full control, a child theme is the best long-term solution. Just remember to back up your site, test changes, and keep your code clean.
With these methods, you can confidently enhance your site’s design without fear of breaking it. Start small, experiment, and watch your WordPress site transform.
For more tips on managing your theme, check out our guide on How to Update Theme on WordPress to keep your site secure and up to date.