Adding demo content to your WordPress theme helps you preview layouts, test features, and speed up site setup. This guide walks you through multiple methods, including using built-in theme importers, plugins, and manual uploads, so you can choose the best approach for your needs.
Key Takeaways
- Demo content helps visualize your site: It shows how your theme looks with real-like pages, posts, menus, and widgets before adding your own content.
- Most premium themes include demo import tools: Check your theme documentation for a one-click import option in the WordPress Customizer or Theme Options panel.
- Use trusted plugins for flexibility: Tools like WP Reset or One Click Demo Import let you safely add and remove demo content without breaking your site.
- Always back up your site first: Importing demo content can overwrite existing data, so create a full backup using a plugin like UpdraftPlus.
- Clean up after testing: Remove unwanted demo content using built-in tools or plugins to keep your site fast and organized.
- Child themes protect your changes: If you customize demo content, use a child theme to preserve edits during theme updates.
- Troubleshooting is common: Issues like missing images or broken layouts usually stem from server limits or plugin conflicts—check file permissions and memory limits.
Why Add Demo Content to Your WordPress Theme?
When you install a new WordPress theme—especially a premium one—you’ll often see stunning layouts, custom widgets, and beautifully designed pages in the theme’s live preview. But once activated, your site might look bare or incomplete. That’s where demo content comes in.
Demo content includes sample pages, posts, menus, widgets, sliders, and even theme settings that match the original preview. It gives you a realistic preview of how your site will look once fully set up. More importantly, it saves time—you don’t have to build every page from scratch. Instead, you can tweak the demo content to fit your brand.
Whether you’re a beginner or an experienced developer, learning how to add demo content to your WordPress theme is a valuable skill. In this guide, we’ll cover the most reliable methods, from one-click imports to manual uploads, and share tips to avoid common pitfalls.
Method 1: Use the Theme’s Built-In Demo Importer
Many modern WordPress themes—especially those from reputable marketplaces like ThemeForest or Elegant Themes—come with a built-in demo import feature. This is usually the easiest and safest way to get started.
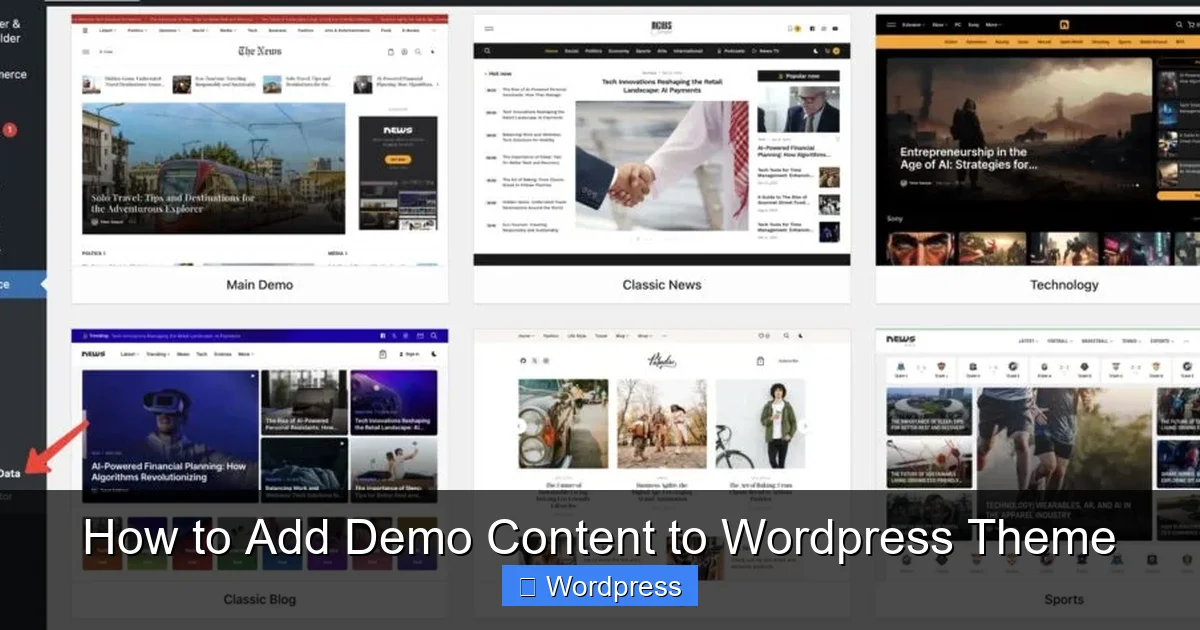
Visual guide about How to Add Demo Content to WordPress Theme
Image source: reactheme.com
Step 1: Check Your Theme Documentation
Before doing anything, visit your theme’s official documentation or support page. Most developers provide detailed instructions on how to import their demo content. Look for sections titled “Demo Import,” “Starter Sites,” or “Getting Started.”
Step 2: Access the Demo Import Tool
After activating your theme, go to Appearance > Customize or look for a new menu item like Theme Options or Starter Templates in your WordPress dashboard. For example, popular themes like Astra, OceanWP, or Divi include a “Import Demo Data” button right in the Customizer.
If you’re using the Astra theme, you’ll find the demo importer under Appearance > Starter Templates. Simply browse the available demos, preview them, and click “Install and Import.” The process is fully automated and usually takes 2–5 minutes.
Step 3: Choose Your Demo and Import
Select the demo layout that best matches your niche—blog, business, portfolio, online store, etc. Some themes offer multiple variations. Once selected, click “Import” or “Install.” WordPress will automatically install required plugins (like WooCommerce or Elementor), upload images, and configure menus and widgets.
Pro Tip: Always choose a demo that closely aligns with your content type. It’s easier to modify an existing structure than to rebuild from scratch.
Method 2: Use a Demo Import Plugin
If your theme doesn’t include a built-in importer, or if you want more control over the process, use a dedicated plugin. One of the most popular and reliable options is One Click Demo Import.
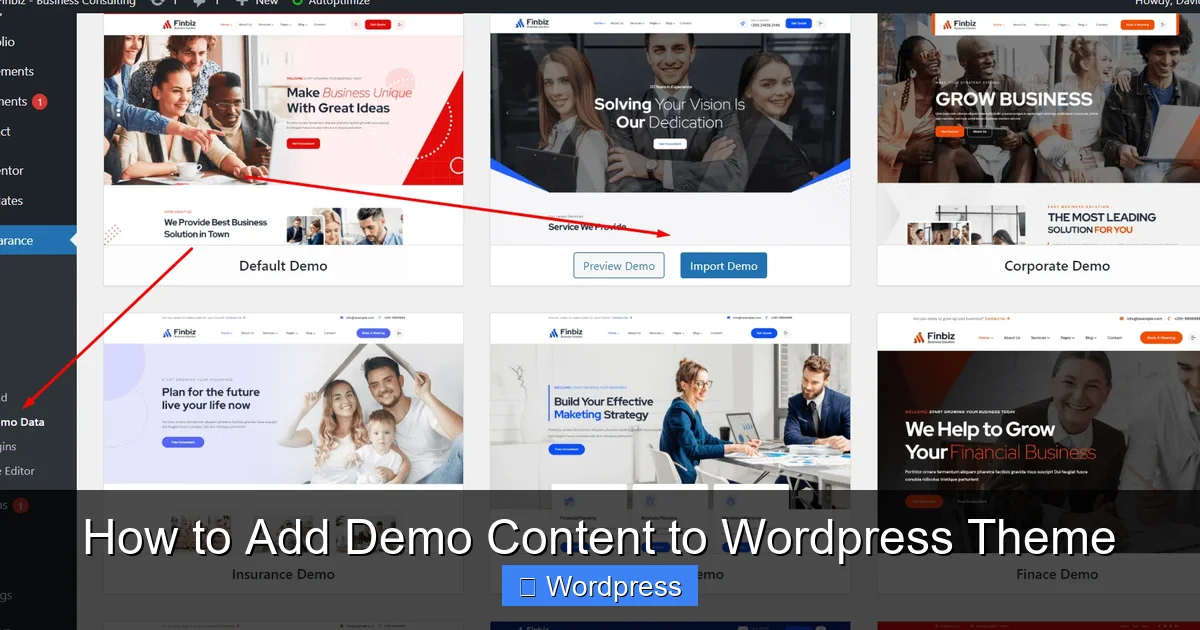
Visual guide about How to Add Demo Content to WordPress Theme
Image source: reactheme.com
Step 1: Install the Plugin
Go to Plugins > Add New in your WordPress dashboard. Search for “One Click Demo Import,” install it, and activate it.
Step 2: Obtain the Demo Files
You’ll need three files from your theme provider: an XML file (for content), a WIE or JSON file (for widgets), and a DAT file (for customizer settings). These are usually included in the theme’s download package under a folder named “demo-content” or “sample-data.”
Step 3: Upload and Import
Go to Appearance > Import Demo Data. Upload each file in the correct section:
- Import XML File → Upload your content file
- Import Widget File → Upload your widgets file
- Import Customizer File → Upload your settings file
Click “Import” and wait for the process to complete. Refresh your site to see the new content.
Note: Some themes bundle these files into a single ZIP. In that case, upload the ZIP directly if the plugin supports it.
Method 3: Manual Import Using WordPress Tools
If you can’t use automated tools, you can manually import content using WordPress’s built-in import/export system. This method works best for basic content like posts and pages.
Step 1: Export Demo Content (If Available)
If you have access to a demo site (e.g., from a developer or staging environment), go to Tools > Export and select “All Content.” Download the XML file.
Step 2: Import Into Your Site
On your target site, go to Tools > Import. Install the “WordPress” importer if prompted. Upload the XML file and assign authors. Check the box to download and import file attachments (this brings in images).
Step 3: Reconfigure Menus and Widgets
Manual imports don’t always transfer menus and widgets. Go to Appearance > Menus and Appearance > Widgets to recreate them based on the demo layout.
Tip: Take screenshots of the original demo site to guide your manual setup.
Important Precautions Before Importing
Importing demo content can overwrite existing posts, pages, and settings. To avoid data loss, follow these safety steps:
Back Up Your Site
Use a backup plugin like UpdraftPlus or Jetpack to create a full site backup. This lets you restore your site if something goes wrong.
Use a Staging Site
If you’re working on a live site, consider creating a staging environment first. Many hosting providers (like SiteGround or WP Engine) offer one-click staging. Alternatively, use a plugin like WP Staging.
Check Server Requirements
Large demo imports may fail due to PHP memory limits or execution time. Increase these values in your wp-config.php file:
define('WP_MEMORY_LIMIT', '256M');
set_time_limit(300);
Or contact your host to adjust server settings.
Troubleshooting Common Issues
Even with careful planning, problems can occur. Here’s how to fix the most common ones:
Missing Images or Broken Layouts
This usually happens when image URLs point to the demo server instead of your site. Use a plugin like Better Search Replace to find and replace old URLs with your domain. Alternatively, re-upload images manually.
Import Fails or Stalls
If the import process stops halfway, it’s likely due to server timeouts. Try importing smaller chunks of content, or use a plugin like WP Reset that handles large imports more efficiently. You can also check our guide on how to use WP Reset plugin for advanced cleanup and import options.
Plugins Not Installed Automatically
Some themes require specific plugins (like Slider Revolution or Contact Form 7). If they’re not installed during import, go to Plugins > Add New and install them manually. Then re-import the demo content.
Theme Options Not Applied
If colors, fonts, or layouts don’t match the demo, the customizer settings may not have imported. Re-upload the DAT file via the Customizer or reset theme options and reconfigure them.
Cleaning Up After Demo Import
Once you’ve customized your site, remove any unused demo content to improve performance and avoid confusion.
Delete Unused Pages and Posts
Go to Pages and Posts, select items you don’t need, and move them to trash. Empty the trash permanently.
Reset Widgets and Menus
Remove demo widgets from sidebars and footers. Keep only what you’ll use. Rebuild menus under Appearance > Menus.
Use WP Reset for a Fresh Start
If you want to completely remove all demo content and start over, use the WP Reset plugin. It safely deletes posts, pages, comments, and custom post types while preserving themes, plugins, and users. Learn more in our detailed guide on how to use WP Reset plugin.
Best Practices for Long-Term Success
To keep your site running smoothly after adding demo content, follow these best practices:
- Use a child theme if you plan to modify theme files. This protects your changes during updates. Read our article on what is a child theme in WordPress to learn more.
- Update all plugins and themes after import to ensure compatibility.
- Optimize images using a plugin like Smush or ShortPixel to reduce load times.
- Test on mobile—demo layouts may not be fully responsive on all devices.
Conclusion
Adding demo content to your WordPress theme is a smart way to jumpstart your website design. Whether you use a one-click importer, a plugin, or manual methods, the key is preparation and caution. Always back up your site, choose the right demo, and clean up afterward.
With the steps in this guide, you’ll be able to transform a blank WordPress installation into a professional-looking site in minutes. And if you ever need to start fresh, tools like WP Reset make it easy to wipe the slate clean.
Now that your theme is populated with demo content, you’re ready to customize it with your own branding, content, and functionality. Happy building!