This guide teaches you how to add a header in WordPress theme using the Customizer, theme files, or plugins. Whether you’re a beginner or developer, you’ll find clear, actionable steps to customize your site’s header with confidence.
Key Takeaways
- Use the WordPress Customizer: Most themes allow header customization via Appearance > Customize, including logo, title, and background.
- Edit theme files for full control: Advanced users can modify header.php to add custom HTML, CSS, or dynamic content.
- Leverage child themes: Always use a child theme when editing core files to preserve changes during updates.
- Page builders simplify design: Tools like Elementor let you build responsive headers without coding.
- Header plugins add functionality: Plugins like Header Footer Code Manager help insert scripts or custom code safely.
- Test responsiveness: Ensure your header looks great on mobile, tablet, and desktop devices.
- Backup before editing: Always back up your site before making file changes to avoid breaking your theme.
Introduction: Why Your WordPress Header Matters
Your website’s header is the first thing visitors see. It holds your logo, navigation menu, and often your brand identity. A well-designed header improves user experience, boosts credibility, and helps with SEO. Whether you’re building a blog, business site, or online store, knowing how to add a header in WordPress theme gives you full control over your site’s look and functionality.
In this guide, you’ll learn multiple methods—from beginner-friendly tools to developer-level techniques—so you can choose the best approach for your skill level and needs.
Method 1: Using the WordPress Customizer (Easiest Way)
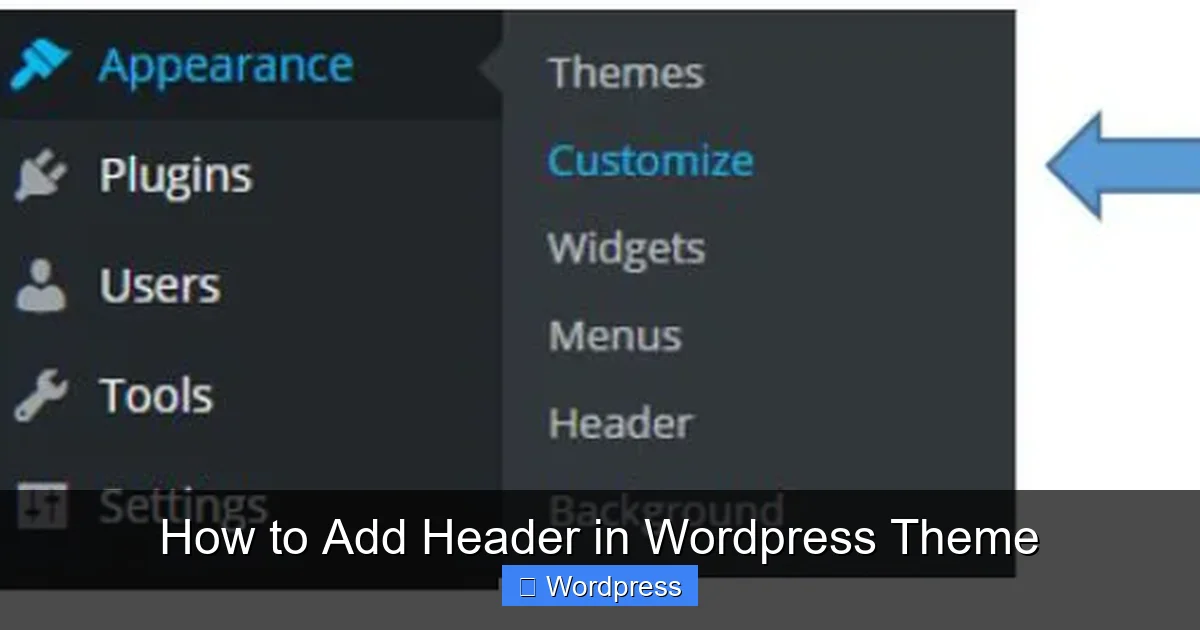
Visual guide about How to Add Header in WordPress Theme
Image source: library.illinois.edu
The WordPress Customizer is the safest and simplest way to add or modify a header. Most modern themes support this feature.
Step 1: Access the Customizer
Go to your WordPress dashboard. Click Appearance > Customize. This opens the live preview editor where you can see changes in real time.
Step 2: Navigate to Header Settings
Look for sections like Site Identity, Header Image, or Header Media. These options vary by theme. For example:
– Site Identity: Add your site title, tagline, and logo.
– Header Image: Upload a banner or background image.
– Colors: Change header background or text color.
Step 3: Upload Your Logo
In the Site Identity section, click Select logo. Upload your logo from your computer or media library. Adjust the size if needed. WordPress will automatically insert it into your header.
Step 4: Preview and Publish
Use the preview pane to check how your header looks on desktop and mobile. When satisfied, click Publish to save changes.
Tip: If your theme doesn’t support header images, consider switching to a more flexible theme like Astra or GeneratePress. You can learn how to apply a WordPress theme safely without losing content.
Method 2: Editing the header.php File (For Developers)

Visual guide about How to Add Header in WordPress Theme
Image source: blog.templatetoaster.com
If you need full control over your header’s HTML structure, editing the header.php file is the way to go. This method requires basic coding knowledge.
Step 1: Use a Child Theme
Never edit theme files directly. Instead, create a child theme in WordPress to preserve your changes during updates.
Step 2: Locate header.php
In your dashboard, go to Appearance > Theme File Editor. From the right sidebar, select header.php under your child theme.
Step 3: Add Custom HTML or PHP
You can insert custom code like:
- A sticky header using CSS classes
- Custom navigation menus with
wp_nav_menu() - Call-to-action buttons or social icons
Example: Add a simple welcome message above the navigation:
<div class="welcome-message">Welcome to Our Site!</div>
Step 4: Save and Test
Click Update File, then visit your site to see the changes. Use browser tools to check responsiveness.
Warning: A single syntax error can break your site. Always back up your files first. If something goes wrong, restore the original header.php from your parent theme.
Method 3: Using a Page Builder (Elementor, Beaver Builder)

Visual guide about How to Add Header in WordPress Theme
Image source: elegantthemes.com
Page builders let you design headers visually—no coding required. This is ideal for users who want flexibility without touching code.
Step 1: Install a Page Builder
Popular options include Elementor, Beaver Builder, and Divi. Install and activate your preferred plugin.
Step 2: Create a Header Template
In Elementor, go to Templates > Theme Builder > Header. Click Add New and design your header using drag-and-drop widgets:
– Logo widget
– Navigation menu
– Search bar
– Button (e.g., “Contact Us”)
Step 3: Set Display Conditions
Choose where the header appears: entire site, specific pages, or posts. Save the template.
Step 4: Apply to Your Theme
Some themes require you to disable the default header. In Elementor, go to Site Settings > Header and toggle off the default header.
Pro Tip: Use Elementor’s responsive controls to adjust padding, font size, and layout for mobile devices.
Method 4: Using a Header Plugin
Plugins are great for adding scripts, custom code, or advanced header features without editing theme files.
Recommended Plugins
- Header Footer Code Manager: Insert HTML, CSS, or JavaScript into your header.
- WP Headers and Footers: Add tracking codes (Google Analytics, Facebook Pixel).
- Sticky Header: Make your header stick to the top when scrolling.
How to Use Header Footer Code Manager
- Install and activate the plugin.
- Go to Settings > Header Footer Code.
- Paste your code in the “Header” section.
- Save changes.
Example: Add a custom CSS class to style your header:
<style>
.site-header { background: #2c3e50; padding: 20px; }
</style>
Troubleshooting Common Header Issues
Even with careful planning, problems can arise. Here’s how to fix them.
Header Not Showing on Mobile
This is usually a CSS issue. Use media queries to adjust styles:
@media (max-width: 768px) {
  .site-header { padding: 10px; }
}
Test on real devices or use Chrome’s device toolbar.
Logo Too Large or Small
Adjust the logo size in the Customizer under Site Identity. Alternatively, add CSS:
.custom-logo { max-width: 200px; height: auto; }Header Disappears After Update
If you edited header.php without a child theme, updates may overwrite your changes. Always use a child theme. Learn how to update a WordPress theme safely.
White Screen After Editing header.php
This means a PHP error occurred. Restore the original file via FTP or your hosting file manager. Then reapply changes carefully.
Best Practices for WordPress Headers
Follow these tips to create a professional, high-performing header:
- Keep it simple: Avoid clutter. Focus on logo, navigation, and one CTA.
- Optimize for speed: Compress header images and minimize scripts.
- Use semantic HTML: Wrap your header in
<header>tags for better SEO. - Test across browsers: Chrome, Firefox, Safari, and Edge.
- Update regularly: Review your header when redesigning or adding new features.
Conclusion: Choose the Right Method for You
Adding a header in WordPress doesn’t have to be complicated. Beginners should start with the Customizer or a page builder like Elementor. Developers can customize header.php for advanced layouts. Always use a child theme, back up your site, and test on multiple devices.
With the right approach, your header can become a powerful tool for branding, navigation, and user engagement. Now that you know how to add a header in WordPress theme, you’re ready to create a site that looks professional and works flawlessly.