Adding Google Analytics to your WordPress site helps you track visitors, understand behavior, and improve performance. This guide walks you through simple methods—using plugins or manual code—to get your analytics up and running fast.
Key Takeaways
- Google Analytics is essential for tracking website traffic and user behavior. It provides insights into where visitors come from, what they do on your site, and how long they stay.
- You can add Google Analytics to WordPress using a plugin or by inserting code manually. Plugins are easier for beginners; manual methods offer more control.
- Popular plugins like MonsterInsights make setup quick and beginner-friendly. They handle code insertion and offer dashboards inside WordPress.
- Always verify your tracking code is working using Google’s Real-Time reports. This ensures data is being collected correctly from day one.
- Keep your Google Analytics property updated and secure. Use strong passwords and enable two-factor authentication on your Google account.
- Regularly review your analytics reports to spot trends and improve content. Use data to guide SEO, design, and marketing decisions.
Why Add Google Analytics to Your WordPress Site?
If you run a WordPress website, knowing who visits and what they do is crucial. Google Analytics gives you powerful insights—like which pages are popular, where traffic comes from, and how users move through your site. With this data, you can improve content, boost SEO, and increase conversions.
Whether you’re a blogger, small business owner, or developer, adding Google Analytics is a smart move. The best part? It’s free, reliable, and works seamlessly with WordPress. In this guide, we’ll show you two simple ways to connect Google Analytics to your site: using a plugin or adding the tracking code manually.
Method 1: Add Google Analytics Using a Plugin (Recommended for Beginners)
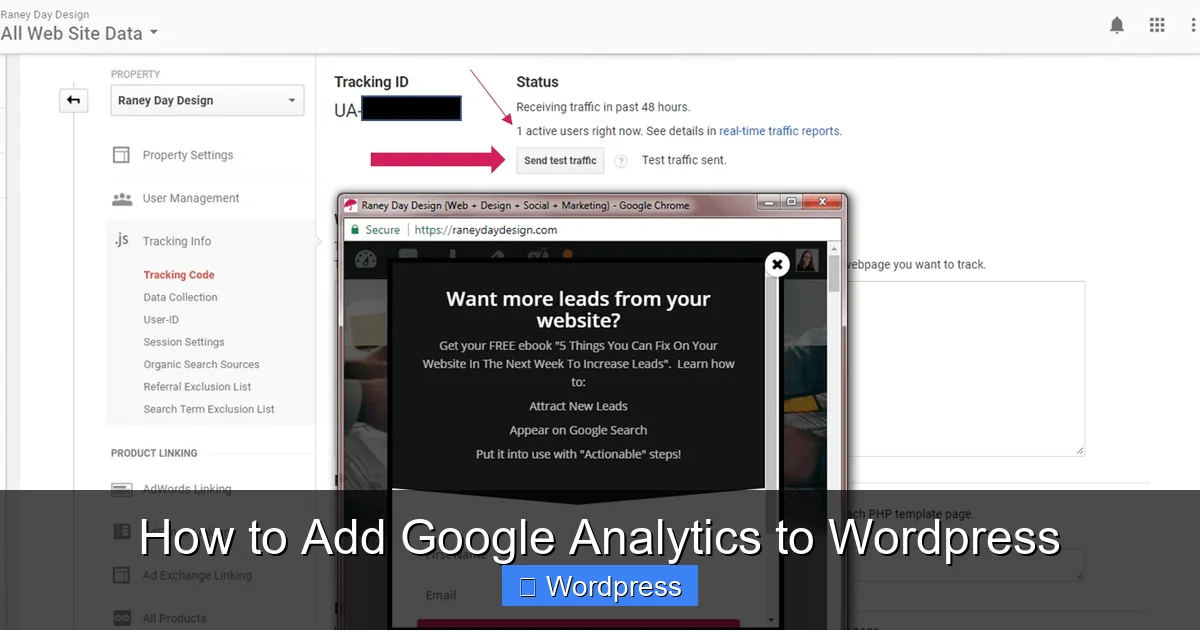
Visual guide about How to Add Google Analytics to WordPress
Image source: raneydaydesign.com
Plugins are the easiest way to add Google Analytics to WordPress. They handle the technical work and often include extra features like dashboard reports.
Step 1: Install and Activate a Google Analytics Plugin
One of the most trusted plugins is MonsterInsights. It’s user-friendly, well-supported, and offers a free version.
To install it:
- Go to your WordPress dashboard.
- Click Plugins > Add New.
- Search for “MonsterInsights”.
- Click Install Now, then Activate.
Step 2: Connect MonsterInsights to Google Analytics
After activation, you’ll see a setup wizard:
- Click Launch Setup Wizard.
- Choose your website type (e.g., blog, business, eCommerce).
- Click Connect MonsterInsights.
- Sign in to your Google account when prompted.
- Select the Google Analytics property you want to link.
- Grant permissions and finish the setup.
That’s it! MonsterInsights will automatically insert the tracking code into every page of your site.
Step 3: View Reports in Your WordPress Dashboard
Once connected, you can view basic analytics right inside WordPress. Go to Insights > Dashboard to see visitor stats, top pages, and traffic sources—no need to leave your site.
Method 2: Add Google Analytics Manually (For Advanced Users)
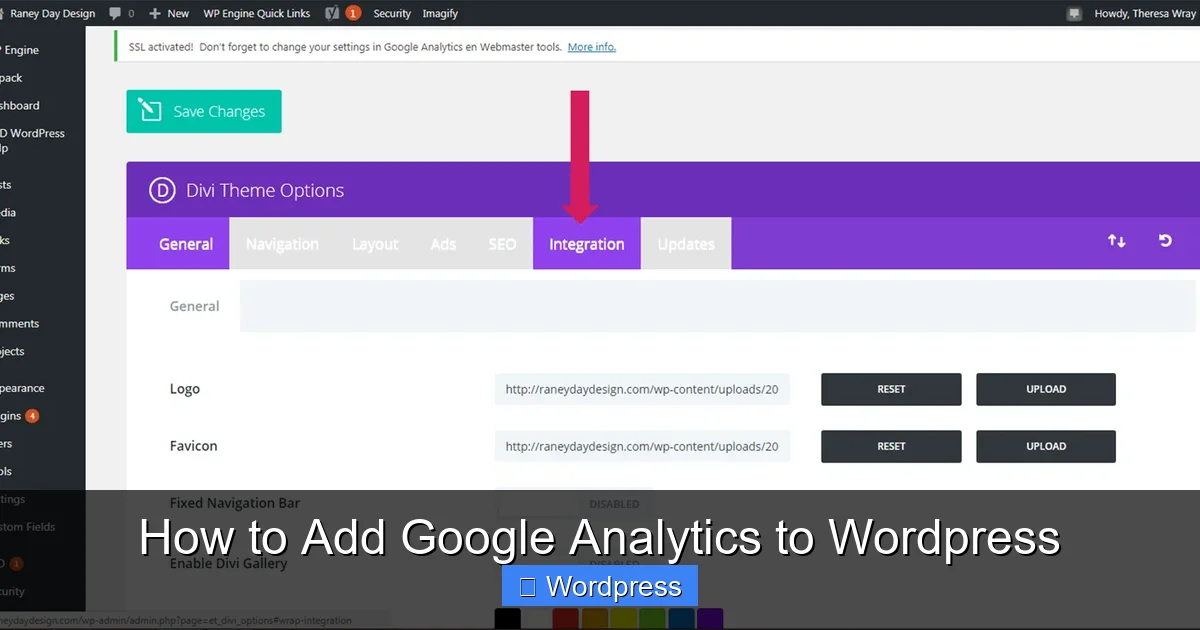
Visual guide about How to Add Google Analytics to WordPress
Image source: raneydaydesign.com
If you prefer full control or don’t want to use a plugin, you can add the Google Analytics tracking code directly to your theme.
Step 1: Get Your Google Analytics Tracking Code
First, you need a Google Analytics account and property:
- Go to analytics.google.com and sign in with your Google account.
- Click Start measuring and follow the steps to create an account and property.
- When asked for a platform, choose Web.
- Enter your website URL and stream name.
- Click Create stream.
- Copy the Measurement ID (starts with “G-”) and the full tracking code snippet.
Step 2: Add the Code to Your WordPress Theme
There are two safe ways to insert the code:
Option A: Use the Header.php File
- Go to Appearance > Theme File Editor in WordPress.
- Select header.php from the right sidebar.
- Paste the Google Analytics code just before the closing
</head>tag. - Click Update File.
Tip: This method works, but your changes may be lost if you update your theme. Use a child theme to avoid this.
Option B: Use a Code Snippets Plugin
A safer option is using a plugin like Insert Headers and Footers:
- Install and activate the plugin from Plugins > Add New.
- Go to Settings > Insert Headers and Footers.
- Paste your Google Analytics code into the Header box.
- Save changes.
This method keeps your code safe during theme updates.
Verify Your Google Analytics Is Working
After setup, always check if tracking is active:
- Visit your website in a private/incognito browser window.
- Go to Google Analytics and open Real-Time > Overview.
- If you see your visit listed, tracking is working!
If you don’t see activity, double-check the code placement and ensure it’s on all pages.
Troubleshooting Common Issues
Sometimes things don’t go as planned. Here’s how to fix common problems:
No Data in Google Analytics
- Make sure the tracking code is on every page.
- Check for typos in the Measurement ID.
- Clear your browser and site cache.
- Wait up to 24 hours—new properties can take time to show data.
Code Disappears After Theme Update
This happens if you edited header.php directly. To prevent it:
- Use a child theme.
- Or use the Insert Headers and Footers plugin instead.
Plugin Conflicts
Some caching or security plugins may block tracking scripts. If data isn’t showing:
- Disable plugins one by one to find the culprit.
- Check your caching plugin settings—exclude Google Analytics scripts from minification.
Best Practices for Using Google Analytics with WordPress
Once your analytics is running, follow these tips to get the most value:
- Set up goals to track conversions like form submissions or purchases.
- Enable enhanced measurement in Google Analytics to track scrolls, outbound clicks, and more.
- Use UTM parameters in your links to track campaigns from social media or email.
- Regularly review reports like Audience, Acquisition, and Behavior to spot trends.
- Keep your WordPress and plugins updated to avoid security risks that could affect tracking.
Conclusion
Adding Google Analytics to WordPress is a simple but powerful step toward understanding your audience. Whether you use a plugin like MonsterInsights or insert the code manually, you’ll gain valuable insights to grow your site.
Start tracking today—your future self will thank you when you’re making data-driven decisions instead of guessing. And remember: the best analytics setup is one that’s accurate, consistent, and reviewed regularly.
For more WordPress tips, check out our guide on how to apply a WordPress theme or learn how to update your theme safely. If you’re customizing your site’s look, you might also find the best way to add CSS in WordPress helpful.