Activating a WordPress theme is a simple process that brings your website’s design to life. This guide walks you through every step—from uploading your theme to making it live—with clear instructions and helpful tips.
Key Takeaways
- Always back up your site before activating a new theme to avoid data loss or layout issues.
- Use the WordPress dashboard to upload and activate themes—no coding required for most users.
- Child themes are safer for customizations; learn why they matter when modifying theme files.
- Check theme compatibility with your WordPress version and plugins to prevent conflicts.
- Test your site after activation on different devices to ensure responsiveness and functionality.
- Deactivate unused themes to improve security and performance—learn how to do it safely.
- Keep themes updated to benefit from bug fixes, security patches, and new features.
How to Activate WordPress Theme: A Complete Step-by-Step Guide
So you’ve chosen a beautiful WordPress theme—maybe it’s sleek and modern, packed with features, or perfectly matches your brand. Now comes the exciting part: making it live on your website. Activating a WordPress theme is one of the most straightforward tasks in website management, but it’s important to do it correctly to avoid common pitfalls like broken layouts or lost content.
In this guide, we’ll walk you through how to activate a WordPress theme using the built-in dashboard tools. Whether you’re installing a free theme from the WordPress directory or uploading a premium theme you purchased, these steps will work for you. We’ll also cover best practices, troubleshooting tips, and what to do if something goes wrong.
Before You Activate: Important Preparations
Before hitting that “Activate” button, take a few minutes to prepare. This ensures a smooth transition and protects your website from unexpected issues.
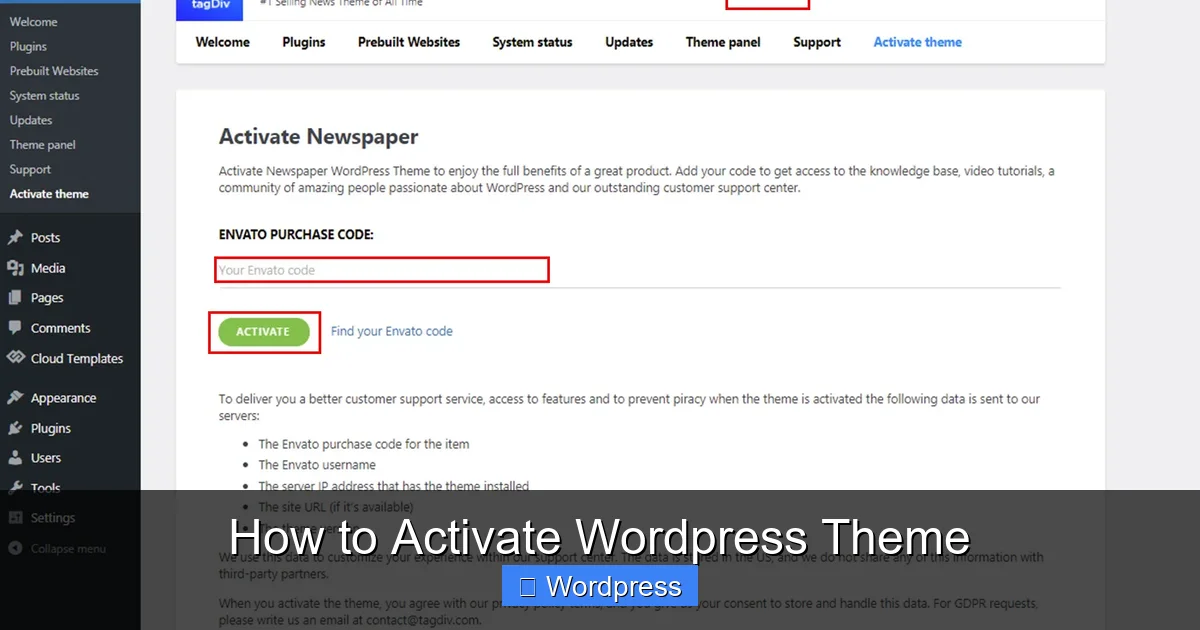
Visual guide about How to Activate WordPress Theme
Image source: forum.tagdiv.com
1. Back Up Your Website
Always create a full backup of your site before changing themes. If something goes wrong—like missing widgets or broken menus—you can restore your previous setup quickly. Use a reliable backup plugin like UpdraftPlus or your hosting provider’s backup tool.
2. Check Theme Compatibility
Make sure your new theme is compatible with your current version of WordPress and any essential plugins (like WooCommerce or Yoast SEO). Most reputable themes list compatibility details on their download page or documentation.
3. Preview the Theme (Optional)
If you’re unsure how the theme will look, use the “Live Preview” feature in the WordPress Customizer. This lets you see changes without affecting your live site.
Method 1: Activate a Theme from the WordPress Directory
The easiest way to get a new theme is directly from the official WordPress theme repository. Here’s how:
Step 1: Log Into Your WordPress Dashboard
Go to yourwebsite.com/wp-admin and log in with your username and password.
Step 2: Navigate to Appearance > Themes
In the left-hand menu, click Appearance, then select Themes. You’ll see a list of currently installed themes.
Step 3: Click “Add New”
At the top of the Themes page, click the blue Add New button. This opens the theme browser.
Step 4: Search or Browse for a Theme
Use the search bar to find a specific theme by name, or browse categories like “Popular,” “Latest,” or “Featured.” You can also filter by features like “One Column” or “Right Sidebar.”
Step 5: Install the Theme
When you find a theme you like, hover over it and click Install. WordPress will download and install it automatically.
Step 6: Activate the Theme
Once installed, click Activate. Your site will instantly switch to the new theme. Visit your homepage to see the changes!
Pro Tip: If you’re not ready to go live yet, click Live Preview instead of Activate. This lets you test the theme privately.
Method 2: Upload and Activate a Premium or Custom Theme
Many users prefer premium themes from marketplaces like ThemeForest, Elegant Themes, or StudioPress. These aren’t available in the WordPress directory, so you’ll need to upload them manually.
Step 1: Download the Theme File
After purchasing a theme, download the ZIP file to your computer. Do not extract it—WordPress needs the ZIP format.
Step 2: Go to Appearance > Themes > Add New
Just like before, navigate to Appearance > Themes and click Add New.
Step 3: Click “Upload Theme”
At the top of the page, click the Upload Theme button, then choose the ZIP file from your computer.
Step 4: Install and Activate
Click Install Now. Once uploaded, click Activate to make it live.
Note: If you get an error about file size, your hosting may have upload limits. In that case, use FTP or ask your host to increase the limit. For more details, check out our guide on how to install WP themes manually.
What Happens After Activation?
Activating a new theme doesn’t delete your content—posts, pages, and media stay intact. However, some elements may change:
- Widgets and menus might move to new locations or disappear if the theme doesn’t support them.
- Customizer settings (like colors or fonts) reset to the theme’s defaults.
- Homepage layout may switch to the theme’s default template unless you’ve set a static page.
To fix these, go to Appearance > Customize and reconfigure your settings. You may also need to reassign menus under Appearance > Menus.
Troubleshooting Common Issues
Even with careful preparation, things can go wrong. Here’s how to handle the most common problems:
White Screen After Activation
This usually means a PHP error. Try accessing your site via FTP and renaming the theme folder (in /wp-content/themes/) to force WordPress to revert to a default theme like Twenty Twenty-Four.
Missing Widgets or Sidebars
Some themes don’t include widget areas. Go to Appearance > Widgets and check if your sidebar is listed. If not, you may need a plugin or custom code to add it.
Broken Layout or Styling
Clear your browser cache and any caching plugins. If the issue persists, check if your theme requires specific plugins (like page builders) to function properly.
Theme Not Showing Up
If you uploaded a ZIP but don’t see the theme, make sure it’s a valid WordPress theme with a style.css file in the root folder. Corrupted downloads are common—try re-downloading.
For more help, read our article on how to deactivate a theme in WordPress if you need to switch back quickly.
Best Practices After Activation
Once your theme is live, follow these steps to keep your site running smoothly:
1. Test Responsiveness
View your site on mobile, tablet, and desktop to ensure it looks good everywhere. Most modern themes are responsive, but customizations can break layouts.
2. Optimize for Speed and SEO
Some themes are bloated with unnecessary features. Use tools like GTmetrix or Google PageSpeed Insights to check performance. Consider using a lightweight theme if speed is critical—read our review of the best WordPress theme for SEO and speed for recommendations.
3. Set Up a Child Theme for Customizations
If you plan to edit theme files (like CSS or PHP), always use a child theme. This protects your changes during updates. Learn more in our guide: What Is a Child Theme in WordPress?
4. Remove Unused Themes
Keeping old themes increases security risks. Delete any you’re not using via Appearance > Themes > Delete. For a detailed walkthrough, see how to delete a theme in WordPress.
Conclusion
Activating a WordPress theme is a quick and rewarding way to refresh your website’s look and functionality. Whether you’re using a free theme from the directory or a premium design, the process is simple when you follow the right steps. Remember to back up your site, test thoroughly, and keep your themes updated.
With the right theme, your site can load faster, rank better in search engines, and provide a better experience for your visitors. Now that you know how to activate a WordPress theme, you’re ready to transform your online presence—safely and confidently.