This guide walks you through how to add Contact Form 7 in WordPress page with clear, beginner-friendly steps. You’ll learn installation, form creation, shortcode usage, and styling—plus solutions to common issues.
Key Takeaways
- Install Contact Form 7 easily: Use the WordPress plugin directory to add and activate the plugin in minutes.
- Create your first form: Customize fields like name, email, and message using the built-in form editor.
- Embed with shortcodes: Copy the unique shortcode and paste it into any page or post to display your form.
- Style your form: Use custom CSS to match your site’s design and improve user experience.
- Fix email delivery issues: Ensure forms send emails by configuring SMTP or checking spam folders.
- Use templates for speed: Save time with pre-built Contact Form 7 templates for common use cases.
- Add conditional logic: Show or hide fields based on user input for smarter forms.
Introduction: Why Use Contact Form 7?
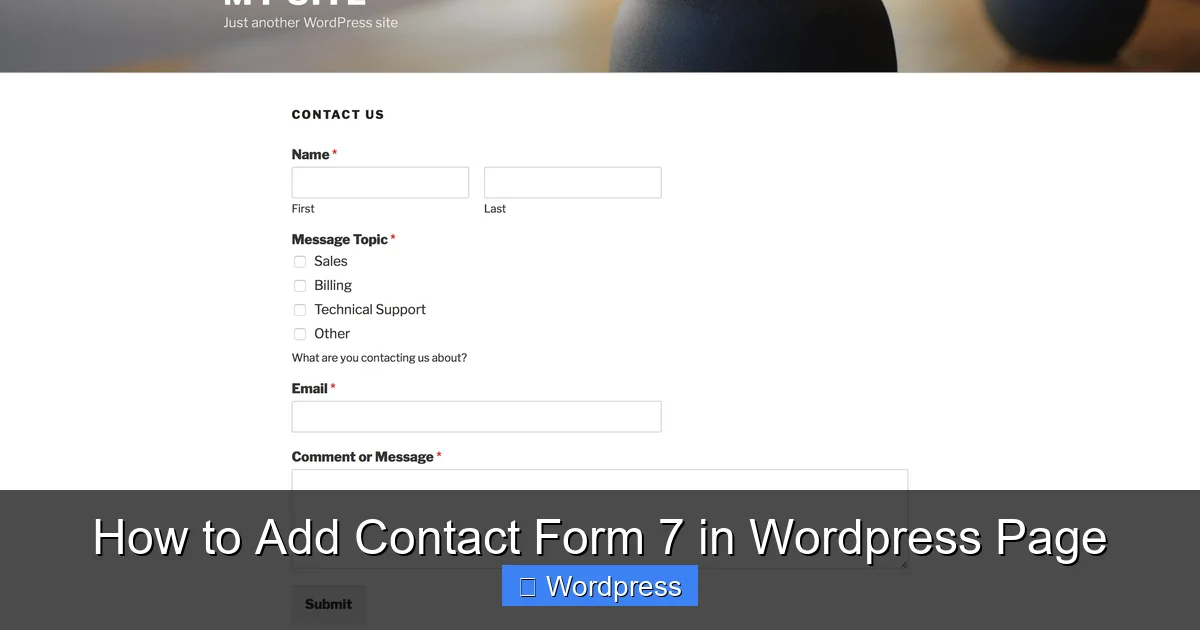
If you’re running a WordPress website, adding a contact form is essential for connecting with visitors. Whether you’re a blogger, small business owner, or freelancer, a simple way to let people reach you builds trust and improves engagement. That’s where Contact Form 7 comes in—one of the most popular and reliable contact form plugins for WordPress.
In this guide, you’ll learn exactly how to add Contact Form 7 in WordPress page—from installation to customization. We’ll cover every step in plain language, so even beginners can follow along. By the end, you’ll have a fully working contact form that looks great and actually sends emails.
Step 1: Install Contact Form 7 Plugin
Before you can add a contact form, you need to install the plugin. Here’s how:
Go to Your WordPress Dashboard
Log in to your WordPress admin area. This is usually found at yoursite.com/wp-admin.
Navigate to Plugins
In the left-hand menu, click on Plugins, then select Add New.
Search for Contact Form 7
In the search bar, type “Contact Form 7”. You should see the plugin by Takayuki Miyoshi appear at the top of the results.
Install and Activate
Click the Install Now button. Once installed, click Activate. The plugin is now ready to use.
Tip: Always keep your plugins updated for security and performance. Learn more about managing plugins safely in our guide on how to update WordPress themes—similar best practices apply.
Step 2: Create Your First Contact Form
Once activated, Contact Form 7 adds a new menu item to your dashboard. Let’s create your form.
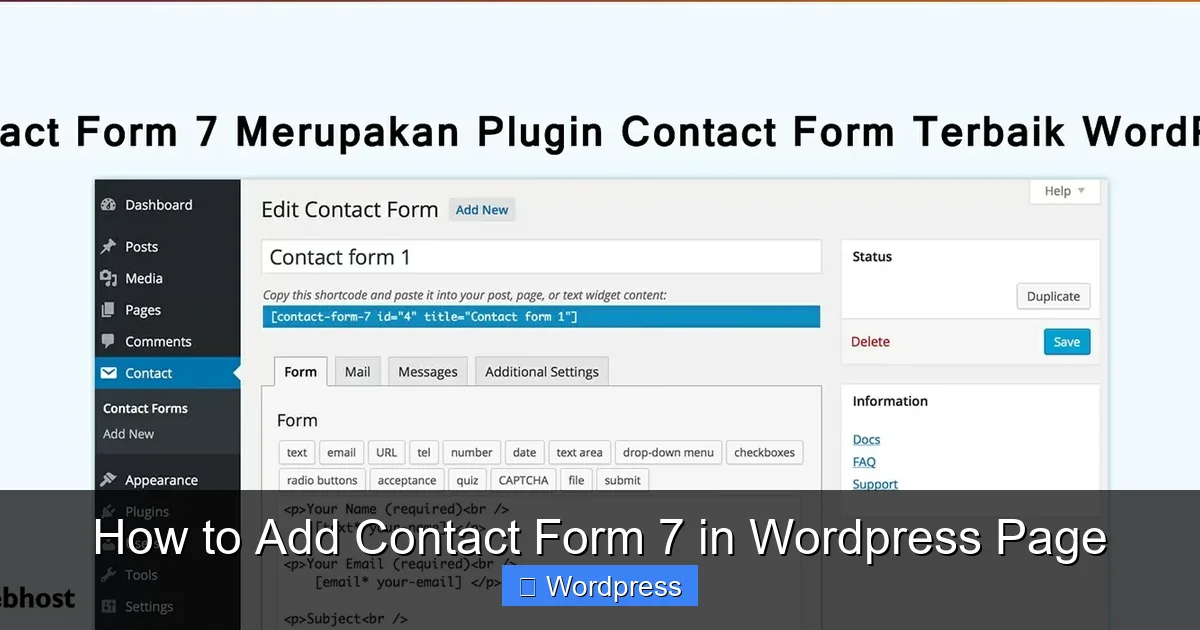
Visual guide about How to Add Contact Form 7 in WordPress Page
Image source: thinkupthemes.com
Access the Contact Form 7 Editor
Go to Contact > Contact Forms in your WordPress menu. You’ll see a default form already created—called “Contact form 1”.
Edit the Form Fields
Click on the form name to open the editor. You’ll see several tabs: Form, Mail, Messages, and Additional Settings.
Under the Form tab, you’ll find default fields like:
- Your Name (text field)
- Your Email (email field)
- Subject (text field)
- Your Message (textarea)
- Submit button
You can customize these by editing the HTML-like tags. For example:
[text* your-name placeholder "Enter your name"]
[email* your-email placeholder "Enter your email"]
[text your-subject placeholder "Subject"]
[textarea your-message placeholder "Your message here..."]
[submit "Send"]
Note: The asterisk (*) makes a field required. Remove it if the field is optional.
Customize the Mail Settings
Switch to the Mail tab. This is where you set where form submissions are sent.
- To: Enter your email address (e.g., yourname@yoursite.com)
- From: Usually set to the sender’s email (e.g., [your-email])
- Subject: Customize the email subject (e.g., “New message from [your-name]”)
- Additional Headers: Add CC or BCC if needed
- Message Body: Use form tags like [your-message] to include user input
Pro Tip: Always test your form after setup. Send a test message to ensure emails arrive correctly. If they don’t, check out our troubleshooting guide on Contact Form 7 not sending email.
Step 3: Add the Form to a WordPress Page
Now that your form is ready, it’s time to display it on your website.
Visual guide about How to Add Contact Form 7 in WordPress Page
Image source: idwebhost.com
Copy the Form Shortcode
In the Contact Form 7 editor, look for the Shortcode box at the top. It will look something like:
Copy this shortcode.
Paste the Shortcode into a Page
Go to Pages > Add New (or edit an existing page). Give your page a title like “Contact Us”.
In the block editor, click the + button to add a new block. Search for “Shortcode” and select it. Paste the Contact Form 7 shortcode into the block.
Alternatively, if you’re using the classic editor, simply paste the shortcode directly into the content area.
Publish the Page
Click Publish or Update. Visit the page on your live site to see your contact form in action.
Bonus: Want a more advanced layout? Use Contact Form 7 templates to quickly create forms for quotes, bookings, or surveys.
Step 4: Style Your Contact Form
By default, Contact Form 7 forms are functional but plain. You can make them look better with custom CSS.
Add Custom CSS
Go to Appearance > Customize > Additional CSS.
Add CSS rules to style your form. For example:
.wpcf7 input[type="text"],
.wpcf7 input[type="email"],
.wpcf7 textarea {
  width: 100%;
  padding: 12px;
  border: 1px solid #ccc;
  border-radius: 4px;
  margin-bottom: 15px;
}

.wpcf7 input[type="submit"] {
  background-color: #0073aa;
  color: white;
  padding: 12px 24px;
  border: none;
  border-radius: 4px;
  cursor: pointer;
}

.wpcf7 input[type="submit"]:hover {
  background-color: #005177;
}
This will make your form look clean and modern. Adjust colors and spacing to match your theme.
Need help with CSS? Check out our guide on the best way to add CSS in WordPress website for more tips.
Step 5: Enable Conditional Fields (Optional)
Want to show different fields based on user choices? Use conditional logic.
Install Conditional Fields Add-on
Contact Form 7 doesn’t include conditional logic by default. Install the free Conditional Fields for Contact Form 7 plugin from the WordPress repository.
Set Up Rules
After activation, go back to your form editor. You’ll see a new tab: Conditional Fields.
Create rules like: “If ‘I’m a business’ is selected, show ‘Company Name’ field.” This makes your form smarter and more user-friendly.
Learn more in our detailed guide on Contact Form 7 conditional fields.
Troubleshooting Common Issues
Even with perfect setup, issues can happen. Here’s how to fix the most common ones.
Form Not Sending Emails
If submissions aren’t arriving in your inbox:
- Check your spam folder
- Ensure your email address is correct in the Mail tab
- Install an SMTP plugin like WP Mail SMTP to improve email delivery
Form Not Displaying
If the form doesn’t appear on the page:
- Make sure the shortcode is copied correctly
- Check for plugin conflicts by deactivating other plugins temporarily
- Ensure your theme supports shortcodes
Styling Looks Broken
If your form looks misaligned:
- Clear your browser and site cache
- Check for conflicting CSS from your theme or other plugins
- Use browser developer tools to inspect elements
Conclusion: You’ve Got a Working Contact Form!
Congratulations! You’ve successfully learned how to add Contact Form 7 in WordPress page. From installation to styling and troubleshooting, you now have the tools to create professional, functional contact forms.
Contact Form 7 is powerful, flexible, and free—making it ideal for websites of all sizes. Whether you’re adding a simple contact page or building a complex lead capture form, this plugin has you covered.
Remember to test your form regularly and keep your WordPress site updated. For more advanced setups, explore add-ons and templates to extend functionality. And if you ever run into issues, the WordPress community and plugin documentation are great resources.
Now go ahead—add that contact form and start connecting with your visitors!