This guide walks you through the complete process of adding a WordPress theme in cPanel, whether you’re using a free theme from the repository or uploading a premium one. You’ll learn how to safely install, activate, and manage your themes directly from your hosting control panel.
Key Takeaways
- Access cPanel securely: Always log in through your hosting provider’s portal to avoid security risks.
- Use the File Manager for manual uploads: This method gives you full control over theme installation, especially for .zip files not available in the WordPress directory.
- Back up your site first: Prevent data loss by creating a full backup before making any changes to your WordPress installation.
- Check theme compatibility: Ensure your theme supports your current WordPress version to avoid errors or broken layouts.
- Activate the theme properly: After uploading, go to the WordPress dashboard to activate and customize your new theme.
- Troubleshoot common issues: Learn how to fix problems like missing stylesheets or permission errors during upload.
- Keep themes updated: Regularly update your themes to maintain security and performance—learn how to do this safely.
How to Add WordPress Theme in cPanel
Adding a WordPress theme through cPanel is a straightforward process that gives you more control over your website’s design—especially when you’re working with custom or premium themes not available in the official WordPress repository. Whether you’re a beginner or an experienced user, this guide will walk you through every step, from logging into cPanel to activating your new theme in WordPress.
In this tutorial, you’ll learn how to upload and install a WordPress theme using cPanel’s File Manager, how to activate it from your WordPress dashboard, and how to troubleshoot common issues. We’ll also cover best practices like backing up your site and checking theme compatibility. Let’s get started!
Prerequisites: What You Need Before Starting
Before you begin, make sure you have the following:
- Access to cPanel: Provided by your web hosting company (e.g., Bluehost, SiteGround, HostGator).
- A WordPress website installed: Your site should already be running on WordPress.
- The theme file (.zip format): Download your desired theme from a trusted source like ThemeForest, Elegant Themes, or the official WordPress theme directory.
- Backup of your website: Always create a full backup before making changes. Use plugins like UpdraftPlus or your hosting provider’s backup tool.
Having these ready ensures a smooth and safe installation process.
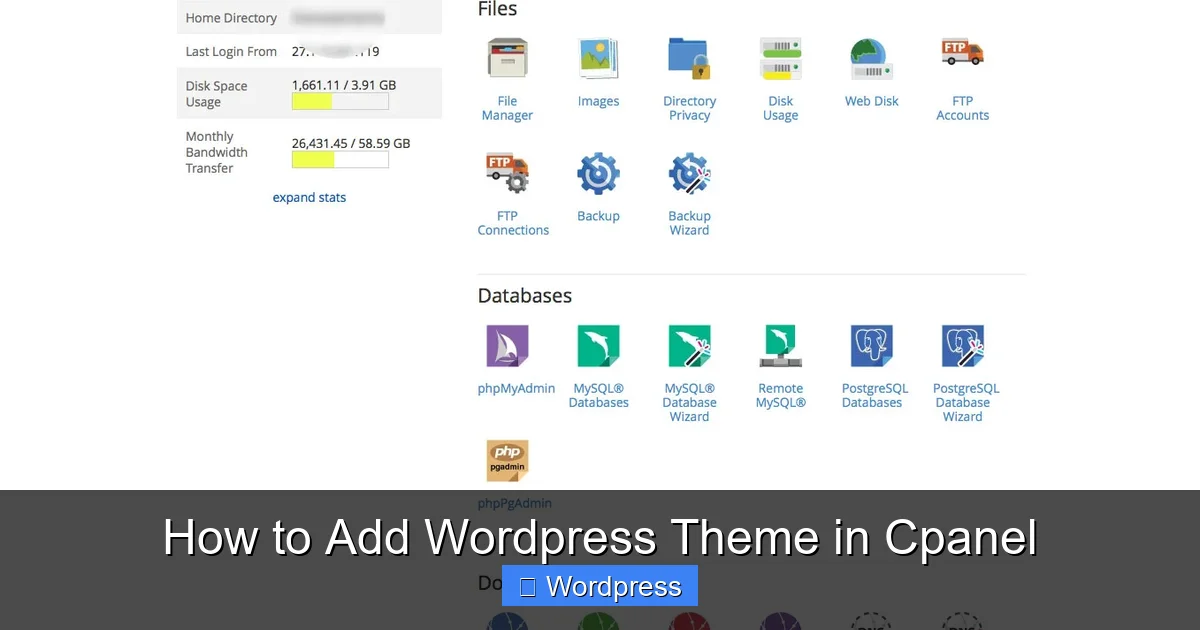
Step 1: Log in to Your cPanel Account
Start by accessing your hosting account’s cPanel dashboard. Here’s how:
Visual guide about How to Add WordPress Theme in Cpanel
Image source: dnadigital.com.au
Go to Your Hosting Provider’s Login Page
Visit your hosting company’s website and navigate to the login or client area. For example, if you use Bluehost, go to bluehost.com/login.
Enter Your Credentials
Input your username and password. If you’ve forgotten them, use the “Forgot Password” link to reset.
Locate cPanel
Once logged in, find the cPanel access button—usually labeled “cPanel,” “Hosting Dashboard,” or “Control Panel.” Click it to open the interface.
💡 Tip: Bookmark your cPanel login page for faster access in the future.
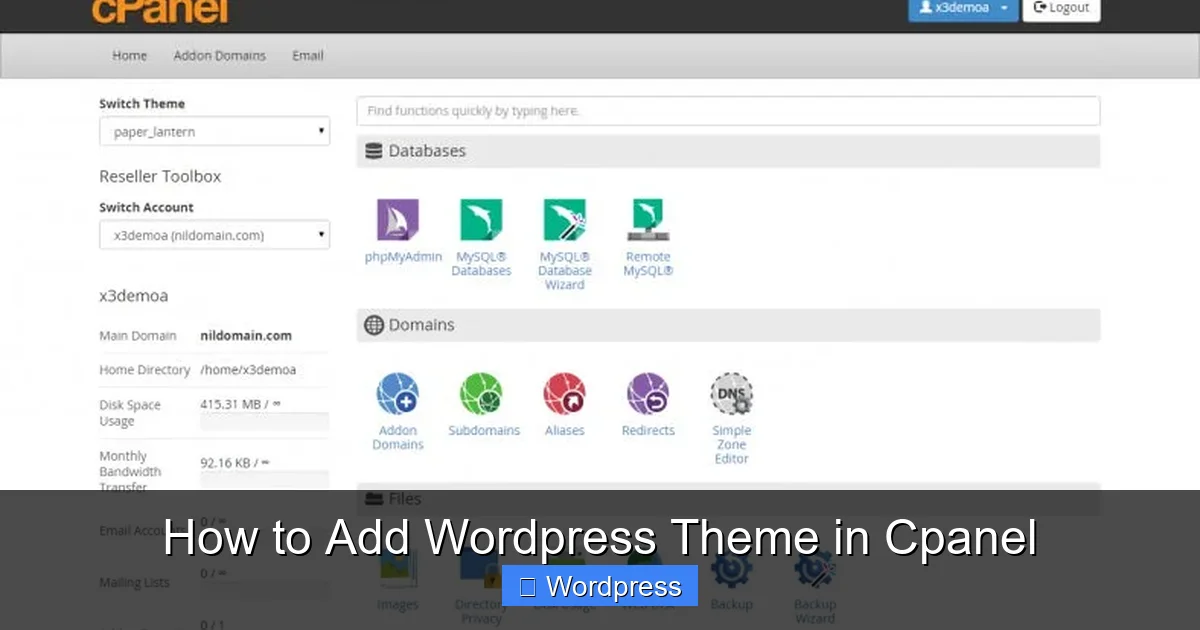
Step 2: Open File Manager
The File Manager is where you’ll upload your theme files. Follow these steps:
Visual guide about How to Add WordPress Theme in Cpanel
Image source: images.template.net
Find the File Manager Icon
In cPanel, look for the “File Manager” icon under the “Files” section. It often looks like a folder or file cabinet.
Launch File Manager
Click the icon. A popup may ask which directory to open—select public_html (this is your website’s root folder).
Navigate to the Themes Folder
Inside public_html, go to wp-content > themes. This is where all your WordPress themes are stored.
⚠️ Warning: Do not delete or modify files outside the themes folder unless you know what you’re doing.
Step 3: Upload Your Theme ZIP File
Now it’s time to upload your theme. Here’s how:
Click the Upload Button
In the File Manager toolbar, click the Upload button (usually at the top).
Select Your Theme File
Browse your computer and select the .zip file of your WordPress theme. Wait for the upload to complete—larger files may take a few minutes.
Return to the Themes Folder
Once uploaded, go back to the themes directory. You should now see your .zip file listed.
💡 Pro Tip: Only upload .zip files from trusted sources to avoid malware or corrupted themes.
Step 4: Extract the Theme Files
WordPress requires the theme to be unzipped before it can be used.
Right-Click the ZIP File
In the File Manager, right-click on your uploaded .zip file and select Extract.
Choose Extraction Location
Make sure the extraction path is set to the current themes folder. Click “Extract Files” to proceed.
Verify the Folder
After extraction, you should see a new folder with the theme’s name (e.g., astra, oceanwp). This folder contains all the theme files.
✅ Success Check: Open the folder and confirm it contains files like style.css and functions.php.
Step 5: Activate the Theme in WordPress
Now that the theme is uploaded, you need to activate it from your WordPress dashboard.
Log in to WordPress
Go to yoursite.com/wp-admin and log in with your admin credentials.
Go to Appearance > Themes
In the left sidebar, click Appearance, then Themes. You should see your newly uploaded theme in the list.
Click “Activate”
Hover over the theme and click the Activate button. Your site will now use the new theme.
🎨 Next Step: Customize your theme via Appearance > Customize to adjust colors, fonts, and layout.
Best Practices and Tips
Follow these tips to ensure a smooth experience:
- Always back up first: Use a plugin like UpdraftPlus or your host’s backup tool before installing any theme.
- Test on a staging site: If possible, install the theme on a staging version of your site to avoid disrupting live visitors.
- Check for updates: After activation, go to Dashboard > Updates to see if your theme needs updating. Learn how to safely update your WordPress theme without losing customizations.
- Use child themes for customization: If you plan to modify the theme’s code, create a child theme to preserve changes during updates.
- Optimize for speed and SEO: Choose lightweight, well-coded themes. Check out our guide on the best WordPress themes for SEO and speed.
Troubleshooting Common Issues
Encountering problems? Here’s how to fix them:
“Missing stylesheet” error
This happens when the theme folder is nested inside another folder after extraction. Re-upload the .zip and extract it again, ensuring the main theme files are directly in the folder.
Theme not appearing in WordPress
Double-check that the theme folder is in wp-content/themes and contains a valid style.css file with proper headers.
Permission errors during upload
Ensure the themes folder has write permissions (usually 755). Contact your host if you can’t change permissions.
White screen or broken layout after activation
This may indicate a compatibility issue. Switch back to a default theme like Twenty Twenty-Four via FTP or cPanel, then check for plugin conflicts or outdated PHP versions.
Conclusion
Adding a WordPress theme in cPanel is a powerful way to customize your website, especially when working with premium or custom themes. By following this guide, you’ve learned how to safely upload, extract, and activate themes using File Manager—all without needing technical expertise.
Remember to always back up your site, verify theme sources, and keep your themes updated. With the right theme, your WordPress site can look professional, load quickly, and rank well in search engines. If you ever need to remove or change themes, check out our guides on how to delete a theme in WordPress or how to apply a WordPress theme for more tips.
Now go ahead and give your site a fresh new look!