Creating a footer in WordPress using Elementor is simple and flexible, even for beginners. This guide walks you through designing, customizing, and publishing a professional footer that matches your site’s style and improves user experience.
Key Takeaways
- Use Elementor’s Theme Builder: Access the footer section via Elementor’s Theme Builder to create global footers that appear on all pages.
- Design with Drag-and-Drop: Build your footer visually using Elementor’s intuitive widgets like text, images, social icons, and menus.
- Ensure Mobile Responsiveness: Always preview and adjust your footer for mobile devices to maintain usability across all screens.
- Add Useful Links and Info: Include navigation links, contact details, copyright text, and social media icons to enhance site functionality.
- Save as a Template: Once designed, save your footer as a reusable template for future sites or updates.
- Test Before Publishing: Preview your footer on different pages and devices to catch layout issues early.
- Use Custom CSS if Needed: For advanced styling, apply custom CSS through Elementor’s built-in code options.
Introduction: Why a Well-Designed Footer Matters
When building a WordPress website with Elementor, most people focus on the header and content—but the footer is just as important. A well-crafted footer improves navigation, boosts SEO, and gives visitors key information like contact details, social links, and legal pages. Plus, it reinforces your brand identity.
In this guide, you’ll learn how to create a footer in WordPress Elementor from scratch. Whether you’re using Elementor Free or Pro, we’ll cover everything step by step—no coding required. By the end, you’ll have a professional, responsive footer that works seamlessly across your entire site.
Prerequisites: What You Need Before Starting
Before diving in, make sure you have the following:
- A WordPress website installed and running.
- Elementor plugin activated (Free version works, but Elementor Pro offers more footer options).
- Access to your WordPress dashboard.
- Basic familiarity with Elementor’s interface (if not, check out our guide on how to create a WordPress theme with Elementor).
Step 1: Access Elementor’s Theme Builder
Elementor Pro includes a powerful feature called Theme Builder, which lets you design headers, footers, and other global sections. If you’re using Elementor Free, you can still create footers—but only on individual pages or via widgets. For site-wide consistency, we recommend Elementor Pro.
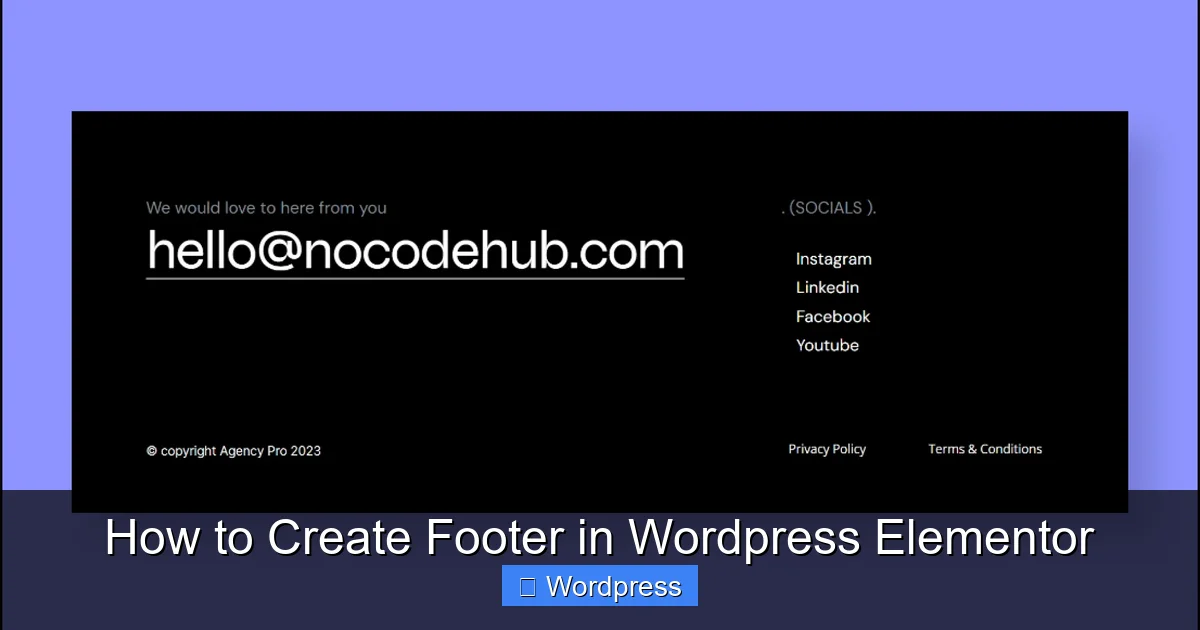
Visual guide about How to Create Footer in WordPress Elementor
Image source: items.templately.com
How to Open Theme Builder
- Go to your WordPress dashboard.
- Navigate to Elementor > Theme Builder.
- Click on Footer under the “Templates” section.
- Click Add New to create a new footer template.
You’ll now see a blank canvas where you can design your footer using Elementor’s drag-and-drop editor.
Step 2: Design Your Footer Layout
Now it’s time to build your footer. Think about what you want to include: company info, quick links, newsletter signup, social media icons, or copyright text. Most footers use a multi-column layout for better organization.
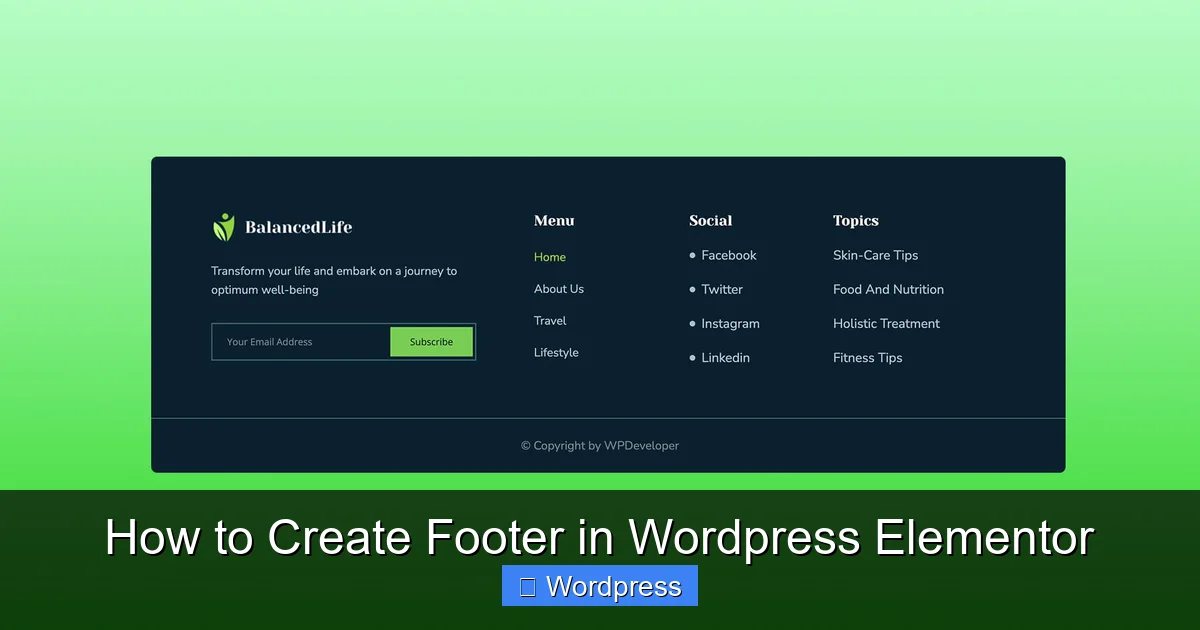
Visual guide about How to Create Footer in WordPress Elementor
Image source: items.templately.com
Choose a Layout Structure
Start by adding a Section widget. Then, choose a column layout—commonly 2, 3, or 4 columns. For example:
- Column 1: Logo and company description
- Column 2: Quick links (e.g., About, Services, Blog)
- Column 3: Contact info and social icons
- Column 4 (optional): Newsletter form or map
Add Content with Widgets
Use Elementor’s widgets to populate each column:
- Heading: For section titles like “About Us” or “Contact”
- Text Editor: For descriptions or addresses
- Menu: To add navigation links (go to Appearance > Menus first to create a menu)
- Social Icons: Link to your Facebook, Instagram, Twitter, etc.
- Shortcode: To embed plugins like contact forms (e.g., from WPForms)
- Image: Upload your logo
Drag and drop these widgets into your columns and customize the text, colors, and spacing to match your brand.
Step 3: Style Your Footer for a Professional Look
Good design isn’t just about content—it’s also about appearance. Elementor makes it easy to style your footer with consistent fonts, colors, and spacing.
Adjust Background and Colors
Click on the section background and choose a color or upload an image. Dark backgrounds with light text are popular for footers, but you can match your site’s color scheme.
Set Typography
Go to the Style tab for each widget and adjust font size, weight, and color. Keep headings bold and body text readable. Use a font size between 14–16px for body text.
Control Spacing and Padding
Use the Advanced tab to add padding (inner spacing) and margin (outer spacing). For example, add 40px padding top and bottom to give your footer breathing room.
Add Hover Effects (Optional)
Make links more interactive by adding hover effects. For instance, change link color to blue when users hover over them.
Step 4: Make Your Footer Mobile-Friendly
Over 60% of web traffic comes from mobile devices, so your footer must look great on phones and tablets.
Switch to Mobile View
In Elementor, click the Responsive Mode icon (bottom-left) and select Mobile. You’ll see how your footer appears on smaller screens.
Adjust Column Layouts
On mobile, multi-column layouts often stack vertically. You can:
- Reduce the number of columns (e.g., from 4 to 2)
- Hide less important sections on mobile using the Responsive settings
- Increase font size for better readability
Test Touch Targets
Ensure buttons and links are large enough to tap easily (at least 44×44 pixels). Avoid placing interactive elements too close together.
Step 5: Set Display Conditions (Elementor Pro Only)
With Elementor Pro, you can control where your footer appears. By default, it will show on all pages—but you can customize this.
How to Set Conditions
- In the footer template editor, click Publish.
- Click Edit Conditions.
- Choose where the footer should appear: Entire Site, Specific Pages, Posts, Archives, etc.
- Click Save & Close.
This ensures your footer only shows where you want it—perfect for landing pages or special templates.
Step 6: Save and Publish Your Footer
Once you’re happy with your design:
- Click Update or Publish in the Elementor editor.
- Visit your website to see the new footer live.
- Test it on different pages and devices.
If something looks off, go back to the Theme Builder and make adjustments. Changes will apply globally.
Troubleshooting Common Footer Issues
Even with Elementor’s ease of use, you might run into problems. Here are quick fixes:
Footer Not Showing Up
- Check if the footer template is published and conditions are set correctly.
- Ensure your theme supports Elementor footers (most do, but some older themes may conflict).
- Clear your cache (from plugins or hosting) to see changes.
Layout Breaks on Mobile
- Use Elementor’s responsive controls to hide or resize elements.
- Avoid fixed widths—use percentages or flex layouts.
- Test on real devices, not just the editor preview.
Styling Conflicts with Theme
- Some themes override Elementor styles. Use Custom CSS in Elementor to override theme rules.
- Learn more about the best way to add CSS in WordPress for advanced tweaks.
Footer Too Tall or Too Short
- Adjust section height and padding in the Advanced tab.
- Use min-height if you want a consistent footer size.
Pro Tips for a High-Converting Footer
A great footer does more than look good—it drives action. Here’s how to make yours effective:
- Add a Call-to-Action: Include a button like “Get a Free Quote” or “Subscribe Now.”
- Link to Legal Pages: Add Privacy Policy, Terms of Service, and Cookie Policy for compliance.
- Use Schema Markup: Help search engines understand your footer content (advanced, but beneficial for SEO).
- Keep It Updated: Review your footer every few months to ensure links and info are current.
Conclusion: Your Footer, Your Brand
Creating a footer in WordPress Elementor is a straightforward process that pays big dividends. With Elementor’s visual editor, you can design a footer that’s both functional and beautiful—without touching a line of code.
Remember to keep it clean, mobile-friendly, and aligned with your brand. Use the Theme Builder for global control, test across devices, and don’t forget to include essential links and contact info. A well-designed footer not only improves user experience but also supports your site’s credibility and SEO.
Now that you know how to create a footer in WordPress Elementor, take the next step: explore how to create a coming soon page in WordPress to launch your site with style.