This guide shows you how to create multiple WordPress sites locally using tools like XAMPP or Local by Flywheel. You’ll learn to set up isolated environments for testing, development, and learning—all without affecting live websites.
Key Takeaways
- Choose the right local server tool: Tools like XAMPP, MAMP, or Local by Flywheel make it easy to run WordPress offline on your computer.
- Each site needs its own folder and database: To avoid conflicts, every local WordPress site should have a unique directory and MySQL database.
- Use descriptive site names: Name your local sites clearly (e.g., “client-project-test”) so you can easily identify them later.
- Keep your local environment updated: Regularly update your local server software and WordPress installations for security and compatibility.
- Backup your local sites: Even though they’re offline, backing up your local WordPress files and databases prevents data loss.
- Test themes and plugins safely: Use local sites to experiment with new themes or plugins before deploying them live—check out our guide on how to create a WordPress theme with Elementor for hands-on practice.
Why Create Multiple WordPress Sites Locally?
Building WordPress sites locally means you can design, test, and develop without needing internet access or risking a live website. Whether you’re a developer working on client projects, a blogger testing a new layout, or a student learning WordPress, running sites on your own machine gives you full control.
Creating multiple WordPress sites locally lets you work on different projects at once—like a portfolio site, an e-commerce prototype, or a staging version of your blog—all safely separated from one another. This is especially useful when you want to try out new themes, plugins, or custom code without breaking anything important.
What You’ll Need
Before we begin, make sure you have:
- A computer running Windows, macOS, or Linux
- At least 2GB of free disk space (more is better)
- Administrator access to install software
- Basic familiarity with file folders and web browsers
We’ll use Local by Flywheel in this guide because it’s beginner-friendly, free, and handles most of the technical setup automatically. But we’ll also mention alternatives like XAMPP and MAMP.
Step 1: Install a Local Server Environment
The first step is installing software that mimics a web server on your computer. This allows WordPress to run offline.
Option A: Use Local by Flywheel (Recommended)
Local by Flywheel is a free, modern tool designed specifically for WordPress development. It’s fast, intuitive, and perfect for beginners.
- Go to localwp.com and download the version for your operating system.
- Run the installer and follow the on-screen instructions.
- Launch Local after installation. You’ll see a clean dashboard where you can create new sites.
Option B: Use XAMPP (Advanced Users)
XAMPP is a more traditional local server stack that includes Apache, MySQL, and PHP. It’s powerful but requires manual configuration.
- Download XAMPP from apachefriends.org.
- Install it in a dedicated folder (e.g.,
C:\xamppon Windows). - Start the Apache and MySQL services from the XAMPP control panel.
Tip: If you’re just starting out, stick with Local by Flywheel—it saves time and reduces errors.
Step 2: Create Your First Local WordPress Site
Now let’s build your first local WordPress site.
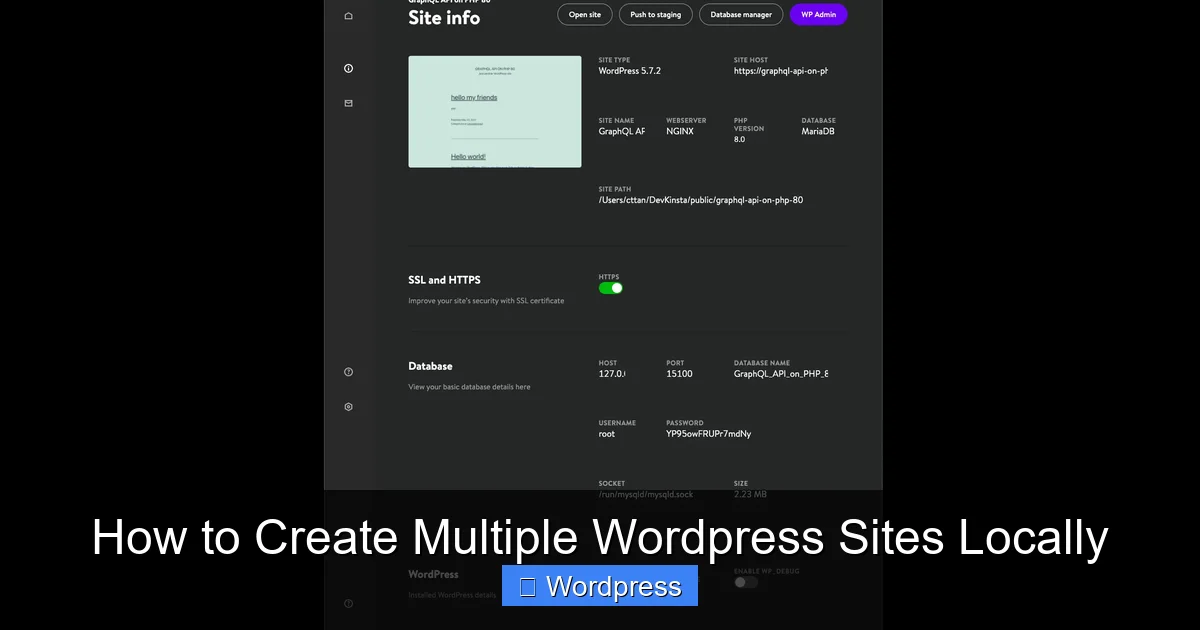
Visual guide about How to Create Multiple WordPress Sites Locally
Image source: cloud.netlifyusercontent.com
Using Local by Flywheel
- Click the “+” button in Local to create a new site.
- Enter a name for your site (e.g., “my-first-site”). Local will automatically create a folder and domain like
my-first-site.local. - Choose your environment settings. The default (Preferred) uses the latest stable versions of PHP and MySQL—perfect for most users.
- Set up admin credentials: enter a username, password, and email (these are only for local use).
- Click “Add Site” and wait a few seconds. Local will download WordPress, set up the database, and launch your site.
Using XAMPP
- Download the latest WordPress ZIP file from wordpress.org.
- Extract the files into
C:\xampp\htdocs\my-first-site(create the folder if needed). - Open your browser and go to
http://localhost/phpmyadmin. - Create a new database called
my_first_site_db. - Visit
http://localhost/my-first-siteand follow the WordPress installer. Userootas the database username with no password.
Once installed, you’ll see the familiar WordPress dashboard. Congratulations—you’ve got your first local site running!
Step 3: Create Additional WordPress Sites
To create another site, simply repeat the process—but give each site a unique name and folder.
In Local by Flywheel
- Click “+” again and name your new site something like “client-website-draft” or “blog-redesign”.
- Local automatically assigns a new domain (e.g.,
client-website-draft.local) and creates a separate database. - Each site runs independently—installing a plugin on one won’t affect the others.
In XAMPP
- Extract a fresh copy of WordPress into a new folder:
C:\xampp\htdocs\second-site. - Create a new database in phpMyAdmin (e.g.,
second_site_db). - Run the installer at
http://localhost/second-site.
Pro Tip: Use consistent naming conventions. For example: project-name-purpose (like “bakery-site-staging” or “portfolio-v2”). This makes managing many sites much easier.
Managing Multiple Sites Efficiently
As your collection grows, organization becomes key.
Use Folders and Notes
Keep a simple text file or spreadsheet listing all your local sites with details like:
- Site name and local URL
- Purpose (e.g., “testing new theme”, “client demo”)
- Date created
- Admin login info
Backup Regularly
Even local sites can be lost due to hardware failure or accidental deletion. In Local by Flywheel, click the “Export” button under any site to save a full backup. With XAMPP, copy the site folder and export the database via phpMyAdmin.
Update Carefully
When WordPress releases updates, apply them to your local sites too—but only after testing on a non-critical site first. This keeps your local environment secure and compatible with future projects.
Troubleshooting Common Issues
Running multiple local sites is usually smooth, but here are fixes for common problems:
“Site Can’t Be Reached” Error
This often happens if the local server isn’t running. In Local by Flywheel, make sure the site’s status is “Running.” In XAMPP, check that Apache and MySQL are started.
Database Connection Errors
Double-check your database name, username, and password in wp-config.php (for XAMPP users). In Local, this is handled automatically—but if you manually edit files, mistakes can occur.
Port Conflicts
If another app (like Skype or Zoom) uses port 80, your local server may fail to start. In XAMPP, change the Apache port to 8080 in the config file. Then access sites via http://localhost:8080/yoursite.
Themes or Plugins Not Working
Some premium themes or plugins may require license keys even on local sites. Check the documentation. Also, ensure your local PHP version matches the plugin’s requirements—you can adjust this in Local by Flywheel’s site settings.
For help choosing reliable themes, read our article on the best WordPress theme for SEO and speed.
When to Move from Local to Live
Once your site is ready, you’ll want to publish it online. Use migration plugins like All-in-One WP Migration or Duplicator to move your local site to a hosting provider. Always test the migrated site thoroughly—sometimes URLs or file paths need updating.
Remember: your local sites are perfect for experimenting. Try installing a new theme manually using our guide on how to install WP themes manually, or test plugin limits with our advice on how many plugins you should use.
Conclusion
Creating multiple WordPress sites locally is a smart, safe way to develop, test, and learn. With tools like Local by Flywheel, the process is quick and beginner-friendly. By giving each site its own space and staying organized, you can manage dozens of projects without confusion.
Whether you’re building client sites, redesigning your blog, or just exploring WordPress features, your local environment is a powerful sandbox. Start small, stay consistent, and soon you’ll wonder how you ever worked without it.