This guide walks you through how to create a WordPress blog from scratch, even if you’re a complete beginner. You’ll learn everything from choosing a hosting provider to customizing your site and publishing content with confidence.
Key Takeaways
- Choose reliable hosting: Pick a trusted provider like Bluehost or SiteGround for smooth WordPress installation and performance.
- Install WordPress in minutes: Most hosts offer one-click installs—no coding needed to get your site live fast.
- Pick the right theme: Use a lightweight, responsive theme that matches your blog’s purpose and improves SEO.
- Customize with ease: Use the WordPress Customizer or page builders like Elementor to design your layout without touching code.
- Install essential plugins: Add functionality with plugins for SEO, security, backups, and contact forms.
- Publish quality content: Write engaging posts using the built-in editor and optimize them for readers and search engines.
- Maintain regularly: Update WordPress, themes, and plugins often to keep your blog secure and running smoothly.
Introduction: Why Start a WordPress Blog?
Starting a blog is one of the best ways to share your ideas, build an audience, or even earn income online. And when it comes to blogging platforms, WordPress powers over 43% of all websites—including millions of blogs. Whether you’re writing about travel, food, tech, or personal growth, WordPress gives you the tools to create a professional, customizable site without needing to code.
In this guide, we’ll show you exactly how to create a WordPress blog from start to finish. You’ll learn how to choose hosting, install WordPress, pick a theme, customize your design, add useful plugins, and publish your first post—all in simple, beginner-friendly steps.
Step 1: Choose a Domain Name and Web Hosting
Your domain name is your blog’s address (like yourblog.com), and web hosting is where your site lives online. These two go hand-in-hand.
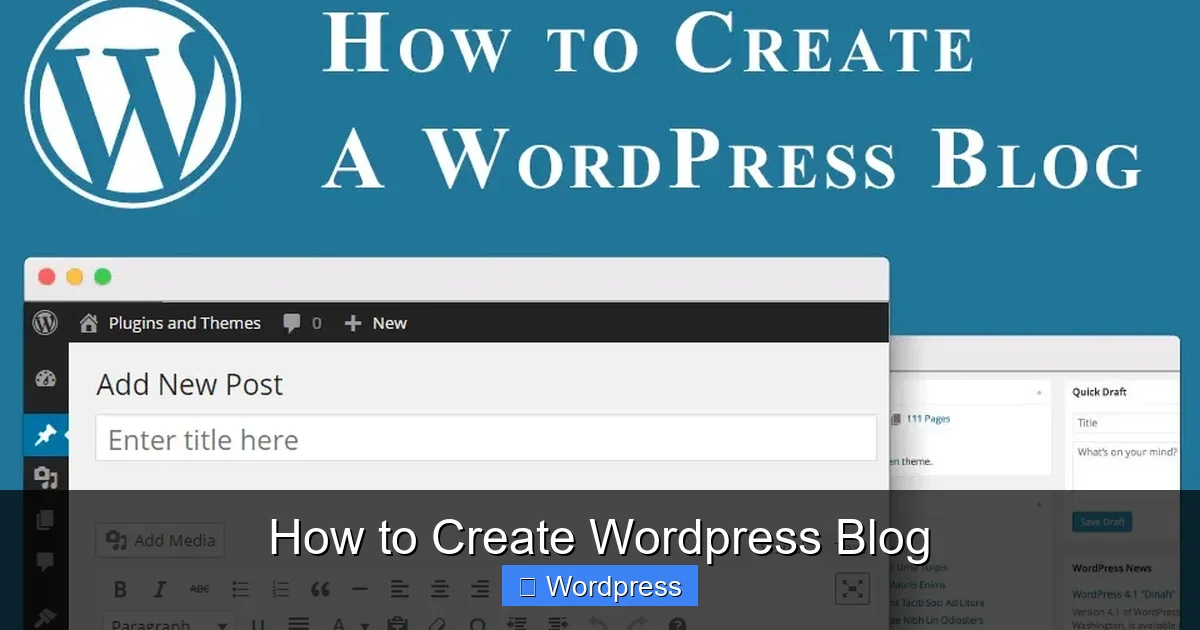
Visual guide about How to Create WordPress Blog
Image source: i2.wp.com
Pick a Memorable Domain Name
- Keep it short, easy to spell, and relevant to your topic.
- Avoid numbers, hyphens, or tricky spellings.
- Use .com if possible—it’s the most trusted extension.
Choose a Reliable Hosting Provider
Look for hosts that offer:
- One-click WordPress installation
- Good uptime (99.9% or higher)
- 24/7 customer support
- Free SSL certificate (for security)
Popular options include Bluehost, SiteGround, and Hostinger. Many offer discounts for new users and include a free domain for the first year.
Step 2: Install WordPress
Most hosting providers make installing WordPress incredibly easy.
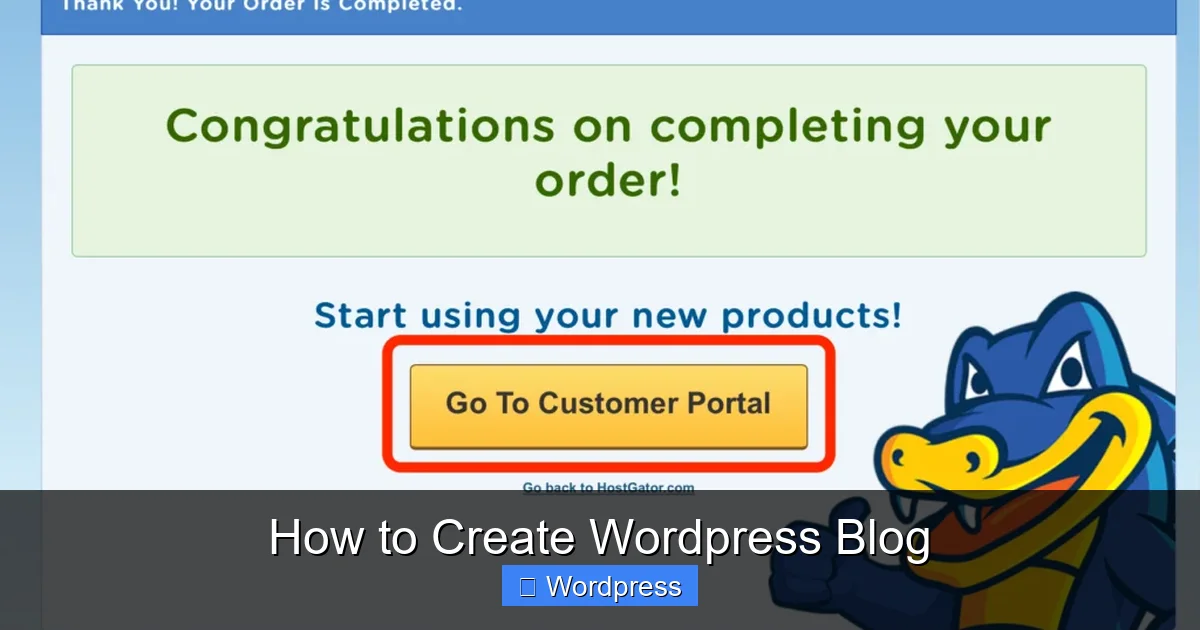
Visual guide about How to Create WordPress Blog
Image source: designforhackers.com
Use the One-Click Installer
- Log into your hosting account dashboard.
- Look for “WordPress Install” or “Website Builder.”
- Click it, enter your site name and admin details, then hit “Install.”
Within minutes, WordPress will be ready. You’ll get login details via email.
Log Into Your WordPress Dashboard
Go to yourdomain.com/wp-admin and enter your username and password. This is your control center—where you’ll manage everything.
Step 3: Choose and Install a WordPress Theme
Themes control how your blog looks. WordPress comes with a default theme, but you’ll want to pick one that fits your style and goals.
Browse Free Themes
- In your dashboard, go to Appearance > Themes > Add New.
- Use keywords like “blog,” “minimal,” or “magazine” to find options.
- Check ratings, update frequency, and mobile responsiveness.
Install and Activate Your Theme
- Click “Install” on your chosen theme.
- Then click “Activate.”
For more advanced designs, consider premium themes from Astra, GeneratePress, or Divi. These offer better speed, customization, and support.
Need help applying your new look? Check out our guide on how to apply a WordPress theme for step-by-step visuals.
Step 4: Customize Your Blog’s Design
Once your theme is active, it’s time to make it yours.
Use the WordPress Customizer
Go to Appearance > Customize. Here you can:
- Change colors and fonts
- Upload your logo
- Set up your homepage (static page or latest posts)
- Adjust header and footer layouts
Changes appear in real time—no guessing!
Add Pages and Menus
- Create essential pages: Home, About, Contact, and Blog.
- Go to Pages > Add New to create each one.
- Then go to Appearance > Menus to organize them in your navigation bar.
Consider Using a Page Builder (Optional)
If you want more design freedom, install a plugin like Elementor. It lets you drag and drop elements to build custom layouts. Learn more in our tutorial on how to create a WordPress theme with Elementor.
Step 5: Install Essential WordPress Plugins
Plugins add features to your blog—like contact forms, SEO tools, and security. But don’t overload your site; stick to quality over quantity. For tips, read our article on how many plugins you should use.
Must-Have Plugins for New Blogs
- Yoast SEO: Helps optimize your posts for search engines.
- WP Super Cache: Speeds up your site by creating static pages.
- Wordfence Security: Protects against hackers and malware.
- UpdraftPlus: Automatically backs up your site to the cloud.
- Contact Form 7: Lets visitors message you easily.
How to Install Plugins
- Go to Plugins > Add New.
- Search for the plugin name.
- Click “Install Now,” then “Activate.”
Step 6: Write and Publish Your First Blog Post
Now for the fun part—creating content!
Create a New Post
- Go to Posts > Add New.
- Add a compelling title and start writing in the editor.
- Use headings (H2, H3), short paragraphs, and bullet points for readability.
Optimize for Readers and SEO
- Include your focus keyword naturally (e.g., “how to create WordPress blog”).
- Add images with descriptive alt text.
- Use internal links to other posts or pages on your site.
- Set a featured image (appears on social shares and archives).
Publish When Ready
Click “Publish” when you’re happy. You can also schedule posts for later under “Publish immediately > Edit.”
Troubleshooting Common Issues
Even with the best setup, you might run into small hiccups. Here’s how to fix them:
“White Screen of Death”
This usually happens after a plugin or theme update. Fix it by:
- Renaming the problematic plugin folder via FTP (deactivates it).
- Switching to a default theme like Twenty Twenty-Four.
Can’t Log Into WordPress
Try resetting your password via the login page’s “Lost your password?” link. If that fails, your host can reset it from their dashboard.
Site Loads Slowly
Common causes include too many plugins, unoptimized images, or poor hosting. Use a caching plugin, compress images, and consider upgrading your plan.
Conclusion: Your WordPress Blog Is Ready!
Congratulations—you’ve just learned how to create a WordPress blog from scratch! You’ve set up hosting, installed WordPress, chosen a theme, customized your design, added key plugins, and published your first post. That’s a huge milestone.
Remember, your blog is a living project. Keep writing great content, update your software regularly, and engage with your readers. Over time, your audience will grow, and your blog can become a powerful platform for sharing your voice.
Ready to take your site further? Explore our guide on the best WordPress theme for SEO and speed to boost performance and visibility.