This guide walks you through how to create a WordPress ecommerce website from scratch. You’ll learn to install WordPress, set up WooCommerce, customize your store, and go live with confidence.
Key Takeaways
- Choose the right hosting: Pick reliable hosting with one-click WordPress install for a smooth start.
- Install WordPress: Most hosts offer easy installation—no coding needed.
- Use WooCommerce: This free plugin turns your site into a full-featured online store.
- Pick a responsive theme: Choose a mobile-friendly, ecommerce-optimized theme like Storefront or Astra.
- Add products easily: Upload images, set prices, and organize categories with simple tools.
- Secure payments and shipping: Configure gateways like PayPal and set up shipping zones.
- Test before launching: Always preview your store and fix issues before going live.
How to Create a WordPress Ecommerce Website
Starting an online store has never been easier—thanks to WordPress and WooCommerce. Whether you’re selling handmade crafts, digital downloads, or physical goods, WordPress gives you the tools to build a professional ecommerce website without needing to code. In this guide, you’ll learn exactly how to create a WordPress ecommerce website in clear, simple steps.
By the end, you’ll have a fully functional online store ready to accept orders. We’ll cover everything from picking hosting to launching your site. No experience? No problem. Let’s get started.
Step 1: Choose a Web Host and Domain Name
Before you can build your store, you need a place to host it. Your web host stores all your website files and makes them accessible online.
Pick a Reliable Hosting Provider
Look for hosts that offer:
– One-click WordPress installation
– 24/7 customer support
– Free SSL certificate
– Good uptime (99.9% or higher)
Popular options include Bluehost, SiteGround, and Hostinger. Many offer special deals for new users.
Register Your Domain Name
Your domain name is your web address (e.g., yourstore.com). Choose something short, memorable, and related to your brand. Most hosts let you register a domain when signing up—often for free the first year.
Tip: Avoid numbers and hyphens. They’re harder to remember and can look spammy.
Step 2: Install WordPress
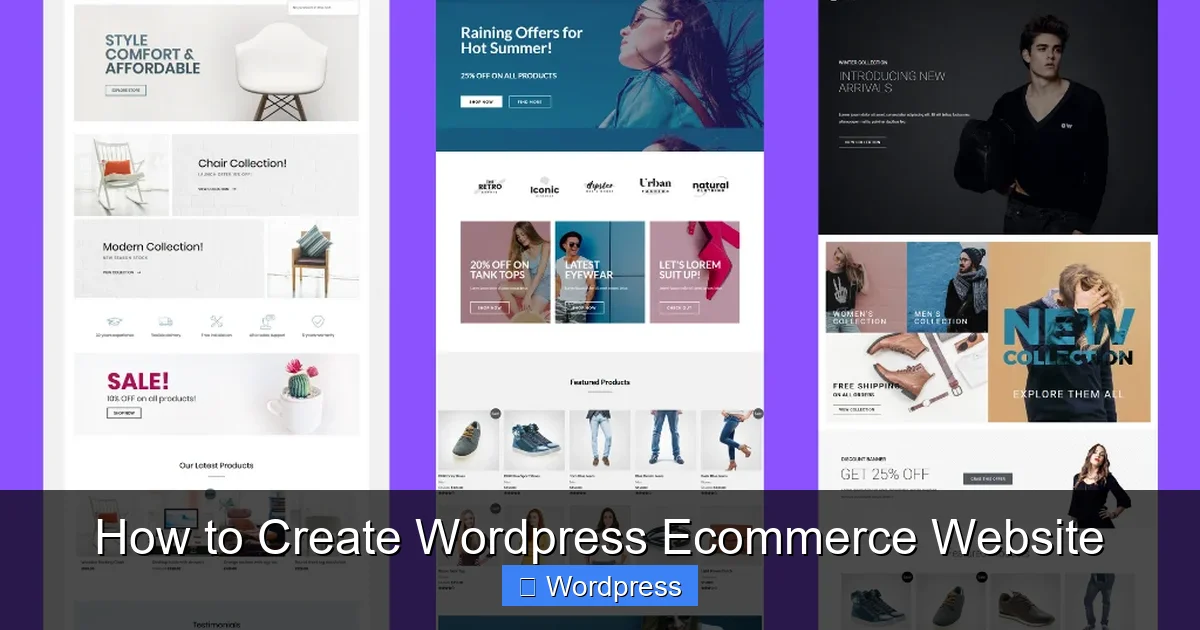
Visual guide about How to Create WordPress Ecommerce Website
Image source: helpiewp.com
Once your hosting is ready, it’s time to install WordPress.
Use One-Click Install
Most hosts have a control panel (like cPanel) with a “WordPress Installer.” Click it, choose your domain, and follow the prompts. Within minutes, WordPress will be installed.
Log In to Your Dashboard
Go to yourdomain.com/wp-admin and log in with the username and password you created. This is your WordPress dashboard—the control center for your site.
If you’re new to WordPress, check out our guide on is WordPress easy to install to learn more about the setup process.
Step 3: Install and Set Up WooCommerce
WooCommerce is the most popular ecommerce plugin for WordPress. It’s free, powerful, and easy to use.
Install the Plugin
In your WordPress dashboard:
1. Go to Plugins > Add New
2. Search for “WooCommerce”
3. Click Install Now, then Activate
Run the Setup Wizard
After activation, WooCommerce will launch a setup wizard. It will ask for:
– Your store location
– What you’re selling (physical, digital, or both)
– Currency
– Shipping options
– Payment methods
Follow the steps carefully. You can change most settings later, but it’s best to get the basics right now.
Step 4: Choose and Install an Ecommerce Theme
Your theme controls how your store looks. For ecommerce, you need a theme that’s fast, mobile-friendly, and works well with WooCommerce.
Recommended Themes
– Storefront: Made by WooCommerce, it’s lightweight and highly customizable.
– Astra: Fast, flexible, and works with page builders like Elementor.
– OceanWP: Great for beginners with many free templates.
Install Your Theme
1. Go to Appearance > Themes > Add New
2. Search for your chosen theme
3. Click Install, then Activate
After activating, visit your site to see the new look. You can further customize it using the WordPress Customizer.
For help choosing the best design, read our guide on the best WordPress theme for SEO and speed.
Step 5: Customize Your Store
Now it’s time to make your store unique.
Set Up Your Homepage
Go to Pages > Add New and create a homepage. Use a page builder like Elementor (free version available) to design it visually. Add a welcome message, featured products, and a call-to-action button.
Customize Colors and Fonts
In Appearance > Customize, you can change:
– Site identity (logo, title)
– Colors
– Typography
– Header and footer layout
Keep your branding consistent. Use your brand colors and a clean, readable font.
Add Menus
Create a navigation menu under Appearance > Menus. Link to key pages like Shop, About, Contact, and Cart.
Step 6: Add Products
Your store needs products to sell. WooCommerce makes this simple.
Create Product Categories
Go to Products > Categories and add groups like “T-Shirts,” “Accessories,” or “Digital Downloads.” This helps customers browse easily.
Add Your First Product
1. Go to Products > Add New
2. Enter the product name and description
3. Set the price
4. Upload a high-quality image
5. Assign it to a category
6. Click Publish
Use Product Variations (Optional)
If you sell items in different sizes or colors, use variable products. Under the product editor, go to Product Data > Variable product and add options.
Tip: Write clear, benefit-focused descriptions. Include keywords like “organic cotton t-shirt” to help with SEO.
Step 7: Configure Payment and Shipping
You need to set up how customers pay and how you ship orders.
Enable Payment Gateways
Go to WooCommerce > Settings > Payments. Enable options like:
– PayPal (free and trusted)
– Stripe (great for credit cards)
– Cash on delivery (for local pickup)
Each gateway has setup instructions. Most only require your email or API keys.
Set Up Shipping Zones
Under WooCommerce > Settings > Shipping, create zones (e.g., “Local,” “International”). Assign shipping methods and rates. You can offer free shipping, flat rates, or real-time carrier calculations.
Tax Settings
In WooCommerce > Settings > Tax, choose whether to enable taxes. If yes, set rates based on your location and product type.
Step 8: Test Your Store
Before launching, test everything.
Place a Test Order
Go through the full checkout process as a customer. Use a test payment method (like PayPal sandbox) to ensure payments work.
Check Mobile Responsiveness
View your site on a phone or tablet. Make sure buttons are easy to tap and text is readable.
Test Load Speed
Use tools like Google PageSpeed Insights. If your site is slow, optimize images and consider a caching plugin.
Troubleshooting Common Issues
Products Not Showing?
Make sure they’re published and assigned to a category. Also, check if your shop page is set correctly under WooCommerce > Settings > Products > Shop Page.
Payment Gateway Not Working?
Double-check your API keys and ensure your SSL certificate is active. Most hosts provide free SSL via Let’s Encrypt.
Theme Looks Broken?
Switch to a default theme like Storefront to see if the issue is theme-related. If it fixes the problem, contact your theme’s support.
For advanced styling, learn the best way to add CSS in WordPress website to tweak your design safely.
Conclusion
Creating a WordPress ecommerce website is simple when you follow the right steps. From choosing hosting to launching your store, each part builds on the last. With WooCommerce, you get a powerful, scalable platform that grows with your business.
Remember to keep your site fast, secure, and user-friendly. Regularly update WordPress, your theme, and plugins to stay protected. And don’t forget to promote your store through social media, email, and SEO.
You now have the tools and knowledge to succeed. Start small, learn as you go, and watch your online business grow.