This guide walks you through how to design a blog in WordPress from start to finish. You’ll learn to pick the right theme, customize your layout, set up navigation, and make your blog visually appealing and user-friendly.
Key Takeaways
- Choose a responsive theme: Your blog should look great on phones, tablets, and desktops. Pick a mobile-friendly WordPress theme.
- Use the WordPress Customizer: This built-in tool lets you preview changes in real time before publishing them.
- Set up clear navigation: Create a simple menu so readers can easily find your posts and pages.
- Customize colors and fonts: Match your blog’s style to your brand with consistent colors and readable fonts.
- Add essential widgets: Use widgets for search bars, recent posts, and social links to improve usability.
- Optimize for speed and SEO: A fast, search-friendly blog ranks better and keeps readers engaged.
- Test before launching: Always preview your design on different devices to catch layout issues early.
How to Design Blog in WordPress: A Complete Step-by-Step Guide
Starting a blog in WordPress is exciting—but designing it so it looks professional and works smoothly can feel overwhelming. Don’t worry! This guide will show you exactly how to design a blog in WordPress, even if you’re a beginner. You’ll learn how to choose the right theme, customize your layout, set up menus, and make your blog both beautiful and functional.
By the end of this guide, you’ll have a fully designed blog that’s ready to publish. We’ll keep things simple, practical, and jargon-free. Let’s get started!
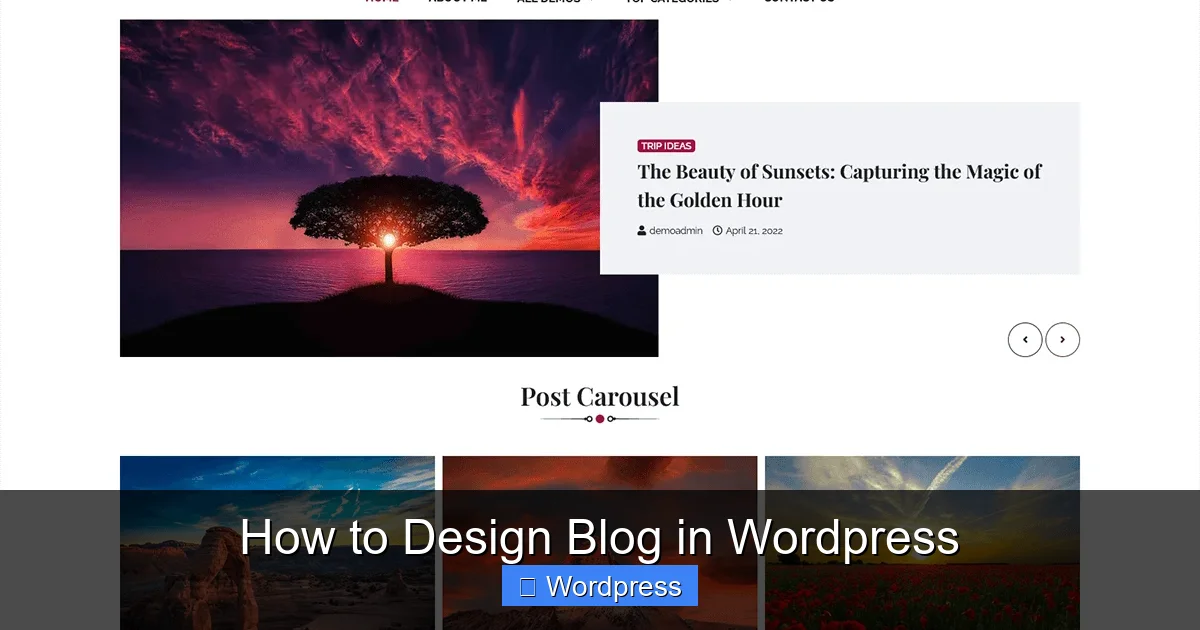
Step 1: Choose the Right WordPress Theme
Your theme controls how your blog looks and behaves. It’s the foundation of your design, so choosing wisely is key.
Visual guide about How to Design Blog in WordPress
Image source: i0.wp.com
Browse Free and Premium Themes
WordPress offers thousands of free themes in its official directory. Go to Appearance > Themes > Add New in your WordPress dashboard. Use filters like “Blog” or “Responsive” to narrow your search. If you want more features, consider a premium theme from trusted marketplaces like ThemeForest or Elegant Themes.
Look for These Features
- Mobile responsiveness: Over 60% of web traffic comes from mobile devices. Your theme must adapt to all screen sizes.
- Customization options: Choose themes that support the WordPress Customizer or page builders like Elementor.
- Fast loading speed: Bloated themes slow down your site. Check reviews and demo load times.
- SEO-friendly structure: Clean code helps search engines understand your content.
Install and Activate Your Theme
Once you’ve picked a theme, click “Install” and then “Activate.” Your blog will now use the new design. Don’t worry—your content stays safe.
Tip: If you ever need to switch themes later, check out our guide on how to apply a WordPress theme without losing your settings.
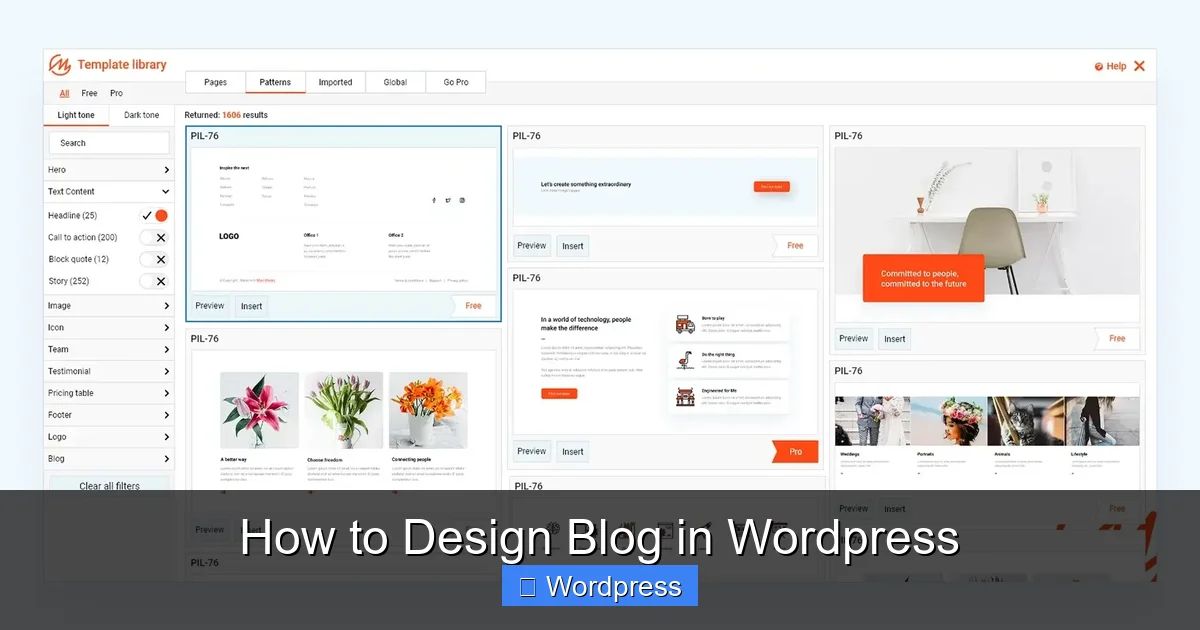
Step 2: Customize Your Blog’s Appearance
Now that your theme is active, it’s time to make it your own. WordPress makes this easy with the built-in Customizer.
Visual guide about How to Design Blog in WordPress
Image source: maxiblocks.com
Open the WordPress Customizer
Go to Appearance > Customize. This opens a live preview of your blog where you can tweak settings and see changes instantly.
Change Site Identity
Start with your blog’s name and logo. Under Site Identity, upload your logo and set your site title and tagline. These appear in your header and browser tab.
Adjust Colors and Fonts
Most themes let you change background colors, text colors, and button styles. Look for sections like Colors or Typography. Stick to 2–3 colors max for a clean look. Choose readable fonts—sans-serif fonts like Arial or Open Sans work well for blogs.
Set Your Homepage Display
Decide whether your homepage shows your latest posts or a static page. Go to Homepage Settings and choose “Your latest posts” for a traditional blog layout.
Customize the Header and Footer
Some themes allow header and footer editing in the Customizer. You can add a banner, change the menu location, or insert footer text like copyright info.
Step 3: Set Up Navigation Menus
A clear menu helps readers find your content. WordPress lets you create custom menus easily.

Visual guide about How to Design Blog in WordPress
Image source: jobsgo.vn
Create a New Menu
Go to Appearance > Menus. Click “Create a new menu,” give it a name (like “Main Menu”), and click “Create Menu.”
Add Pages and Links
On the left, you’ll see your pages, posts, and categories. Check the boxes for items you want in your menu (e.g., Home, About, Contact) and click “Add to Menu.” You can also add custom links, like your Instagram profile.
Organize Menu Items
Drag and drop menu items to reorder them. Create dropdowns by dragging a menu item slightly to the right under another item.
Assign the Menu Location
At the bottom, choose where your menu appears (usually “Primary Menu” or “Header Menu”). Save your changes.
Note: Not all themes generate navigation menus the same way. Learn more in our article: Are navigation menus automatically generated in WordPress themes?
Step 4: Customize Widgets and Sidebars
Widgets add functionality to your blog’s sidebar, footer, or other widget-ready areas.
Access the Widgets Area
Go to Appearance > Widgets. You’ll see available widget areas (like “Sidebar” or “Footer 1”) and a list of widgets you can add.
Add Useful Widgets
- Search: Lets readers search your blog.
- Recent Posts: Shows your latest articles.
- Categories: Helps readers browse by topic.
- Social Media Icons: Link to your profiles (use a plugin like “Simple Social Icons” if your theme doesn’t support this).
Drag and Drop to Arrange
Simply drag widgets into your desired area. You can reorder them by dragging up or down. Most widgets have settings—click the arrow to expand and customize.
Step 5: Optimize Your Blog for Speed and SEO
A beautiful blog is useless if it loads slowly or doesn’t rank in search engines.
Optimize Images
Large images slow down your site. Use tools like TinyPNG to compress images before uploading. Also, add descriptive alt text for SEO.
Use a Caching Plugin
Install a plugin like WP Super Cache or W3 Total Cache to speed up page loading. These store static versions of your pages.
Install an SEO Plugin
Plugins like Yoast SEO or Rank Math help you optimize titles, meta descriptions, and headings. They also check readability and suggest improvements.
Minimize Plugins
Only install plugins you truly need. Too many can slow your site and cause conflicts.
Step 6: Test and Launch Your Blog
Before hitting “publish,” test your blog thoroughly.
Preview on Multiple Devices
Use your phone, tablet, and desktop to check how your blog looks. Does the text resize? Is the menu easy to use? Fix any layout issues.
Check for Broken Links
Click through your menu and widgets to ensure all links work. You can also use our guide on how to fix broken links in WordPress without a plugin for quick fixes.
Test Loading Speed
Use free tools like Google PageSpeed Insights to check your site’s performance. Aim for a score above 80 on mobile.
Get Feedback
Ask a friend to visit your blog and give honest feedback. Fresh eyes often spot issues you missed.
Troubleshooting Common Design Issues
Even with careful planning, problems can happen. Here’s how to fix common ones:
- White screen after theme change: This usually means a plugin conflict. Deactivate all plugins, then reactivate one by one to find the culprit.
- Menu not appearing: Double-check that you assigned the menu to the correct location in Appearance > Menus.
- Fonts not loading: Some themes require Google Fonts. Make sure your internet connection is stable and the font URL is correct.
- Layout breaks on mobile: Switch to a more responsive theme or use a plugin like WP Touch for mobile optimization.
Conclusion
Designing a blog in WordPress doesn’t have to be hard. By choosing the right theme, using the Customizer, setting up clear navigation, and optimizing for speed and SEO, you can create a professional-looking blog that readers love. Remember to test everything before launching, and don’t be afraid to tweak your design as your blog grows.
With these steps, you now know exactly how to design a blog in WordPress—from setup to launch. Start building, stay consistent, and enjoy sharing your voice with the world!