Blurry images can hurt your WordPress site’s credibility and user experience. This guide walks you through proven methods to fix image quality issues, from resizing and compression to theme and plugin fixes. Get crisp, clear visuals in minutes.
Key Takeaways
- Upload high-resolution images: Always use images at least 1500px wide for best display on modern screens.
- Use correct image formats: JPEG for photos, PNG for graphics with transparency, and WebP for faster loading.
- Optimize images before uploading: Compress files without losing quality using tools like TinyPNG or ShortPixel.
- Check your WordPress theme settings: Some themes scale or compress images automatically—adjust these settings.
- Regenerate thumbnails: Use a plugin like Regenerate Thumbnails to fix incorrectly sized image versions.
- Avoid stretching small images: Never force a low-res image into a large space—it will always look blurry.
- Update plugins and themes: Outdated code can cause image rendering issues—keep everything current.
Introduction: Why Are Your WordPress Images Blurry?
If you’ve ever uploaded a sharp photo to your WordPress site only to see it look fuzzy or pixelated, you’re not alone. Blurry images are one of the most common frustrations for WordPress users—and they can seriously impact how professional your site appears. Whether you’re running a blog, portfolio, or online store, image quality matters.
In this guide, we’ll show you exactly how to fix blurry images in WordPress using practical, step-by-step solutions. You’ll learn how to upload the right file types, optimize images for speed and clarity, adjust theme settings, and troubleshoot common causes. By the end, your images will look crisp, clear, and ready to impress visitors.
Step 1: Use High-Resolution Source Images
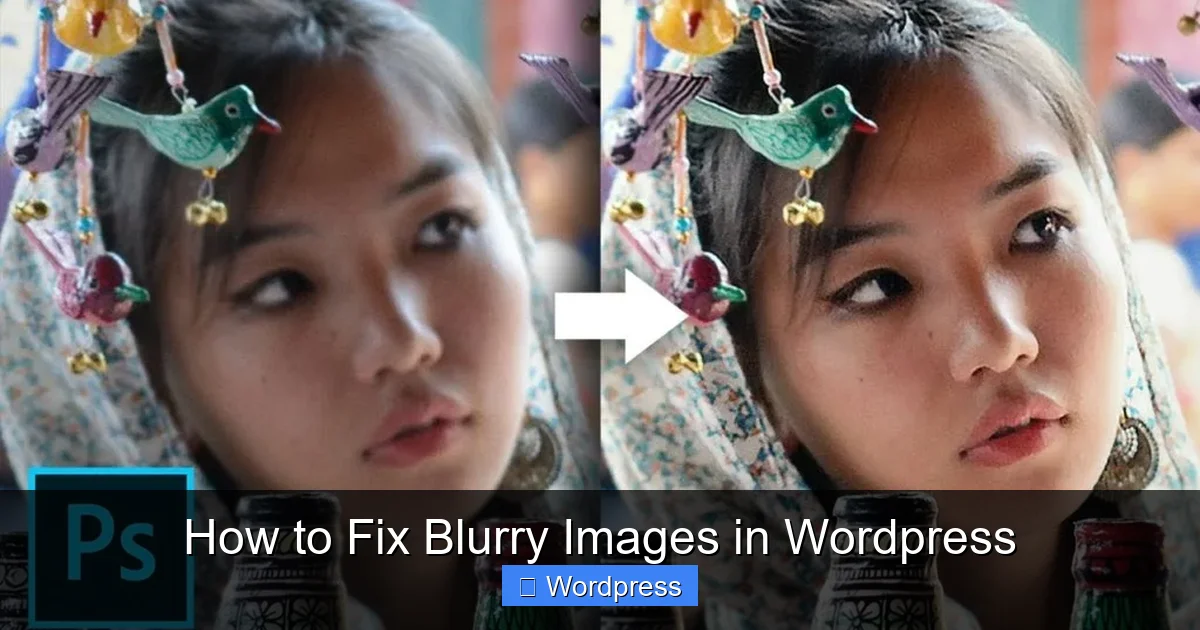
Visual guide about How to Fix Blurry Images in WordPress
Image source: webgyaani.com
The first rule of sharp images? Start with a high-quality original.
Many blurry image problems begin before you even open WordPress. If you upload a small or low-resolution image (like one from a phone screenshot or a compressed email attachment), WordPress can’t magically make it clearer.
What resolution should you use?
Aim for images that are at least 1500 pixels wide. This ensures they look good on large desktop screens and high-DPI (retina) displays. For featured images or hero banners, 2000px wide is even better.
Pro tip: Avoid upscaling
Never enlarge a small image using HTML or CSS (e.g., setting width=”800″ on a 400px image). This stretches the pixels and creates blur. Always upload an image that’s close to or larger than the display size.
Step 2: Choose the Right Image Format
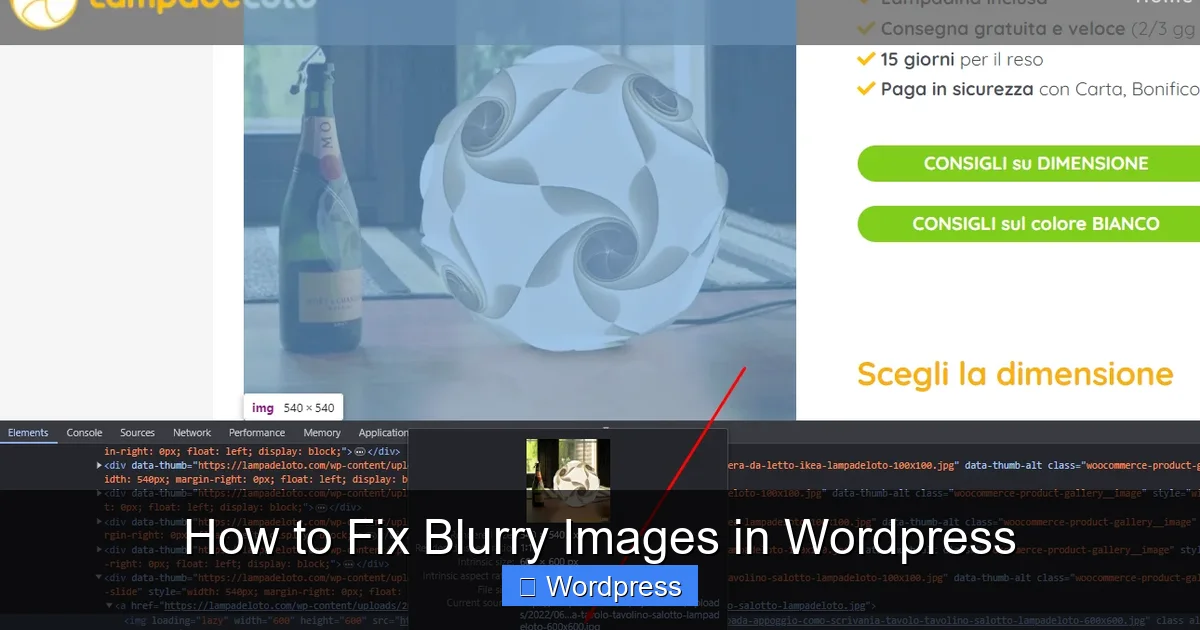
Visual guide about How to Fix Blurry Images in WordPress
Image source: snipboard.io
Not all image formats are created equal. Using the wrong one can lead to unnecessary compression and loss of detail.
JPEG for photos
Use JPEG for realistic photos with gradients and many colors. It offers good compression while maintaining quality. Just avoid saving the same JPEG over and over—each save degrades quality slightly.
PNG for graphics and transparency
PNG is ideal for logos, icons, or images with transparent backgrounds. It supports lossless compression, meaning no quality loss—but file sizes are larger than JPEG.
WebP for speed and quality
WebP is a modern format that delivers smaller file sizes with better quality than JPEG or PNG. Most browsers now support it, and WordPress has built-in WebP support since version 5.8. If your hosting supports it, convert your images to WebP for faster loading and sharper results.
> 💡 Tip: Use a plugin like ShortPixel or Smush to automatically convert uploads to WebP.
Step 3: Optimize Images Before Uploading
Large image files slow down your site and can cause display issues. But you don’t have to sacrifice quality to reduce file size.
Compress without losing quality
Use free online tools like TinyPNG or Squoosh to compress your images. These tools reduce file size by removing unnecessary metadata and optimizing compression—without making your image blurry.
Resize images to fit your layout
If your theme displays blog images at 800px wide, there’s no need to upload a 4000px image. Resize it to match the maximum display size using tools like Photoshop, Canva, or even free software like GIMP.
Batch process multiple images
If you’re uploading many images (like for a product catalog), use bulk optimization tools. Plugins like EWWW Image Optimizer can compress and resize all your existing media library images in one go.
Step 4: Check Your WordPress Theme Settings
Sometimes, the problem isn’t the image—it’s how your theme handles it.
Many WordPress themes automatically resize, crop, or compress images to fit design layouts. While helpful, these features can sometimes reduce quality.
Review theme image options
Go to Appearance > Customize in your WordPress dashboard. Look for sections like “Image Sizes,” “Featured Images,” or “Theme Options.” Some themes let you adjust compression levels or disable automatic resizing.
For example, if your theme compresses images to 70% quality to save space, you might see blur. Increase the quality setting if available.
Use a child theme for custom changes
If you need to modify how images are displayed (like changing thumbnail sizes), use a child theme to avoid losing changes when updating. Learn more about what is a child theme in WordPress and why it’s essential for safe customization.
Test with a default theme
Still seeing blurry images? Temporarily switch to a default WordPress theme like Twenty Twenty-Four. If images look sharp, the issue is with your original theme. Check for updates or contact the theme developer.
> 🔗 Related: How to update theme on WordPress safely without breaking your site.
Step 5: Regenerate Thumbnails
WordPress creates multiple versions of each uploaded image (thumbnails, medium, large). If these are generated incorrectly, your images may appear blurry—even if the original is fine.
Install the Regenerate Thumbnails plugin
Go to Plugins > Add New and search for “Regenerate Thumbnails.” Install and activate it.
Run the regeneration tool
Navigate to Tools > Regenerate Thumbnails. Click “Regenerate All Thumbnails.” This recreates all image sizes based on your current theme’s settings.
This is especially helpful after changing themes or updating image size settings. It ensures all versions of your images match the new dimensions.
Step 6: Disable Lazy Loading (Temporarily)
Lazy loading improves page speed by loading images only when they come into view. But in rare cases, it can cause rendering issues that make images look blurry on load.
Test without lazy loading
If you suspect lazy loading is the culprit, disable it temporarily. You can do this via your caching plugin (like WP Rocket or W3 Total Cache) or by adding this code to your theme’s functions.php file:
add_filter('wp_lazy_loading_enabled', '__return_false');Reload your page and check if images appear sharp immediately. If so, consider adjusting lazy loading settings instead of disabling it completely.
Step 7: Update Plugins and Themes
Outdated plugins or themes can cause unexpected behavior—including image display problems.
Keep everything updated
Regularly update your WordPress core, themes, and plugins. Developers often fix bugs related to image handling in updates.
Before updating, always back up your site. Then go to Dashboard > Updates and apply any pending updates.
> 🔗 Related: How to upgrade WordPress theme without losing customizations.
Troubleshooting Common Issues
Still stuck? Here are a few extra fixes:
Images look blurry on mobile
This could be due to responsive image scaling. Check your theme’s CSS for rules that resize images on smaller screens. Use media queries to serve appropriately sized images.
Logo or header image is fuzzy
Upload your logo as an SVG file if possible—SVGs are vector-based and stay sharp at any size. If using PNG, make sure it’s at least 300px wide.
Images from external sources appear blurry
Avoid hotlinking images from other sites. Download and upload them to your media library instead. External images may be low-res or blocked by hotlink protection.
Conclusion: Keep Your Images Crisp and Professional
Blurry images don’t have to be a permanent problem on your WordPress site. By following these steps—uploading high-res originals, choosing the right format, optimizing files, adjusting theme settings, and regenerating thumbnails—you can ensure every image looks its best.
Remember: Image quality affects trust, engagement, and SEO. Sharp, fast-loading visuals keep visitors on your site longer and improve your overall user experience.
Take a few minutes today to audit your media library. Optimize a few key images, regenerate thumbnails, and test your changes. Your site—and your visitors—will thank you.