This guide walks you through installing a WordPress theme on localhost using XAMPP, ideal for safe testing and development. You’ll learn to set up your local server, upload themes manually or via the dashboard, and troubleshoot common issues.
Key Takeaways
- XAMPP creates a local server environment so you can run WordPress offline without hosting.
- WordPress must be installed first before adding any themes to your localhost site.
- Themes can be uploaded via the WordPress dashboard or manually through the file system.
- Always back up your site before installing new themes to avoid data loss.
- Child themes are safer for customization and prevent losing changes during updates.
- Common errors include file permission issues and missing PHP extensions—check logs for clues.
- Testing themes locally saves time and money before deploying to a live website.
Introduction
Installing a WordPress theme on localhost using XAMPP is a smart way to test designs, plugins, and functionality before launching a live website. Whether you’re a developer, designer, or blogger, working locally gives you full control without risking your public site. In this guide, you’ll learn how to install a WordPress theme on localhost XAMPP step by step—no prior experience required.
We’ll cover everything from setting up your local environment to uploading and activating your theme. By the end, you’ll be able to experiment freely with different themes, knowing your changes are safe and reversible.
Prerequisites: What You Need Before Starting
Before installing a WordPress theme, make sure you have the following ready:

Visual guide about How to Install WordPress Theme on Localhost Xampp
Image source: themepure.net
- XAMPP installed on your computer (Windows, macOS, or Linux).
- WordPress downloaded and installed on your local server.
- A WordPress theme file (usually a .zip file from WordPress.org, ThemeForest, or another provider).
- Basic familiarity with file folders and web browsers.
If you haven’t installed WordPress on XAMPP yet, check out our guide on Is WordPress Easy to Install? for a beginner-friendly walkthrough.
Step 1: Start Your XAMPP Local Server
First, launch XAMPP and start the necessary services.
Open XAMPP Control Panel
Double-click the XAMPP icon on your desktop or find it in your applications folder. Once open, you’ll see a list of modules like Apache and MySQL.
Start Apache and MySQL
Click the “Start” button next to Apache and MySQL. Wait until both turn green, indicating they’re running. These services power your local web server and database.
Verify the Server is Running
Open your browser and go to http://localhost. If you see the XAMPP dashboard, your local server is active and ready.
Step 2: Access Your Local WordPress Site
Now that your server is running, open your WordPress site.
Visual guide about How to Install WordPress Theme on Localhost Xampp
Image source: i.sstatic.net
Navigate to Your WordPress Dashboard
Type http://localhost/your-wordpress-folder into your browser. Replace “your-wordpress-folder” with the actual folder name where WordPress is installed (e.g., http://localhost/mysite).
Log In to WordPress
Go to http://localhost/your-wordpress-folder/wp-admin and log in with your username and password. You should now be in the WordPress admin dashboard.
Step 3: Install a WordPress Theme via the Dashboard (Easiest Method)
The simplest way to add a theme is through the WordPress admin area.
Go to Appearance > Themes
In the left sidebar, click Appearance, then Themes. You’ll see a list of currently installed themes.
Click “Add New”
At the top of the page, click the Add New button. This opens the theme browser where you can search free themes from the WordPress directory.
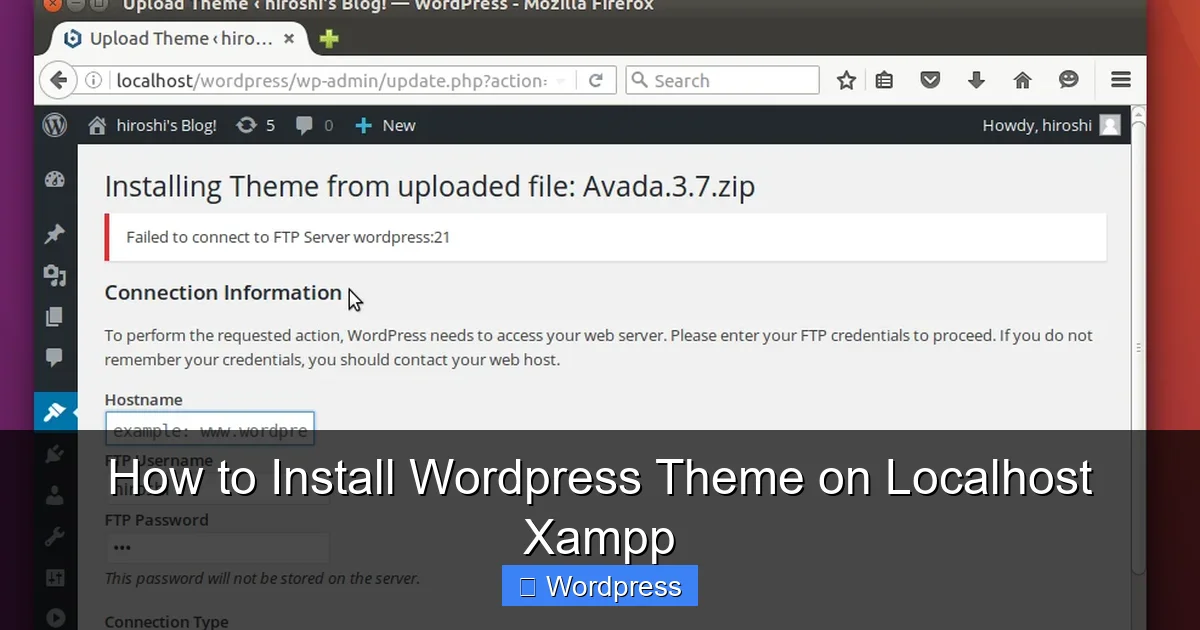
Upload a Custom Theme (ZIP File)
If you have a premium or custom theme in a .zip file, click Upload Theme at the top. Choose the .zip file from your computer and click Install Now.
Activate the Theme
Once installed, click Activate to make it your active theme. Your site will immediately reflect the new design.
Tip: Always preview a theme before activating it by clicking “Live Preview” to avoid breaking your site’s layout.
Step 4: Install a Theme Manually (Advanced Method)
If the dashboard method fails (e.g., due to file size limits), you can install the theme manually.
Locate Your WordPress Themes Folder
Open your file explorer and navigate to:
C:\xampp\htdocs\your-wordpress-folder\wp-content\themes\
(On macOS or Linux, the path may vary slightly.)
Extract the Theme ZIP File
Unzip your theme file (e.g., my-theme.zip) and place the extracted folder into the themes directory. The folder name should match the theme (e.g., my-theme).
Return to WordPress Dashboard
Go back to Appearance > Themes in your WordPress admin. The new theme should now appear in the list.
Activate the Theme
Click Activate to apply it. If the theme doesn’t appear, double-check the folder name and ensure it contains the required files like style.css.
For more details, see our guide on How to Install WP Themes Manually.
Step 5: Customize Your New Theme
After activation, you can personalize your theme.
Use the WordPress Customizer
Go to Appearance > Customize. Here, you can change colors, fonts, layouts, and more in real time.
Install Recommended Plugins
Some themes require plugins for full functionality (e.g., page builders or sliders). WordPress will often prompt you to install them.
Create a Child Theme (Recommended)
To safely modify your theme without losing changes during updates, create a child theme. Learn how in our article: What Is a Child Theme in WordPress?
Troubleshooting Common Issues
Even with careful steps, problems can arise. Here’s how to fix the most common ones.
“The package could not be installed” Error
This usually means the .zip file is corrupted or not a valid theme. Re-download the theme and ensure it contains a style.css file with proper headers.
Theme Not Appearing After Manual Upload
Check that the theme folder is directly inside wp-content/themes/ and not nested in another folder. Also, verify file permissions—folders should be readable by the server.
White Screen or “Fatal Error” After Activation
This indicates a PHP error. Deactivate the theme by renaming its folder via FTP or file manager, then check the error log in xampp/php/logs/ for details.
Missing Styles or Broken Layout
Clear your browser cache and WordPress cache (if using a plugin). Also, ensure all required plugins are installed and activated.
Best Practices for Local Theme Testing
Make the most of your local setup with these tips:
- Test multiple themes to compare designs and performance.
- Use dummy content (via plugins like WP Dummy Content) to see how themes handle real data.
- Check responsiveness by resizing your browser or using developer tools.
- Export your local site when ready to go live using migration plugins like All-in-One WP Migration.
- Keep backups of your local site before major changes.
Once you’re happy with your theme, you can apply it to your live site. For guidance, read How to Apply WordPress Theme.
Conclusion
Installing a WordPress theme on localhost XAMPP is a powerful way to build and test websites safely. Whether you use the dashboard uploader or manual file placement, the process is straightforward once your local server is running. Remember to activate your theme, customize it thoughtfully, and always use a child theme for modifications.
By working locally, you save time, avoid downtime, and gain confidence before launching your site. Now that you know how to install a WordPress theme on localhost XAMPP, you’re ready to experiment, learn, and create amazing websites—all from your own computer.