This guide walks you through the complete process of installing a WordPress theme on your PC using local server software like XAMPP or WAMP. You’ll learn how to set up a local WordPress environment, upload themes manually or via the dashboard, and troubleshoot common issues.
Key Takeaways
- Set up a local server: Use tools like XAMPP or WAMP to run WordPress on your PC for safe testing.
- Install WordPress locally: Download and configure WordPress on your computer before adding themes.
- Upload themes via dashboard: Use the WordPress admin panel to install free themes from the official directory.
- Manual theme installation: Learn how to upload premium or custom themes using FTP or the file manager.
- Activate and customize: Once installed, activate your theme and begin customizing your site’s appearance.
- Troubleshoot common errors: Fix issues like missing stylesheets or permission errors during installation.
- Use child themes for safety: Always create a child theme before making major changes to avoid losing updates.
How to Install WordPress Theme on PC: A Complete Guide
If you’re building a WordPress website on your personal computer—whether for learning, development, or testing—you’ll eventually want to install a new theme. Installing a WordPress theme on your PC is simple once you have a local server environment set up. This guide will walk you through every step, from setting up your local server to activating your new theme.
By the end of this tutorial, you’ll know how to install both free and premium WordPress themes on your PC using two main methods: through the WordPress dashboard and manually via file upload. We’ll also cover troubleshooting tips and best practices to keep your site running smoothly.
Step 1: Set Up a Local Server Environment
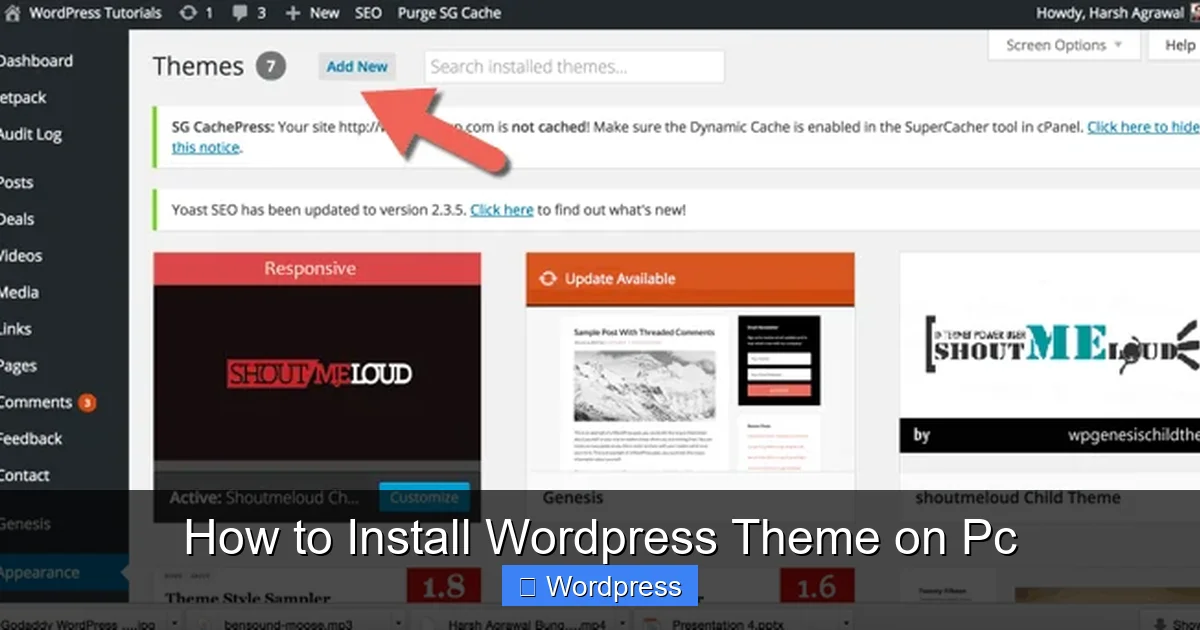
Visual guide about How to Install WordPress Theme on Pc
Image source: wpsutra.com
Before you can install WordPress or any theme, you need a local server running on your PC. This simulates a live web hosting environment so you can build and test your site offline.
Choose a Local Server Tool
Popular options include:
- XAMPP – Works on Windows, macOS, and Linux. Easy to install and widely used.
- WAMP – Designed for Windows users. Simple interface and reliable performance.
- MAMP – Ideal for macOS users, but also available for Windows.
For this guide, we’ll use XAMPP as an example.
Download and Install XAMPP
- Go to the official XAMPP website (https://www.apachefriends.org).
- Download the version compatible with your operating system.
- Run the installer and follow the prompts. Make sure Apache and MySQL are selected during installation.
- Once installed, open the XAMPP Control Panel and start the Apache and MySQL services.
Verify the Server is Running
Open your web browser and go to http://localhost. If you see the XAMPP welcome page, your local server is working correctly.
Step 2: Install WordPress on Your PC
Now that your local server is ready, it’s time to install WordPress.
Download WordPress
- Visit wordpress.org/download and download the latest version of WordPress as a ZIP file.
- Extract the ZIP file to a folder inside
xampp/htdocs/. For example, create a folder namedmysiteand place the WordPress files there.
Create a Database
WordPress needs a database to store content and settings.
- Open your browser and go to
http://localhost/phpmyadmin. - Click on “Databases” and create a new database (e.g.,
wordpress_db). - No need to add tables yet—WordPress will do this automatically during installation.
Run the WordPress Installer
- Go to
http://localhost/mysitein your browser. - Select your language and click “Continue.”
- Click “Let’s go!” and enter your database details:
- Database Name:
wordpress_db - Username:
root - Password: (leave blank)
- Database Host:
localhost - Table Prefix:
wp_(default is fine)
- Database Name:
- Click “Submit” and then “Run the installation.”
- Enter your site title, admin username, password, and email. Click “Install WordPress.”
Once installed, log in to your WordPress dashboard at http://localhost/mysite/wp-admin.
Step 3: Install a WordPress Theme via the Dashboard
The easiest way to install a free theme is through the WordPress admin panel.
Browse Free Themes
- In your dashboard, go to Appearance > Themes.
- Click Add New.
- Browse or search for a theme (e.g., “Astra,” “OceanWP,” or “Twenty Twenty-Four”).
- Click Install on the theme you like.
- After installation, click Activate.
Your new theme is now live on your local site! You can start customizing it under Appearance > Customize.
Step 4: Install a WordPress Theme Manually
If you’ve purchased a premium theme or downloaded one from a third-party site, you’ll need to install it manually.
Download the Theme File
Most premium themes come as a ZIP file (e.g., my-theme.zip). Do not extract it—WordPress needs the ZIP for upload.
Upload via WordPress Dashboard
- Go to Appearance > Themes > Add New.
- Click Upload Theme.
- Click Choose File, select your theme ZIP file, and click Install Now.
- Once uploaded, click Activate.
Upload via FTP (Alternative Method)
If the dashboard method fails (e.g., due to file size limits), use FTP:
- Extract the theme ZIP file to a folder (e.g.,
my-theme). - Open your FTP client (like FileZilla) and connect to
localhostusing:- Host:
localhost - Username:
root - Password: (leave blank)
- Port:
21
- Host:
- Navigate to
xampp/htdocs/mysite/wp-content/themes/. - Upload the extracted theme folder here.
- Go back to your WordPress dashboard, then Appearance > Themes, and activate your new theme.
Step 5: Customize Your New Theme
After activation, explore your theme’s options:
- Go to Appearance > Customize to modify colors, fonts, layouts, and more.
- Install recommended plugins if prompted (many themes suggest page builders like Elementor or SEO tools).
- Create pages and menus under Pages and Menus.
For advanced customization, consider creating a child theme to safely modify code without losing changes during updates.
Troubleshooting Common Issues
“Stylesheet is Missing” Error
This happens when WordPress can’t find the theme’s main style file.
- Ensure the theme folder contains a
style.cssfile in the root directory. - Check that the folder name matches the theme’s declared name in
style.css. - Re-upload the theme and try again.
“Maximum Upload Size Exceeded”
If your theme ZIP is too large:
- Increase PHP upload limits in
php.ini(located inxampp/php/):upload_max_filesize = 64M post_max_size = 64M
- Restart Apache in XAMPP.
- Or use the FTP method instead.
Theme Not Appearing in Dashboard
- Verify the theme folder is in
wp-content/themes/. - Check folder permissions (should be readable by the server).
- Ensure the theme is compatible with your WordPress version.
Best Practices for Theme Installation
- Always back up your site before installing a new theme.
- Use a child theme for customizations to avoid losing changes.
- Test themes on a local site first before using them on a live website.
- Keep themes updated for security and performance. Learn how to update themes safely.
- Delete unused themes to reduce clutter and potential vulnerabilities. See how to delete themes in WordPress.
Conclusion
Installing a WordPress theme on your PC is a straightforward process once you have a local server running. Whether you’re using the built-in theme installer or uploading manually, you now have the tools to experiment with different designs safely and efficiently.
Remember to always test themes locally before deploying them to a live site. This helps you catch issues early and ensures a smooth user experience. With the right theme, your WordPress site can look professional and perform beautifully—all from the comfort of your own computer.
Ready to take your site to the next level? Explore the best WordPress themes for SEO and speed to find one that matches your goals.