This guide walks you through how to launch a WordPress site from start to finish. You’ll learn domain setup, hosting, installation, theme selection, and going live—all in simple steps.
Key Takeaways
- Choose reliable hosting: Pick a host with one-click WordPress install and good support.
- Register a domain name: Pick a short, brandable name that reflects your purpose.
- Install WordPress easily: Most hosts offer automatic installation in minutes.
- Pick and customize a theme: Use a lightweight, mobile-friendly theme and adjust colors, fonts, and layout.
- Add essential plugins: Use only necessary plugins for SEO, security, and performance.
- Test before launch: Check speed, mobile view, links, and forms to avoid issues.
- Go live confidently: Remove maintenance mode, submit to Google, and monitor performance.
How to Launch a WordPress Site: A Step-by-Step Guide
Launching a WordPress site might sound technical, but it’s actually simple—even for beginners. Whether you’re starting a blog, portfolio, or small business site, WordPress makes it easy to go from idea to live website in under an hour.
In this guide, you’ll learn exactly how to launch a WordPress site the right way. We’ll cover everything: choosing hosting, installing WordPress, picking a theme, adding content, and going live. No coding needed. Let’s get started!
Step 1: Choose a Web Hosting Provider
Your hosting provider stores your website files and makes them accessible online. For beginners, we recommend managed WordPress hosting like Bluehost, SiteGround, or Hostinger. These services offer fast servers, security, and one-click WordPress installs.
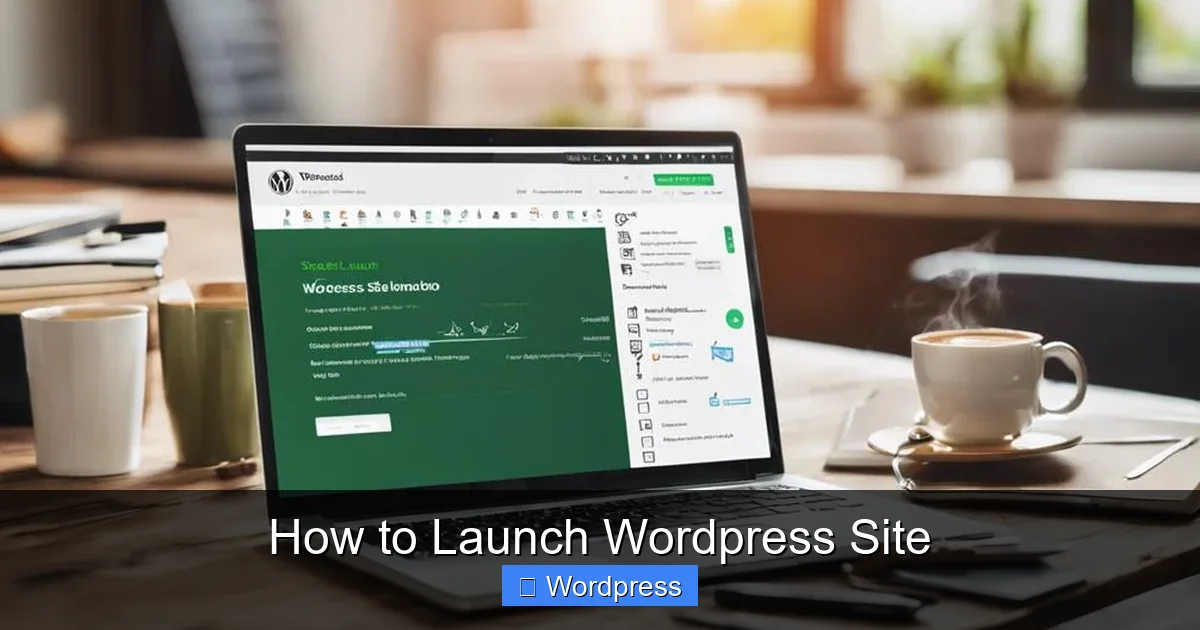
Visual guide about How to Launch WordPress Site
Image source: shopthemer.com
What to Look For in a Host
- One-click WordPress install: Saves time and avoids manual setup.
- Free SSL certificate: Essential for security and SEO.
- 24/7 support: Help when you need it.
- Good uptime (99.9%+): Keeps your site online.
How to Sign Up
- Visit your chosen host’s website.
- Select a plan (shared hosting is fine for starters).
- Register your domain name or connect an existing one.
- Complete payment and account setup.
Tip: Many hosts offer a free domain for the first year—take advantage!
Step 2: Register Your Domain Name
Your domain name is your website’s address (e.g., yoursite.com). Choose something short, memorable, and relevant to your brand or topic.
Domain Tips
- Avoid numbers and hyphens.
- Use .com if possible—it’s the most trusted.
- Check social media handles for consistency.
Most hosting providers let you register a domain during signup. If you already own one, you can connect it later in your hosting dashboard.
Step 3: Install WordPress
Now it’s time to install WordPress. With most hosts, this takes just a few clicks.
One-Click Install (Recommended)
- Log in to your hosting control panel (usually cPanel or a custom dashboard).
- Look for “WordPress Installer” or “Softaculous Apps Installer.”
- Click “Install,” choose your domain, and leave settings as default.
- Set your site title, admin username, and password.
- Click “Install” and wait a minute.
Once done, you’ll get a link to your new WordPress site and the login page (usually yoursite.com/wp-admin).
Manual Install (Advanced)
If your host doesn’t offer one-click install, you can upload WordPress manually via FTP. But for most users, the one-click method is faster and safer.
Step 4: Log In and Explore WordPress
Go to yoursite.com/wp-admin and log in with your admin credentials. You’ll see the WordPress dashboard—your control center.
Key Dashboard Areas
- Posts: For blog articles.
- Pages: For static content like Home, About, Contact.
- Appearance: Themes, menus, widgets.
- Plugins: Add functionality.
- Settings: General site options.
Spend a few minutes exploring. Don’t worry—you can’t break anything permanently.
Step 5: Choose and Install a Theme
A theme controls your site’s design. WordPress comes with a default theme (like Twenty Twenty-Four), but you’ll likely want to customize it.
How to Pick a Good Theme
- Lightweight and fast: Avoid bloated themes with too many features.
- Mobile-friendly: Must look good on phones.
- SEO-ready: Clean code helps search engines.
- Regularly updated: Ensures security and compatibility.
We recommend Astra, GeneratePress, or Neve—they’re fast, flexible, and free.
How to Install a Theme
- Go to Appearance > Themes.
- Click “Add New.”
- Search for your chosen theme (e.g., “Astra”).
- Click “Install,” then “Activate.”
Now your site has a fresh look! You can further customize it under Appearance > Customize.
Need help choosing? Check out our guide on the best WordPress theme for SEO and speed.
Step 6: Customize Your Theme
After activating your theme, personalize it to match your brand.
Customization Options
- Site Identity: Upload your logo and set site title/tagline.
- Colors & Fonts: Match your brand colors and choose readable fonts.
- Menus: Create a navigation menu (e.g., Home, About, Blog).
- Widgets: Add content to sidebars or footers (e.g., search bar, recent posts).
- Homepage Settings: Set a static page or show latest posts.
Most themes also support page builders like Elementor. If you want drag-and-drop design, install Elementor and use it to build custom layouts.
Pro tip: Always preview changes before publishing. Use the “Publish” button only when you’re happy.
Step 7: Add Essential Plugins
Plugins add features to your site. But less is more—too many plugins slow down your site.
Must-Have Plugins
- SEO: Rank Math or Yoast SEO (helps with search rankings).
- Security: Wordfence or Sucuri (protects against hackers).
- Caching: WP Super Cache or LiteSpeed Cache (speeds up your site).
- Contact Forms: WPForms (easy form builder).
- Backup: UpdraftPlus (backs up your site automatically).
How to Install Plugins
- Go to Plugins > Add New.
- Search for the plugin name.
- Click “Install,” then “Activate.”
Warning: Only install plugins from trusted sources. Avoid nulled (pirated) plugins—they can contain malware.
For more on plugin safety, read our article: how many plugins should you use?
Step 8: Create Key Pages
Your site needs a few essential pages to look professional.
Pages to Create
- Home: Your main landing page.
- About: Tell visitors who you are.
- Contact: Include a form and your email.
- Blog: If you plan to publish articles.
- Privacy Policy: Required by law if you collect data.
How to Add a Page
- Go to Pages > Add New.
- Enter a title (e.g., “About Us”).
- Write your content using the block editor.
- Click “Publish.”
Use headings, images, and short paragraphs to keep readers engaged.
Step 9: Test Your Site Before Launch
Before going live, test everything to avoid embarrassing mistakes.
What to Check
- Mobile view: Open your site on a phone. Does it look good?
- Links: Click all menu items and buttons. Do they work?
- Forms: Submit a test message. Do you receive it?
- Speed: Use Google PageSpeed Insights (pagespeed.web.dev). Aim for 80+ on mobile.
- Spelling: Run a spell check. Typos hurt credibility.
Fix any issues before launching. A smooth user experience builds trust.
Step 10: Go Live!
You’re ready to launch! Here’s how to do it right.
Final Steps
- Remove any “Coming Soon” or maintenance mode pages.
- Double-check your site on different devices.
- Submit your site to Google via Google Search Console.
- Share your site on social media or with friends.
- Monitor traffic using Google Analytics (install via plugin).
Congrats! Your WordPress site is now live and accessible to the world.
Troubleshooting Common Issues
Even with careful planning, issues can happen. Here’s how to fix common problems.
White Screen of Death
This usually means a plugin or theme conflict. Fix it by:
- Renaming the plugins folder via FTP (disables all plugins).
- Switching to a default theme (like Twenty Twenty-Four).
- Reactivating plugins one by one to find the culprit.
Can’t Log In to WordPress
If you forget your password:
- Go to yoursite.com/wp-login.php?action=lostpassword.
- Enter your email to reset it.
- Check spam folder if you don’t see the email.
Site Loads Slowly
Common causes:
- Too many plugins.
- Unoptimized images.
- No caching.
Fix: Use a caching plugin, compress images, and remove unused plugins.
Conclusion
Launching a WordPress site doesn’t have to be overwhelming. By following these steps—choosing hosting, installing WordPress, picking a theme, adding plugins, and testing—you can go live with confidence.
Remember: how to launch a WordPress site is about progress, not perfection. Start simple, improve over time, and focus on providing value to your visitors.
Now it’s your turn. Pick a host, install WordPress, and share your site with the world. You’ve got this!