Moving your WordPress site to a new host doesn’t have to be stressful. This guide walks you through the entire process—from backing up files and databases to updating DNS settings—so your site stays online and functional. Follow these proven steps to ensure a smooth, error-free migration.
Key Takeaways
- Always back up your site first: Create full backups of your files and database before starting the migration to prevent data loss.
- Use reliable migration tools: Plugins like All-in-One WP Migration or Duplicator simplify the process and reduce manual errors.
- Update your domain’s DNS settings: After moving files, point your domain to the new host’s nameservers to avoid downtime.
- Test your site thoroughly: Check all pages, forms, and plugins on the new host before making the site live.
- Keep your old site active temporarily: Maintain the original site until you confirm everything works on the new host.
- Change wp-config.php if needed: Update database credentials in the configuration file to match the new hosting environment.
- Monitor for issues post-migration: Watch for broken links, missing images, or plugin conflicts after the move.
How to Move WordPress Site to New Host
Switching web hosts can feel overwhelming, but moving your WordPress site doesn’t have to be a nightmare. Whether you’re upgrading for better performance, lower costs, or improved support, a well-planned migration ensures your site stays online and fully functional. In this guide, you’ll learn exactly how to move WordPress site to new host—step by step—with minimal downtime and zero data loss.
We’ll cover everything from backing up your site and exporting your database to uploading files to the new host and updating DNS settings. By the end, you’ll have a complete understanding of the migration process, even if you’re not a tech expert.
Step 1: Choose Your New Hosting Provider
Before you begin the actual move, make sure your new hosting provider meets your needs. Look for features like:
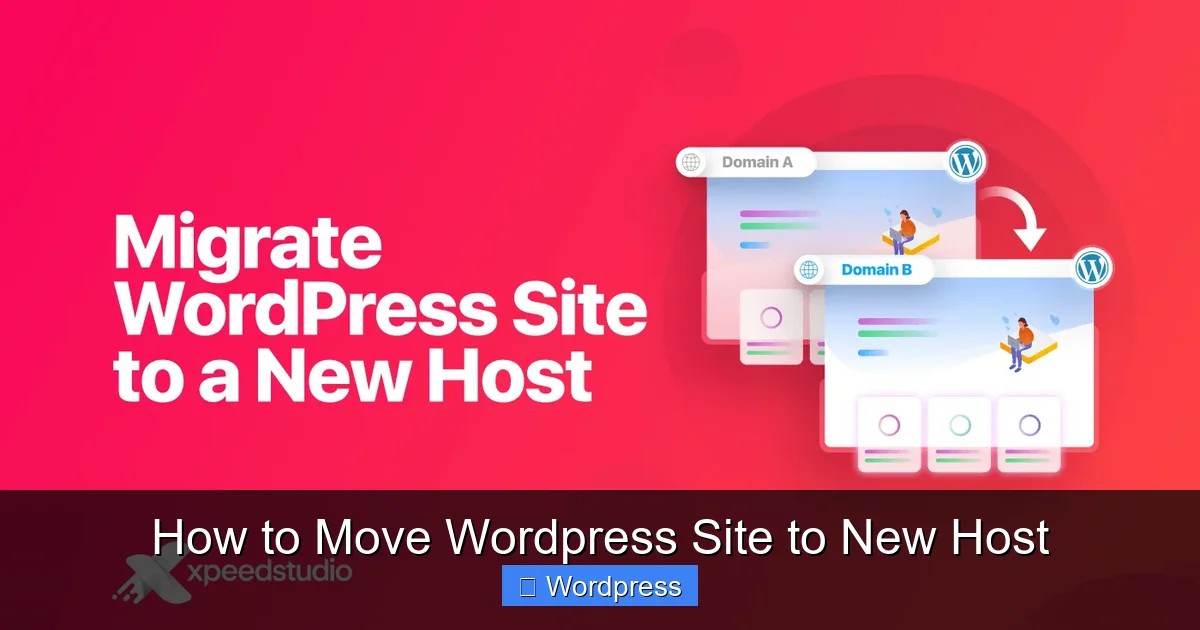
Visual guide about How to Move WordPress Site to New Host
Image source: xpeedstudio.com
- One-click WordPress installation
- SSD storage and fast servers
- Free SSL certificates
- 24/7 customer support
- Scalability for future growth
Once you’ve signed up and activated your new hosting account, note down important details like your new server’s IP address, nameservers, and FTP or cPanel login credentials. These will be essential during the migration.
Step 2: Backup Your WordPress Site
Never skip this step! A full backup protects you in case something goes wrong during the transfer. You’ll need to back up both your website files and your database.
Back Up Files via FTP
Use an FTP client like FileZilla to connect to your current host. Navigate to the root directory (usually public_html or www) and download all WordPress files, including:
- wp-content (themes, plugins, uploads)
- wp-includes and wp-admin
- Configuration files like wp-config.php
Export the Database
Log in to your current host’s control panel (like cPanel) and open phpMyAdmin. Select your WordPress database, click Export, choose Quick export method, and download the .sql file to your computer.
Pro Tip: If your site is large, consider using a plugin like All-in-One WP Migration to automate backups. It bundles files and database into one easy-to-transfer file.
Step 3: Set Up WordPress on the New Host
Most hosts offer one-click WordPress installation. Log in to your new host’s control panel and look for “WordPress Installer” or “Softaculous.” Follow the prompts to install a fresh copy of WordPress.
Alternatively, you can manually upload your files via FTP to the new server’s public_html folder. Overwrite any default WordPress files that were created during installation.
Create a New Database
In your new host’s control panel, create a new MySQL database and user. Assign the user to the database with full privileges. Note the database name, username, and password—you’ll need them soon.
Step 4: Import Your Database
Go to phpMyAdmin on your new host. Select the new database you just created and click Import. Upload the .sql file you exported earlier. This restores all your posts, pages, comments, and settings.
If you encounter an error about file size, increase the upload limit in phpMyAdmin or use a tool like WP Migrate DB to handle large databases.
Step 5: Update wp-config.php
Your WordPress configuration file contains database connection details. Open wp-config.php in a text editor and update these lines with your new database info:
define('DB_NAME', 'new_database_name');
define('DB_USER', 'new_database_user');
define('DB_PASSWORD', 'new_database_password');
define('DB_HOST', 'localhost'); // Usually stays the same
Save the file and re-upload it to your new server if you edited it locally.
Step 6: Update Site URLs (If Needed)
If your domain name is staying the same, WordPress should recognize the site automatically. But if you’re testing on a temporary URL or staging domain, you may need to update the site URL.
Add these lines to your wp-config.php file (above the “That’s all, stop editing!” line):
define('WP_HOME', 'http://your-new-domain.com');
define('WP_SITEURL', 'http://your-new-domain.com');
Replace your-new-domain.com with your actual domain. Remove these lines once the site is live.
Step 7: Test Your Site on the New Host
Before going live, test your site thoroughly. Use your new host’s temporary URL (often provided in the control panel) or modify your computer’s hosts file to preview the site.
Check for:
- Broken images or missing media
- Plugin or theme errors
- 404 pages or redirect issues
- Contact forms and login functionality
If you notice problems, revisit earlier steps—especially database imports and file permissions.
Step 8: Update DNS Settings
Once you’re confident the site works perfectly, it’s time to point your domain to the new host. Log in to your domain registrar (like GoDaddy or Namecheap) and update the nameservers to those provided by your new host.
For example, if your new host gives you:
- ns1.newhost.com
- ns2.newhost.com
Replace your current nameservers with these. DNS changes can take 24–48 hours to propagate globally, so be patient.
Step 9: Monitor and Finalize
After DNS propagation, visit your site to confirm it loads correctly. Clear your browser cache and test from different devices and locations.
Keep your old site active for a few days in case you need to recover anything. Once everything is stable, you can cancel your old hosting plan.
Troubleshooting Common Issues
White screen of death? This usually means a PHP error. Enable debugging by adding define('WP_DEBUG', true); to wp-config.php to see the error message.
Missing images or styles? Check file permissions on the new server. Set folders to 755 and files to 644. Also, ensure your .htaccess file was copied correctly.
Database connection error? Double-check your wp-config.php credentials. Make sure the database user has proper permissions.
Plugin conflicts? Deactivate all plugins via FTP by renaming the plugins folder, then reactivate them one by one. For help managing plugins, see our guide on how many plugins you should use.
Theme not working? If your custom theme fails, ensure all files were uploaded. You may need to reinstall or update it. Learn more about how to upgrade WordPress themes safely.
Conclusion
Moving your WordPress site to a new host might seem daunting, but with careful planning and the right tools, it’s entirely manageable. By backing up your data, using reliable migration methods, and testing thoroughly, you can ensure a smooth transition with minimal downtime.
Remember: always keep your old site live until you’re 100% sure everything works on the new host. And don’t forget to update your DNS settings—the final step that makes your site accessible to the world.
With this guide, you now know exactly how to move WordPress site to new host like a pro. Happy hosting!