This guide teaches you how to purge cache in WordPress using popular plugins, hosting control panels, and manual techniques. Whether you’re using WP Super Cache, W3 Total Cache, or a managed host like SiteGround, you’ll find clear steps to clear cached content and see your updates instantly.
Key Takeaways
- Purging cache ensures your latest changes appear immediately: Without clearing cache, visitors may still see old versions of your site.
- Most caching plugins include a one-click purge option: Plugins like WP Rocket and W3 Total Cache make it simple to clear cache from the dashboard.
- Your hosting provider may offer built-in cache clearing: Managed WordPress hosts like Kinsta or Bluehost often have their own cache systems with purge buttons.
- Browser cache can interfere with seeing updates: Always clear your browser cache or use incognito mode to verify changes.
- Scheduled cache purging helps maintain performance: Set up automatic cache clearing after updates to keep your site fast and fresh.
- Manual cache deletion is possible via FTP or file manager: If plugins fail, you can delete cache folders directly from your server.
- Test your site after purging cache: Use tools like GTmetrix or Google PageSpeed Insights to confirm improvements.
Why Purging Cache in WordPress Matters
When you update your WordPress site—whether it’s a new blog post, a design tweak, or a plugin installation—you expect to see those changes right away. But if your site uses caching, visitors (and sometimes even you) might still see the old version. That’s because caching stores static versions of your pages to speed up load times. While this is great for performance, it can delay your updates.
Purging cache means clearing these stored files so WordPress generates fresh content. This ensures your audience sees the most current version of your site. Whether you’re a blogger, business owner, or developer, knowing how to purge cache in WordPress is essential for maintaining accuracy and speed.
In this guide, you’ll learn multiple ways to clear cache—using plugins, your hosting dashboard, and manual methods—so you’re never stuck waiting for updates to appear.
Method 1: Purge Cache Using Popular WordPress Plugins
Most WordPress users rely on caching plugins to boost site speed. The good news? These plugins usually include a simple way to purge cache.
WP Super Cache
WP Super Cache is a free, widely used plugin created by Automattic. Here’s how to clear its cache:
- Log in to your WordPress dashboard.
- Go to Settings > WP Super Cache.
- Click the Delete Cache button under the “Delete Cached Pages” section.
- Wait a few seconds—your cache is now cleared.
Tip: You can also enable “Automatically delete cache when a post or page is published or updated” to avoid manual purging.
W3 Total Cache
W3 Total Cache offers advanced caching options. To purge its cache:
- Navigate to Performance > Dashboard in your WordPress admin.
- Click the Empty All Caches button at the top.
- Confirm the action if prompted.
You can also purge specific caches—like page, object, or database cache—individually using the options below the main button.
WP Rocket
WP Rocket is a premium plugin known for its ease of use. Purging cache takes just one click:
- Go to WP Rocket > Dashboard.
- Click the Clear Cache button.
- Optionally, click Clear Cache and Minified Files to remove optimized CSS/JS as well.
WP Rocket also lets you preload cache automatically after clearing, so your site stays fast.
LiteSpeed Cache
If your host uses LiteSpeed servers, this plugin is a great choice:
- Go to LiteSpeed Cache > Manage.
- Click Purge All.
- For more control, use Purge by Category or Purge by Tag to clear only specific content.
Method 2: Purge Cache via Your Hosting Provider
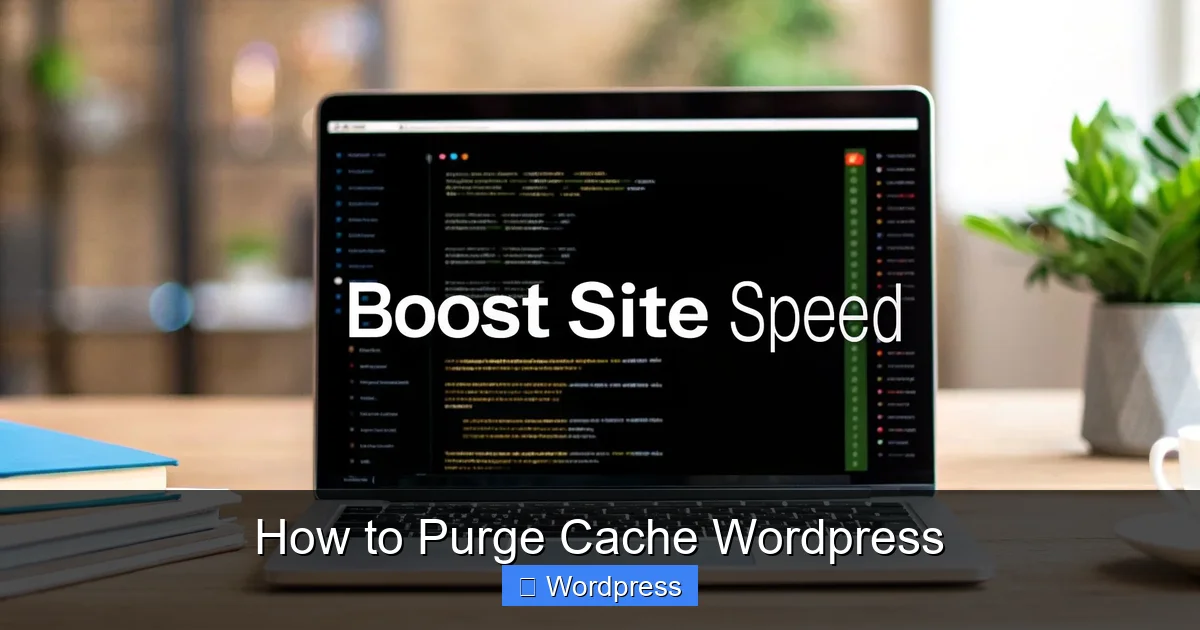
Visual guide about How to Purge Cache WordPress
Image source: onenine.com
Many managed WordPress hosts include server-level caching. These systems work alongside plugins and often require separate purging.
SiteGround
SiteGround users can clear cache directly from the Site Tools:
- Log in to your SiteGround account.
- Go to Websites > Site Tools > Speed > Caching.
- Click the Purge All button under “Dynamic Cache.”
You can also purge cache for specific URLs using the “Purge Specific” option.
Bluehost
Bluehost offers a built-in caching system:
- Log in to your Bluehost control panel.
- Go to My Sites > Manage Site > Performance.
- Click Clear Cache.
Kinsta and WP Engine
These premium hosts provide one-click cache purging:
- Kinsta: Go to the Kinsta dashboard, select your site, click Clear Cache under “Tools.”
- WP Engine: In the User Portal, go to Environment > Clear Cache.
Note: Always check your host’s documentation—some may require you to clear both plugin and server cache separately.
Method 3: Clear Browser Cache
Even after purging server cache, your browser might still show old content. Here’s how to fix that:
Chrome, Firefox, Safari, and Edge
- Press Ctrl + Shift + R (Windows) or Cmd + Shift + R (Mac) to hard reload.
- Alternatively, open Developer Tools (F12), right-click the refresh button, and select “Empty Cache and Hard Reload.”
- For a full reset, go to browser settings and clear browsing data (select “Cached images and files”).
Pro Tip: Use incognito or private browsing mode to test your site without local cache interference.
Method 4: Manually Delete Cache Files via FTP or File Manager
If your plugin isn’t working or you’ve lost access to the dashboard, you can delete cache files manually.
Using cPanel File Manager
- Log in to your hosting control panel (e.g., cPanel).
- Open File Manager and navigate to your WordPress root directory (usually
public_html). - Look for cache folders such as:
wp-content/cache/(common for many plugins)wp-content/wpsupercache/(WP Super Cache)wp-content/cache/wp-rocket/(WP Rocket)
- Delete the entire folder or its contents.
Using FTP
- Connect to your site using an FTP client (like FileZilla).
- Navigate to the
wp-contentfolder. - Locate and delete the relevant cache directories.
- Refresh your site to see changes.
Warning: Only delete folders you recognize. Avoid removing core WordPress files.
Troubleshooting Common Cache Issues
Sometimes, purging cache doesn’t solve the problem. Here’s what to check:
Changes Still Not Visible?
- Clear both plugin and server cache.
- Check if a CDN (like Cloudflare) is caching your site—purge its cache too.
- Disable caching temporarily to test updates.
Plugin Conflicts
If clearing cache causes errors, deactivate your caching plugin and reactivate it. Consider switching to a lighter alternative if issues persist.
White Screen After Purging?
This is rare but can happen if critical files are deleted. Restore from a backup or reinstall the plugin.
Best Practices for Managing WordPress Cache
To avoid frequent cache issues, follow these tips:
- Schedule regular cache purges: Especially after major updates or content changes.
- Use a reliable caching plugin: Choose one that fits your site’s needs—best WordPress theme for SEO and speed often pairs well with efficient caching.
- Monitor performance: Use tools like GTmetrix to ensure cache improves—not harms—your site speed.
- Keep plugins updated: Outdated caching plugins can cause bugs. Learn how to update theme on WordPress and apply the same care to plugins.
- Limit plugin overload: Too many plugins can slow your site. Read how many plugins should you use to find the right balance.
Conclusion
Purging cache in WordPress is a simple but powerful step to ensure your site stays fast, accurate, and up to date. Whether you use a plugin like WP Rocket, rely on your host’s tools, or manually delete files, the process is straightforward once you know where to look.
Remember: always clear both server and browser cache, test your changes, and maintain good caching habits. With this guide, you’ll never be stuck wondering why your updates aren’t showing. Keep your site fresh, fast, and functional—your visitors will thank you.