This guide shows you how to edit header in WordPress theme using multiple methods—no coding required for most. Whether you’re changing logos, menus, or layout, we’ll walk you through each step clearly and simply.
Key Takeaways
- Use the WordPress Customizer: Most themes allow header edits via Appearance > Customize, making changes safe and visual.
- Edit via Theme Files (Advanced): For full control, modify header.php in a child theme to avoid losing changes on updates.
- Leverage Page Builders: Tools like Elementor let you redesign headers drag-and-drop without touching code.
- Always Use a Child Theme: Protect your customizations by editing files in a child theme, not the parent theme.
- Test Changes on Staging: Preview edits on a test site before going live to avoid breaking your website.
- Check Mobile Responsiveness: Ensure your new header looks good on all devices after editing.
- Backup First: Always back up your site before making structural changes to prevent data loss.
How to Edit Header in WordPress Theme
The header is one of the most important parts of your WordPress website. It’s the first thing visitors see and often contains your logo, navigation menu, and call-to-action buttons. Whether you want to update your branding, improve navigation, or just give your site a fresh look, knowing how to edit header in WordPress theme is essential.
In this guide, we’ll walk you through several reliable methods—from beginner-friendly tools to advanced coding techniques. You’ll learn how to safely customize your header without breaking your site. We’ll also cover best practices like using child themes and testing changes.
Let’s get started!
Method 1: Using the WordPress Customizer
The easiest way to edit your header is through the built-in WordPress Customizer. This tool lets you make real-time changes and see them instantly—no coding needed.
Step 1: Access the Customizer
Log in to your WordPress dashboard. Go to Appearance > Customize. This opens the live preview editor.
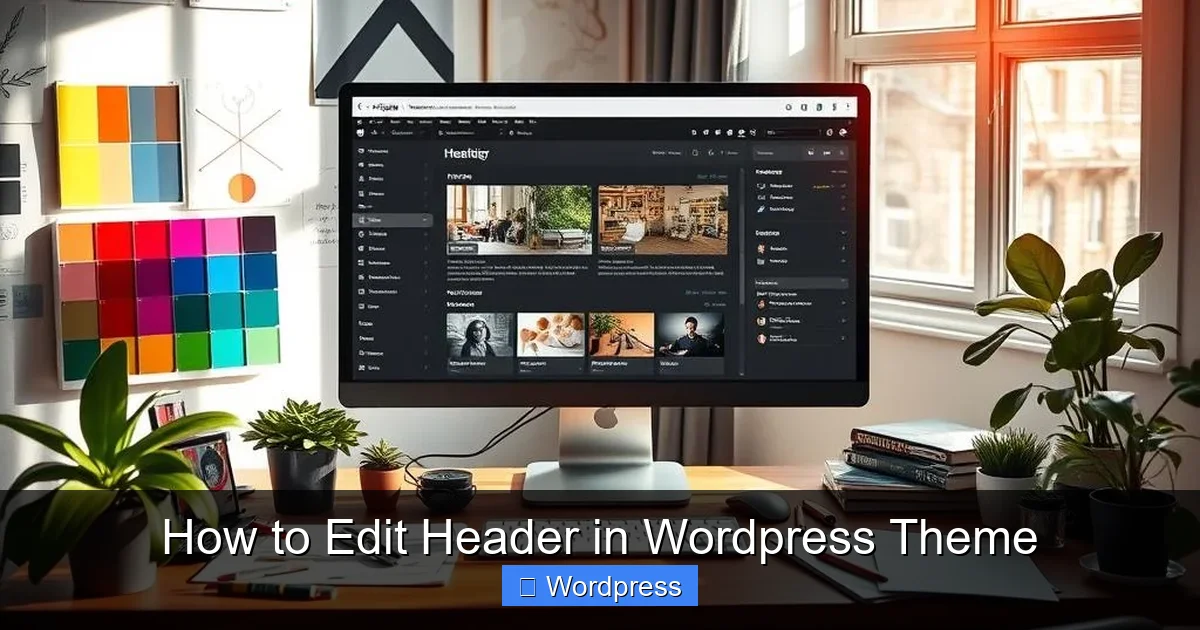
Visual guide about How to Edit Header in WordPress Theme
Image source: wptechy.co.uk
Step 2: Find Header Settings
Look for sections like Header, Site Identity, or Logo. These vary by theme, but most modern themes support header customization here.
Step 3: Change Your Logo
Click on Site Identity. You’ll see an option to upload or change your logo. Choose an image from your media library or upload a new one. Adjust the size if needed.
Step 4: Edit Site Title and Tagline
Below the logo, you can edit your site title and tagline. These appear in the header unless your theme hides them. Make sure they reflect your brand clearly.
Step 5: Customize Header Layout
Some themes offer layout options—like centering the logo or moving the menu to the right. Explore the Header or Layout sections to see what’s available.
Step 6: Publish Your Changes
When you’re happy with the look, click Publish at the top. Your new header will go live immediately.
Tip: If you don’t see header options, your theme might not support them. Consider switching to a more flexible theme or using a page builder.
Method 2: Using a Page Builder (Like Elementor)
If your theme doesn’t offer enough header options, a page builder can give you full design control. Elementor, for example, lets you create custom headers visually.
Step 1: Install Elementor
Go to Plugins > Add New. Search for “Elementor” and install it. Activate the plugin.
Step 2: Enable Theme Builder
Elementor Pro includes a Theme Builder feature. If you have it, go to Templates > Theme Builder. Click Add New and select Header.
Step 3: Design Your Header
Use drag-and-drop widgets to build your header. Add a logo, menu, search bar, or social icons. You can style fonts, colors, spacing, and more.
Step 4: Set Display Conditions
Tell Elementor where to show your header—on all pages, just the homepage, or specific posts. This ensures consistency across your site.
Step 5: Save and Publish
Click Update to save your header. It will now replace the default theme header.
Note: If you don’t have Elementor Pro, you can still use free alternatives like Header Footer Elementor plugin to edit headers.
Method 3: Editing Header.php in a Child Theme
For advanced users, editing the header.php file gives complete control. But always use a child theme to protect your changes during updates.
Step 1: Create a Child Theme
If you don’t have one, create a child theme. This keeps your customizations safe. Learn what a child theme is in WordPress and why it’s important.
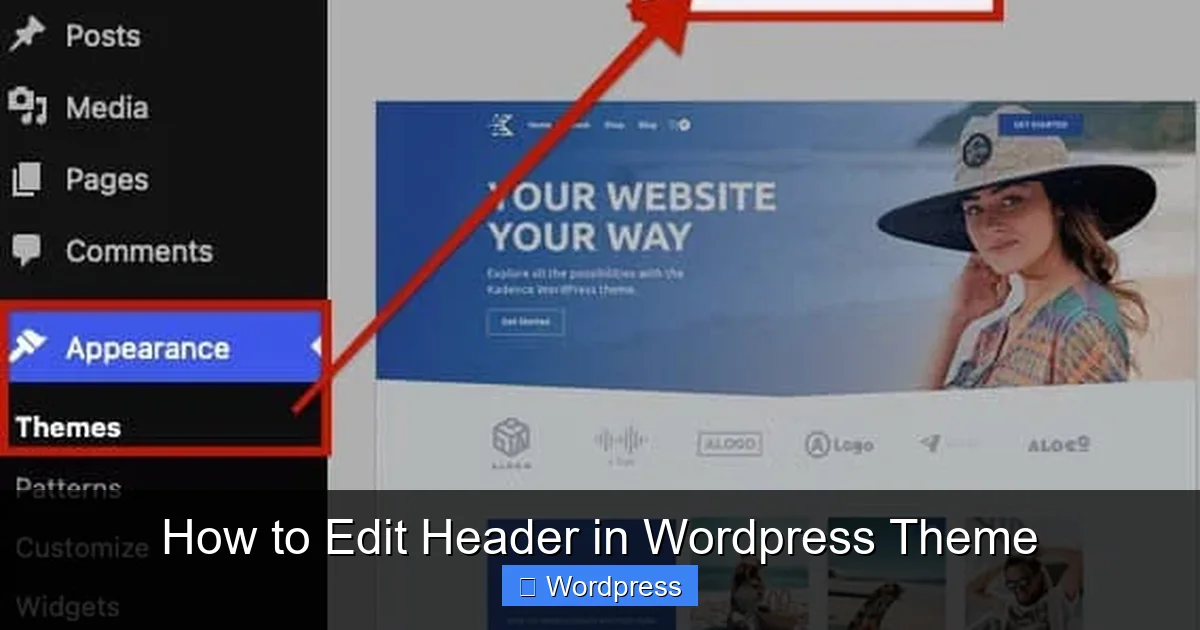
Visual guide about How to Edit Header in WordPress Theme
Image source: kadencewp.com
Step 2: Locate header.php
Go to Appearance > Theme File Editor. From the right sidebar, select your child theme. Find and open header.php.
Step 3: Make Your Edits
You can now modify the HTML and PHP code. For example, to change the logo, find the <img> tag and update the source URL. Or add a new navigation menu with wp_nav_menu().
Step 4: Save and Test
Click Update File. Then visit your site to see the changes. If something breaks, restore the original code and try again.
Warning: Editing core files can break your site. Always back up first and test on a staging site if possible.
Method 4: Using a Header Plugin
If you prefer plugins over coding, several tools simplify header editing.
Recommended Plugins
- Header Footer Code Manager: Add custom HTML, CSS, or JavaScript to your header without editing files.
- Sticky Header Effects: Make your header stick to the top when scrolling.
- Custom Header by WPBeginner: Easily upload and manage header images.
How to Use a Header Plugin
Install your chosen plugin from the WordPress repository. Activate it, then go to its settings page. Follow the instructions to upload logos, adjust layouts, or add scripts.
Pro Tip: Use the best way to add CSS in WordPress to style your header further. Custom CSS can fine-tune spacing, colors, and responsiveness.
Troubleshooting Common Issues
Header Not Updating?
Clear your browser cache and WordPress cache (if using a plugin like WP Super Cache). Sometimes changes don’t appear immediately.
Logo Looks Blurry?
Use a high-resolution image (at least 300×100 pixels). Save it as PNG or SVG for sharp display on all devices.
Menu Not Showing?
Check if your menu is assigned to the correct location. Go to Appearance > Menus and ensure it’s set to “Primary” or “Header.”
Changes Lost After Update?
This happens when editing the parent theme. Always use a child theme. If you’ve already lost changes, restore from backup or reapply them in the child theme.
Best Practices for Editing Headers
- Keep It Simple: Avoid clutter. A clean header improves usability and speed.
- Optimize for Mobile: Test your header on phones and tablets. Use responsive design techniques.
- Use Semantic HTML: Structure your header with proper tags like
<header>,<nav>, and<h1>for SEO. - Backup Regularly: Use plugins like UpdraftPlus to back up your site before major changes.
- Check Performance: Heavy headers can slow down your site. Optimize images and minimize scripts.
Conclusion
Editing your WordPress header doesn’t have to be complicated. Whether you use the Customizer, a page builder, or code, there’s a method that fits your skill level. The key is to edit header in WordPress theme safely—using child themes, backups, and testing.
Start with the Customizer for quick changes. Move to Elementor for advanced design. And only edit code if you’re comfortable and protected by a child theme.
Remember, your header is your site’s digital front door. Make it welcoming, functional, and on-brand. With the steps in this guide, you’re well on your way.
Now go ahead and give your site the header it deserves!