This guide shows you how to use WooCommerce with Elementor to create beautiful, functional online stores without coding. You’ll learn setup, customization, and optimization tips to boost sales and user experience.
Key Takeaways
- Seamless Integration: Elementor works smoothly with WooCommerce to design custom product pages, carts, and checkout layouts.
- No Coding Required: Use drag-and-drop tools to build professional store designs without touching a line of code.
- Enhanced User Experience: Customize every part of your store to improve navigation, speed, and conversion rates.
- Mobile-Responsive Designs: Elementor ensures your WooCommerce store looks great on all devices.
- Performance Matters: Optimize images, limit plugins, and use caching to keep your store fast and reliable.
- Troubleshooting Tips: Fix common issues like layout conflicts or missing styles with simple solutions.
- Internal Linking Boosts SEO: Connect related content to improve site structure and user engagement.
Introduction: Why Combine WooCommerce with Elementor?
If you’re running an online store on WordPress, you’ve probably heard of WooCommerce—the most popular eCommerce plugin. But did you know you can supercharge its design power with Elementor, the leading drag-and-drop page builder? Together, they let you create stunning, high-converting stores without needing a developer.
In this guide, you’ll learn how to use WooCommerce with Elementor from start to finish. Whether you’re a beginner or a seasoned WordPress user, we’ll walk you through setup, customization, and optimization. By the end, you’ll have a fully functional, visually appealing online store that drives sales.
Step 1: Install and Activate Required Plugins
Before you can start designing, you need to install both WooCommerce and Elementor. Here’s how:
Visual guide about How to Use Woocommerce with Elementor
Image source: blog.hubspot.com
Install WooCommerce
- Go to your WordPress dashboard.
- Navigate to Plugins > Add New.
- Search for “WooCommerce” and click Install Now, then Activate.
- Follow the setup wizard to configure your store basics—currency, shipping, payments, etc.
Install Elementor
- In the same Plugins > Add New section, search for “Elementor”.
- Click Install Now and then Activate.
- For full WooCommerce design control, install Elementor Pro (paid version), which includes WooCommerce widgets.
Tip: If you’re new to WordPress themes, check out our guide on how to install WP themes manually to ensure compatibility.
Step 2: Set Up Your WooCommerce Store
Once plugins are active, it’s time to configure your store. WooCommerce will prompt you to set up key details:

Visual guide about How to Use Woocommerce with Elementor
Image source: gracethemes.com
Add Products
- Go to Products > Add New.
- Enter product name, description, price, and images.
- Assign categories and tags for better organization.
- Set inventory, shipping, and tax options as needed.
Configure Payment and Shipping
- Navigate to WooCommerce > Settings.
- Under Payments, enable methods like PayPal, Stripe, or bank transfer.
- In Shipping, define zones, rates, and delivery options.
Note: Keep your plugin count low to avoid conflicts. Learn more in our article on how many plugins should you use.
Step 3: Design Your Store with Elementor
Now comes the fun part—designing your store. Elementor lets you customize every page, including shop, product, cart, and checkout.
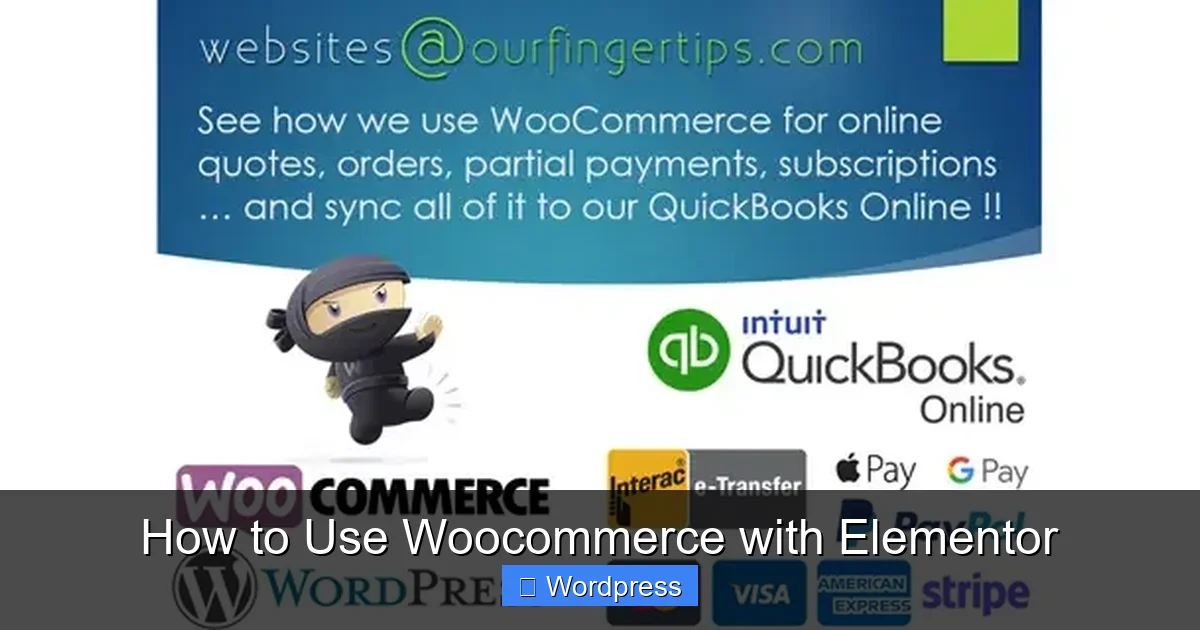
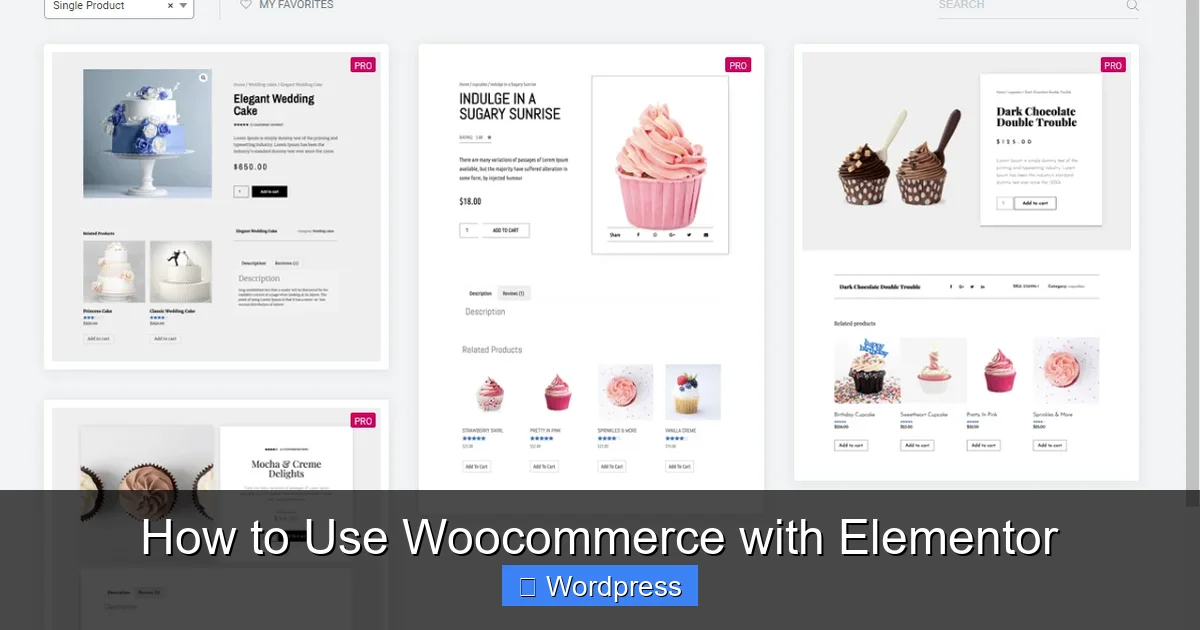
Visual guide about How to Use Woocommerce with Elementor
Image source: ourfingertips.com
Edit the Shop Page
- Go to Pages > Shop (or create a new page and assign it as your shop in WooCommerce settings).
- Click Edit with Elementor.
- Use the WooCommerce Products widget to display your products in grids or lists.
- Customize layout, spacing, colors, and typography to match your brand.
Customize Product Pages
- Open any product page and click Edit with Elementor.
- Replace the default layout with Elementor’s Single Product template (available in Pro).
- Add elements like image galleries, custom descriptions, related products, and call-to-action buttons.
Design Cart and Checkout Pages
- Edit the Cart page (Pages > Cart) with Elementor.
- Use the Cart widget to show items, totals, and update options.
- For checkout, use the Checkout widget to create a clean, distraction-free form.
- Reduce cart abandonment by simplifying the checkout process.
Pro Tip: Use Elementor’s Theme Builder to create global templates for headers, footers, and product archives. This ensures consistency across your site.
Step 4: Optimize for Performance and SEO
A beautiful store is useless if it’s slow or hard to find. Here’s how to optimize:
Improve Loading Speed
- Compress images using tools like Smush or ShortPixel.
- Use a caching plugin (e.g., WP Super Cache or LiteSpeed).
- Minimize the use of heavy animations and third-party scripts.
Enhance Mobile Experience
- Use Elementor’s responsive mode to preview and adjust designs for mobile and tablet.
- Ensure buttons are large enough to tap and text is readable without zooming.
Boost SEO
- Install an SEO plugin like Yoast or Rank Math.
- Write unique product descriptions with relevant keywords.
- Use internal links to connect related products or blog posts.
Related: Discover the best way to add CSS in WordPress for advanced styling tweaks.
Step 5: Troubleshooting Common Issues
Even with the best setup, you might run into problems. Here are quick fixes:
Layout Breaks or Missing Styles
- Clear your cache (browser and plugin).
- Check for plugin conflicts by deactivating other plugins one by one.
- Ensure your theme supports Elementor (most modern themes do).
WooCommerce Widgets Not Showing
- Make sure Elementor Pro is active—WooCommerce widgets are not available in the free version.
- Update both Elementor and WooCommerce to the latest versions.
Checkout Page Not Working
- Verify that the checkout page is assigned correctly in WooCommerce > Settings > Advanced.
- Test with a default theme (like Twenty Twenty-Four) to rule out theme conflicts.
Conclusion: Build a Store That Sells
Combining WooCommerce with Elementor gives you the ultimate toolkit for creating a professional, high-performing online store. You don’t need to be a developer—just follow the steps above to design, launch, and optimize your shop with confidence.
Remember: focus on user experience, keep your site fast, and regularly update your plugins and themes. With these best practices, your store will not only look great but also convert visitors into customers.