This guide shows you how to add a footer widget area in WordPress theme using code or a child theme. You’ll learn to register, display, and style widgets without breaking your site.
Key Takeaways
- Use a child theme: Always modify themes through a child theme to preserve changes during updates.
- Register the widget area: Use
register_sidebar()in your theme’sfunctions.phpfile to create the footer widget zone. - Display in footer: Add
dynamic_sidebar()to yourfooter.phpfile where you want widgets to appear. - Style with CSS: Customize the look using CSS in your child theme’s stylesheet for a clean, professional footer.
- Test after changes: Always preview your site and check responsiveness on mobile devices.
- Use plugins cautiously: While plugins exist, coding it yourself gives more control and better performance.
How to Add Footer Widget Area in WordPress Theme
Adding a footer widget area to your WordPress theme is a great way to enhance your site’s functionality and design. Whether you want to display recent posts, social media links, contact info, or a newsletter signup, footer widgets offer flexibility and professionalism. In this guide, you’ll learn how to add a footer widget area in WordPress theme safely and effectively—without breaking your site during updates.
Many WordPress themes come with built-in footer widget areas, but if yours doesn’t, don’t worry. You can easily create one using a few lines of code. The best part? You don’t need to be a coding expert. With clear steps and careful execution, anyone can do it.
This tutorial covers everything from setting up a child theme to registering the widget area, displaying it in your footer, and styling it with CSS. We’ll also include troubleshooting tips and best practices to ensure your changes are safe and long-lasting.
Why Add a Footer Widget Area?
Before diving into the steps, let’s understand why footer widgets are valuable. The footer is one of the most overlooked parts of a website, yet it’s often the last thing visitors see. A well-designed footer can:
- Improve user experience by providing quick access to important links
- Boost SEO with internal linking and structured content
- Increase engagement through calls-to-action like email signups
- Enhance branding with consistent design and messaging
By adding a widget-ready footer, you give yourself the freedom to update content without touching code. You can drag and drop widgets like text, images, menus, or forms directly from the WordPress dashboard.
Step 1: Create a Child Theme (Recommended)
Before making any changes to your theme, it’s crucial to use a child theme. This ensures your modifications aren’t lost when the parent theme updates.
If you already have a child theme, skip to the next step. If not, here’s how to create one:
Create the Child Theme Folder
- Go to your WordPress installation directory via FTP or your hosting file manager.
- Navigate to
wp-content/themes/. - Create a new folder named
your-theme-child(replace “your-theme” with your parent theme’s name).
Add style.css
Inside the child theme folder, create a file named style.css and add the following:
/*
Theme Name: Your Theme Child
Template: your-theme
*/
Replace “your-theme” with the exact folder name of your parent theme.
Add functions.php
Create a functions.php file in the same folder and add this code to enqueue the parent theme’s styles:
Now activate your child theme from Appearance > Themes in the WordPress dashboard. For more details, check out our guide on what is a child theme in WordPress.
Step 2: Register the Footer Widget Area
Now that your child theme is ready, it’s time to register the footer widget area. This tells WordPress that a new widget zone exists.
Edit functions.php
Open your child theme’s functions.php file and add the following code at the end:
function custom_footer_widget_area() {
register_sidebar( array(
'name' => __( 'Footer Widget Area', 'your-theme-child' ),
'id' => 'footer-1',
'description' => __( 'Add widgets here to appear in your footer.', 'your-theme-child' ),
'before_widget' => '',
'before_title' => '',
'after_title' => '
',
) );
}
add_action( 'widgets_init', 'custom_footer_widget_area' );
Let’s break this down:
- name: The name shown in the WordPress admin.
- id: A unique identifier (use lowercase and hyphens).
- description: Helps you remember what the widget area is for.
- before/after widget: HTML wrappers for each widget.
- before/after title: HTML for widget titles.
You can duplicate this code to create multiple footer widget areas (e.g., Footer 1, Footer 2) by changing the id and name.
Step 3: Display the Widget Area in footer.php
Registering the widget area isn’t enough—you need to tell WordPress where to display it. This is done in the footer.php file.
Locate footer.php
In your child theme folder, create a copy of the parent theme’s footer.php file. If it doesn’t exist in the child theme, copy it from the parent theme folder.
Add the Widget Code
Open footer.php and find the section where you want the widgets to appear—usually near the bottom, inside the <footer> tag.
Add this PHP code where you want the widgets to show:
This code checks if any widgets are active in the “footer-1” area. If so, it displays them inside a <div> with the class footer-widget-area.
Example Placement
Here’s a simple example of how it might look in your footer.php:
<footer id="colophon" class="site-footer">
© Your Site Name. All rights reserved.

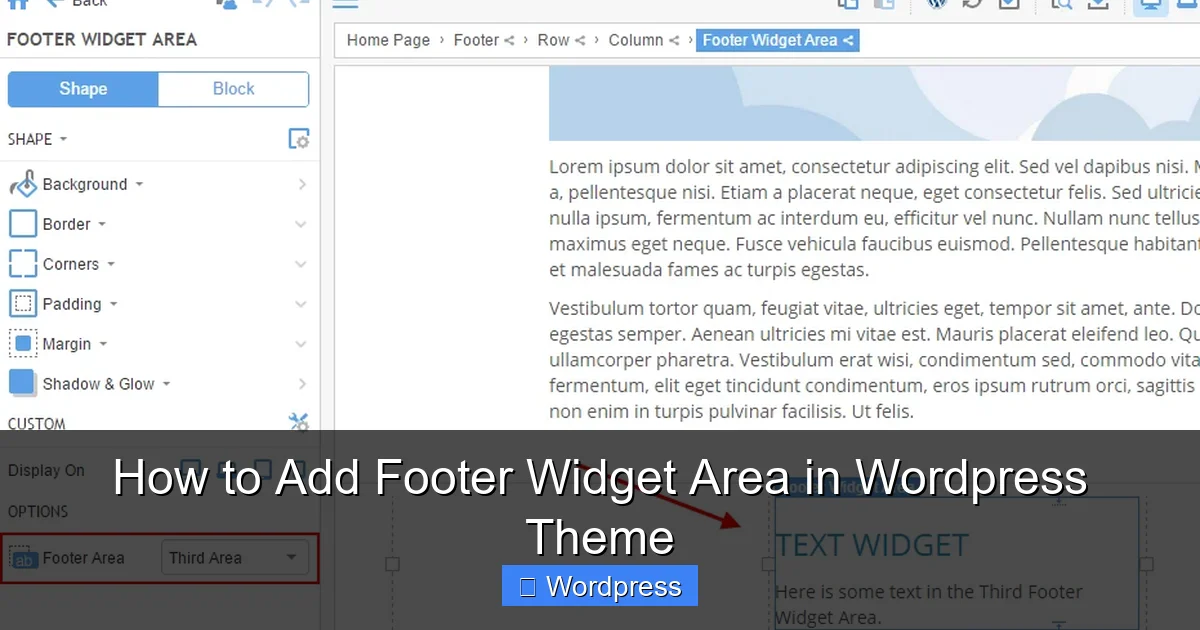
Visual guide about How to Add Footer Widget Area in WordPress Theme
Image source: forumattachments.themler.io
</footer>
Now, when you add widgets, they’ll appear above or below your copyright text, depending on placement.
Step 4: Style the Footer Widget Area with CSS
To make your footer widgets look great, add some CSS. This step is optional but highly recommended.
Add CSS to style.css
Open your child theme’s style.css file and add the following:
.footer-widget-area {
    background-color: #f5f5f5;
    padding: 40px 0;
    text-align: center;
}

.footer-widget-area .widget {
    margin-bottom: 20px;
}

.footer-widget-area .widget-title {
    font-size: 18px;
    margin-bottom: 15px;
    color: #333;
}
You can customize colors, fonts, spacing, and layout based on your design. For more advanced styling, consider using Flexbox or Grid to arrange multiple widgets side by side.
Responsive Design Tip
Add media queries to ensure your footer looks good on mobile:
@media (max-width: 768px) {
    .footer-widget-area {
        padding: 20px 0;
    }
    .footer-widget-area .widget {
        margin-bottom: 15px;
    }
}
For help with custom CSS, see our guide on the best way to add CSS in WordPress website.
Step 5: Add Widgets via WordPress Dashboard
Now that everything is set up, it’s time to add content.
Go to Appearance > Widgets
In your WordPress admin, navigate to Appearance > Widgets.
You should see a new widget area called “Footer Widget Area” on the right.
Drag and Drop Widgets
Drag widgets like Text, Recent Posts, Custom HTML, or Social Icons into the footer area.
For example, add a Text widget with your contact info or a newsletter signup form.
Save and Preview
Click Save and then visit your website to see the changes. The widgets should now appear in the footer.
Troubleshooting Common Issues
Widgets Not Showing?
- Make sure the widget area is registered correctly in
functions.php. - Verify that
dynamic_sidebar()is placed infooter.php. - Check that you’re using the correct
id(e.g., ‘footer-1’). - Ensure your child theme is active.
Changes Not Appearing?
Clear your browser cache and any caching plugins. Sometimes updates take a moment to show.
Footer Looks Broken?
Inspect the element using your browser’s developer tools. Check for missing CSS or conflicting styles. Adjust padding, margins, or widths as needed.
Theme Update Wiped Changes?
This happens if you edited the parent theme directly. Always use a child theme—learn more in our article on how to update theme on WordPress.
Alternative: Use a Plugin (Not Recommended)
While plugins like “Widget Options” or “Footer Widgets” can add widget areas, they add extra code and slow down your site. Coding it yourself is faster, cleaner, and more reliable.
Conclusion
Adding a footer widget area in WordPress theme is a simple yet powerful way to improve your site’s design and functionality. By following this guide, you’ve learned how to safely register a widget area, display it in your footer, and style it with CSS—all while protecting your changes with a child theme.
Remember: always use a child theme, test your changes, and keep your code clean. With these best practices, your footer will look professional and stay updated through all future theme upgrades.
Now go ahead and customize your footer with confidence!