Changing fonts in WordPress is simpler than you think—whether you’re using the Block Editor, a theme customizer, or custom code. This guide covers multiple methods so you can pick the one that fits your skill level and design goals.
Key Takeaways
- Use the WordPress Block Editor: Change fonts directly in posts and pages with the built-in typography settings.
- Customize via Theme Options: Many themes offer font controls in the Customizer under “Typography” or “Design.”
- Add Google Fonts easily: Use plugins or theme settings to integrate popular web fonts without coding.
- Apply custom CSS for full control: Target specific elements with CSS for advanced font styling.
- Child themes protect your changes: Always use a child theme when editing theme files to avoid losing updates.
- Test across devices: Ensure your chosen font looks good on mobile, tablet, and desktop screens.
- Performance matters: Limit font weights and styles to keep your site fast and responsive.
How Do I Change Font in WordPress? A Complete Guide
If you’ve ever looked at your WordPress site and thought, “This font just doesn’t match my brand,” you’re not alone. Typography plays a huge role in how visitors perceive your website—whether it’s professional, playful, modern, or classic. The good news? Changing fonts in WordPress is easier than ever, even if you’re not a developer.
In this guide, we’ll walk you through several practical ways to change fonts on your WordPress site—from beginner-friendly options like the Block Editor to more advanced techniques using custom CSS. By the end, you’ll know exactly how to update your site’s typography to match your vision.
Method 1: Change Font Using the WordPress Block Editor (Gutenberg)
The Block Editor, introduced in WordPress 5.0, makes it simple to adjust fonts on individual posts and pages—no coding required.
Step 1: Open a Post or Page
Go to your WordPress dashboard, then navigate to Posts > All Posts or Pages > All Pages. Click “Edit” on any existing content or create a new one.
Step 2: Select a Text Block
Click on any paragraph, heading, or text block you want to modify. You’ll see formatting options appear in the toolbar above the block.
Step 3: Adjust Font Settings
In the right-hand sidebar (or inline toolbar), look for the Typography section. Here, you can:
– Choose from available font families (if your theme supports multiple fonts)
– Adjust font size
– Change line height and letter spacing
Tip: Not all themes include multiple font options in the Block Editor. If you only see one font, your theme may be limiting choices—consider switching to a more flexible theme or using one of the methods below.
Method 2: Use the WordPress Customizer for Global Font Changes
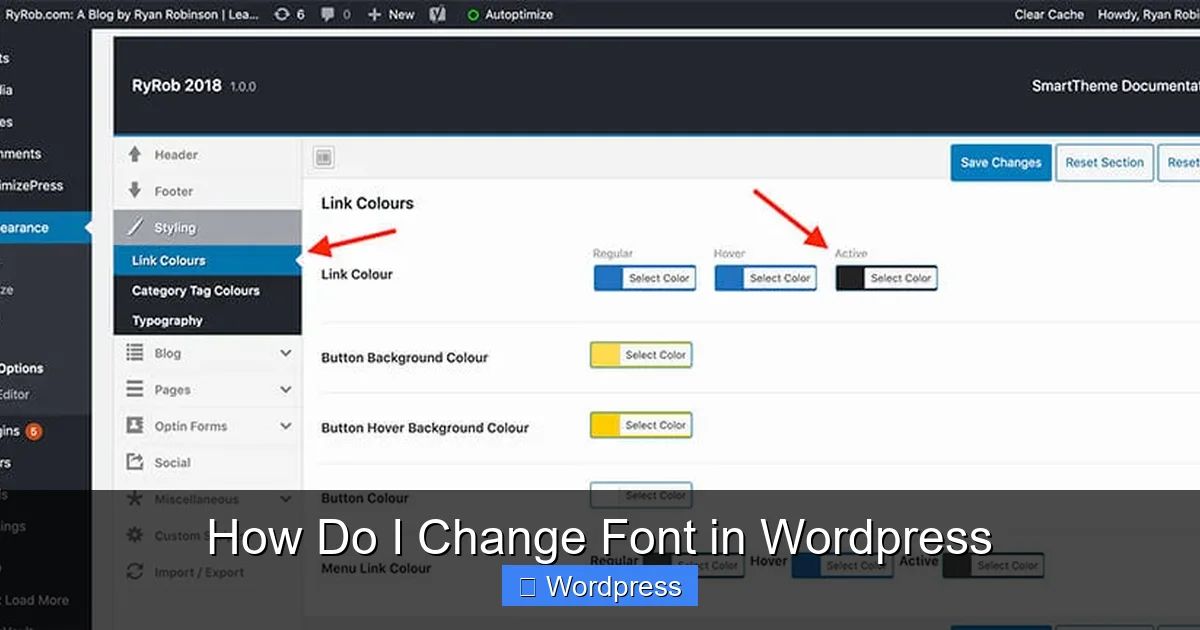
Visual guide about How Do I Change Font in WordPress
Image source: ryrob.com
Want to change fonts across your entire site? The Customizer is your best friend.
Step 1: Access the Customizer
From your dashboard, go to Appearance > Customize. This opens the live preview editor.
Step 2: Look for Typography or Font Settings
Depending on your theme, font controls may appear under:
– Typography
– Global Styles
– Theme Options
– Design
Popular themes like Astra, GeneratePress, and Kadence offer detailed font controls here. For example, Astra lets you set different fonts for headings, body text, buttons, and menus.
Step 3: Choose Your Font and Save
Select a font family from the dropdown (many themes include Google Fonts by default). You can also adjust weight (e.g., 400 for normal, 700 for bold) and size. Click Publish to apply changes site-wide.
Note: If you don’t see font options, your theme might not support them natively. In that case, check out Method 4 (Custom CSS) or consider upgrading to a more customizable theme.
Method 3: Add Google Fonts to Your WordPress Site
Google Fonts offers over 1,400 free, high-quality fonts—and integrating them into WordPress is straightforward.
Option A: Use a Plugin (Easiest)
Plugins like OMGF | Host Google Fonts Locally or Easy Google Fonts let you browse and apply Google Fonts with zero coding.
1. Install and activate the plugin from Plugins > Add New.
2. Go to Appearance > Customize and look for a new “Google Fonts” section.
3. Pick your font, assign it to headings or body text, and save.
Bonus: OMGF also helps improve site speed by hosting fonts locally instead of loading them from Google’s servers.
Option B: Manual Integration via Theme Files
If you prefer not to use a plugin, you can add Google Fonts manually—but only if you’re comfortable editing theme files.
1. Visit Google Fonts, choose a font, and copy the embed link (e.g., ``).
2. Paste this code into your theme’s `header.php` file (found under Appearance > Theme File Editor)—but only if you’re using a child theme.
⚠️ Never edit parent theme files directly—updates will erase your changes.
For safer editing, consider creating a child theme. Learn more about why child themes are essential in our guide: What Is a Child Theme in WordPress?.
Method 4: Change Fonts with Custom CSS
For complete control, use Custom CSS to target specific elements.
Step 1: Open the Customizer
Go to Appearance > Customize > Additional CSS.
Step 2: Add Your CSS Code
Example: Change all paragraph text to “Merriweather” with a serif fallback:
“`css
body p {
font-family: ‘Merriweather’, serif;
font-size: 18px;
line-height: 1.6;
}
“`
To change headings:
“`css
h1, h2, h3 {
font-family: ‘Montserrat’, sans-serif;
font-weight: 700;
}
“`
Pro Tip: Use browser developer tools (right-click > Inspect) to identify the correct CSS selectors for your theme.
Step 3: Publish Your Changes
Click Publish to apply. Your new fonts will appear immediately.
For more advanced CSS techniques, check out our detailed guide: Best Way to Add CSS in WordPress Website.
Method 5: Use a Page Builder (Elementor, Divi, etc.)
If you’re using a drag-and-drop builder like Elementor, changing fonts is even more visual.
In Elementor:
1. Edit a page with Elementor.
2. Click any text widget.
3. In the left panel, go to Style > Typography.
4. Choose font family, size, weight, and more—all with live preview.
Many page builders also include global font settings, so you can set defaults for your entire site.
Learn how to build custom designs with Elementor in our tutorial: How to Create WordPress Theme with Elementor.
Troubleshooting Common Font Issues
Font Not Changing?
– Clear your browser and WordPress cache (use plugins like WP Super Cache).
– Check if your theme or another plugin is overriding your settings.
– Ensure you’re editing the correct element (use browser inspector).
Font Looks Different on Mobile?
Use responsive CSS:
“`css
@media (max-width: 768px) {
body p {
font-size: 16px;
}
}
“`
Site Slow After Adding Fonts?
– Limit font weights (e.g., only load 400 and 700).
– Use font-display: swap; in your CSS to prevent invisible text during loading.
– Consider hosting fonts locally with OMGF plugin.
Final Thoughts
Changing fonts in WordPress doesn’t require a degree in web design—just the right approach. Whether you’re tweaking a single paragraph or redesigning your entire site’s typography, WordPress offers flexible tools for every skill level.
Start with the Block Editor for quick edits, use the Customizer for global changes, and dive into Custom CSS when you need precision. And remember: always test your fonts on real devices to ensure readability and performance.
With these methods, you’re well-equipped to make your WordPress site look exactly how you want—one font at a time.