Changing the footer in WordPress is easier than you think—whether you’re using the Customizer, a page builder, or editing theme files. This guide walks you through multiple methods so you can pick the one that fits your skill level and needs.
Key Takeaways
- Use the WordPress Customizer: Most modern themes allow footer edits via Appearance > Customize > Footer without touching code.
- Try a page builder plugin: Tools like Elementor let you visually redesign your footer with drag-and-drop ease.
- Edit theme files carefully: For full control, modify footer.php—but always use a child theme to avoid losing changes on updates.
- Add widgets to footer areas: Many themes support footer widget zones where you can insert text, menus, or social icons.
- Use CSS for styling tweaks: Adjust colors, spacing, or fonts using Additional CSS in the Customizer.
- Backup before making changes: Always save a backup or use a staging site when editing theme files directly.
- Check responsiveness: Test your new footer on mobile devices to ensure it looks great everywhere.
How Do I Change the Footer in WordPress?
The footer of your WordPress website might seem like a small detail, but it plays a big role in user experience, branding, and even SEO. Whether you want to update your copyright year, add social media links, or completely redesign the layout, knowing how to change the footer in WordPress is essential.
In this guide, we’ll cover several reliable methods—from beginner-friendly options using the WordPress Customizer to more advanced techniques involving code. By the end, you’ll be able to confidently customize your site’s footer no matter your technical skill level.
Method 1: Use the WordPress Customizer (Easiest Way)

Visual guide about How Do I Change the Footer in WordPress
Image source: mekshq.com
Most modern WordPress themes support footer customization through the built-in Customizer. This is the safest and simplest method for beginners.
Step 1: Go to Appearance > Customize
Log into your WordPress dashboard. In the left sidebar, click Appearance, then select Customize. This opens the live preview editor.
Step 2: Look for Footer Settings
Once inside the Customizer, look for a section labeled Footer, Footer Widgets, or Site Identity. The exact name depends on your theme. For example, themes like Astra, GeneratePress, and Twenty Twenty-Four all include dedicated footer options here.
Step 3: Edit Footer Content
You may see fields to:
– Change the copyright text (e.g., “© 2024 Your Site Name”)
– Toggle visibility of footer widgets
– Adjust layout (e.g., number of columns)
– Add background color or image
Simply type your new text or adjust settings, and watch the live preview update in real time.
Step 4: Publish Your Changes
When you’re happy with the result, click the Publish button at the top. Your new footer will go live immediately.
Tip: If you don’t see footer options, your theme might not support them—try Method 2 or 3 below.
Method 2: Add or Edit Footer Widgets
Visual guide about How Do I Change the Footer in WordPress
Image source: mekshq.com
Many themes include one or more footer widget areas. These let you add dynamic content like recent posts, contact info, or navigation menus without coding.
Step 1: Go to Appearance > Widgets
In your dashboard, navigate to Appearance > Widgets. Scroll down to find widget areas named something like “Footer 1”, “Footer 2”, or “Footer Area”.
Step 2: Drag and Drop Widgets
Click and drag widgets from the left panel into your footer widget zones. Common choices include:
– Text Widget: Add custom HTML, links, or disclaimers
– Custom Menu: Insert a quick navigation menu
– Social Icons: Link to your Facebook, Instagram, etc.
– Recent Posts: Show latest blog updates
Step 3: Configure Each Widget
Click on any widget you’ve added to open its settings. For example, in a Text Widget, you could paste:
© 2024 My Awesome Blog. All rights reserved.
Save each widget when done.
Step 4: Check Your Site
Visit your homepage to see the updated footer. Most themes automatically style these widgets to match your design.
Note: Not all themes support footer widgets. If you don’t see any footer widget areas, consider switching to a more flexible theme like Astra or GeneratePress.
Method 3: Use a Page Builder (Like Elementor)
If you’re using a visual page builder such as Elementor, Beaver Builder, or Divi, you can design a completely custom footer without touching any code.
Step 1: Install and Activate Your Page Builder
Most builders offer free versions. Install Elementor from the WordPress plugin repository if you haven’t already.
Step 2: Edit the Footer Template
In Elementor, go to Templates > Theme Builder > Footer. Click “Add New” to create a custom footer, or edit the existing one.
Step 3: Design with Drag-and-Drop
Use Elementor’s widgets to build your ideal footer:
– Add columns for layout
– Insert headings, text, buttons, or images
– Use the Nav Menu widget for links
– Style colors, fonts, and spacing visually
Step 4: Set Display Conditions
Tell Elementor where to show your footer (e.g., “Entire Site” or “All Pages Except Homepage”). Then publish.
Your new footer will replace the default one across your entire site—no coding needed!
Pro Tip: Elementor also lets you save your footer as a template and reuse it on other sites.
Method 4: Edit Theme Files (Advanced)
For full control, you can edit the footer.php file in your theme. Warning: This method requires caution. Always use a child theme to avoid losing changes when your theme updates.
Step 1: Create or Use a Child Theme
If you haven’t already, set up a child theme. This protects your customizations. Learn more about what a child theme is and why it’s important.
Step 2: Access Your Theme Files
Go to Appearance > Theme File Editor (or use FTP/SFTP). Navigate to your child theme folder and open footer.php.
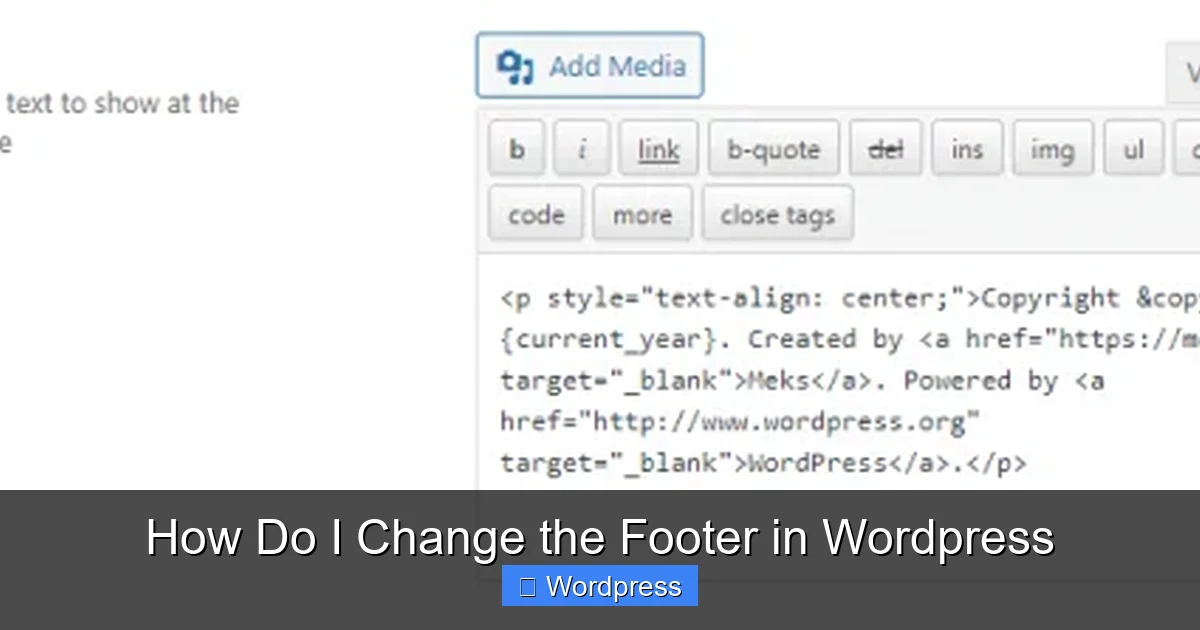
Step 3: Modify the Code
Look for lines like:
<p>© Your Site Name</p>
Change the text, add HTML, or insert PHP functions. For example, to add a dynamic year:
<p>© My Business. Built with <a href="https://wordpress.org">WordPress</a>.</p>
Step 4: Save and Test
Save your changes and refresh your site. If something breaks, restore the original file from your backup.
Important: Never edit the parent theme directly—always use a child theme!
Method 5: Add Custom CSS
Want to tweak the look of your footer? Use CSS for styling adjustments without altering structure.
Step 1: Go to Additional CSS
In the Customizer (Appearance > Customize), scroll down and click Additional CSS.
Step 2: Write Your CSS
Target your footer with selectors. For example:
.site-footer {

background-color: #2c3e50;

color: #ecf0f1;

padding: 30px 0;

text-align: center;

}
This changes the background to dark blue, text to light gray, and centers everything.
Step 3: Publish
Click Publish to apply. Use your browser’s inspector tool to find the right CSS classes if needed.
Learn more about the best ways to add CSS in WordPress for cleaner, more maintainable code.
Troubleshooting Common Footer Issues
Footer Not Updating?
Clear your cache—both WordPress cache (if using a plugin like WP Super Cache) and browser cache. Also check if your theme has a separate “Footer Settings” panel.
Changes Disappeared After Update?
You likely edited the parent theme. Always use a child theme to preserve customizations.
Footer Looks Broken on Mobile?
Use responsive CSS or check your page builder’s mobile view settings. Test on real devices when possible.
Can’t Find Footer Options?
Some themes hide footer settings. Consider switching to a more customizable theme or using a plugin like Custom Footer.
Conclusion
Changing the footer in WordPress doesn’t have to be complicated. Whether you’re using the Customizer, widgets, a page builder, or custom code, there’s a method that fits your comfort level. Start simple, back up your site, and don’t hesitate to experiment—your footer is a great place to reinforce your brand and improve usability.
Remember: always test your changes on different devices, and keep your copyright info current. With these tips, you’ll have a professional, polished footer in no time.