This guide walks you through adding a custom page template in WordPress—from creating the file to applying it in the editor. Whether you’re building a landing page or unique layout, you’ll learn best practices and avoid common pitfalls.
Key Takeaways
- Create a new PHP file in your theme folder to define your custom page template.
- Add the required template header comment so WordPress recognizes it as a valid template.
- Use get_header() and get_footer() to maintain consistent site structure and styling.
- Choose your template in the WordPress editor under Page Attributes when editing a page.
- Always use a child theme to preserve changes during theme updates.
- Test your template thoroughly on different devices and browsers before going live.
- Customize with CSS and PHP to match your design and functionality needs.
Introduction: Why Create a Custom Page Template?
If you’ve ever wanted a unique layout for a specific page on your WordPress site—like a full-width landing page, a portfolio showcase, or a custom contact form layout—you’ll need a custom page template. WordPress allows you to create these templates easily, giving you full control over how content is displayed without affecting other pages.
In this guide, you’ll learn how to add a new page template in WordPress theme from scratch. We’ll cover everything from setting up the file structure to applying the template in the editor. Whether you’re a beginner or an experienced developer, this step-by-step tutorial will help you build flexible, reusable templates that enhance your site’s design and functionality.
Step 1: Understand How WordPress Page Templates Work
Before diving into code, it’s important to understand how WordPress handles page templates. By default, WordPress uses page.php to render all pages. But you can create custom templates that override this default behavior for specific pages.
These templates are PHP files stored in your active theme’s directory. WordPress scans these files for a special comment at the top—called the template header—that tells it the file is a page template. Once recognized, the template appears in the WordPress editor under Page Attributes > Template.
How Templates Are Loaded
- WordPress checks if a custom template is assigned to a page.
- If yes, it loads that template instead of
page.php. - If no template is selected, it falls back to the default page template.
Step 2: Choose the Right Theme (Use a Child Theme)
Before making any changes, always work within a child theme. Editing your parent theme directly is risky—any updates will overwrite your customizations.
If you haven’t set up a child theme yet, check out our guide on what is a child theme in WordPress to learn how to create one safely.
Using a child theme ensures your new page template remains intact even when the parent theme is updated. It’s a best practice every WordPress developer should follow.
Step 3: Create a New Template File
Now it’s time to create your custom template file.
Locate Your Theme Folder
- Go to your WordPress installation directory.
- Navigate to
wp-content/themes/. - Open your active child theme folder (e.g.,
my-child-theme).
Create a New PHP File
Right-click inside the theme folder and select New > Text Document. Rename it to something descriptive, like template-landing.php or template-fullwidth.php.
Make sure the file extension is .php, not .txt. You may need to enable file extensions in your operating system to see and change them.
Step 4: Add the Template Header Comment
Every custom page template must start with a special comment block. This tells WordPress the file is a template and gives it a name.
Open your new PHP file in a code editor (like VS Code, Sublime Text, or even Notepad++) and paste the following:
Replace Landing Page with a name that describes your template, such as Full Width, Portfolio Grid, or Contact Form Layout.
This name will appear in the WordPress editor when selecting a template.
Step 5: Build the Template Structure
Now that WordPress recognizes your file as a template, you can start building the layout.
Include Header and Footer
To maintain consistent branding and functionality, include the site header and footer using WordPress functions:
These functions pull in header.php and footer.php from your theme, ensuring navigation, styles, and scripts are loaded.
Add Custom HTML and PHP
Between the header and footer, add your custom layout. For example, a simple landing page might look like this:
Welcome to Our Site
Discover amazing content and services.

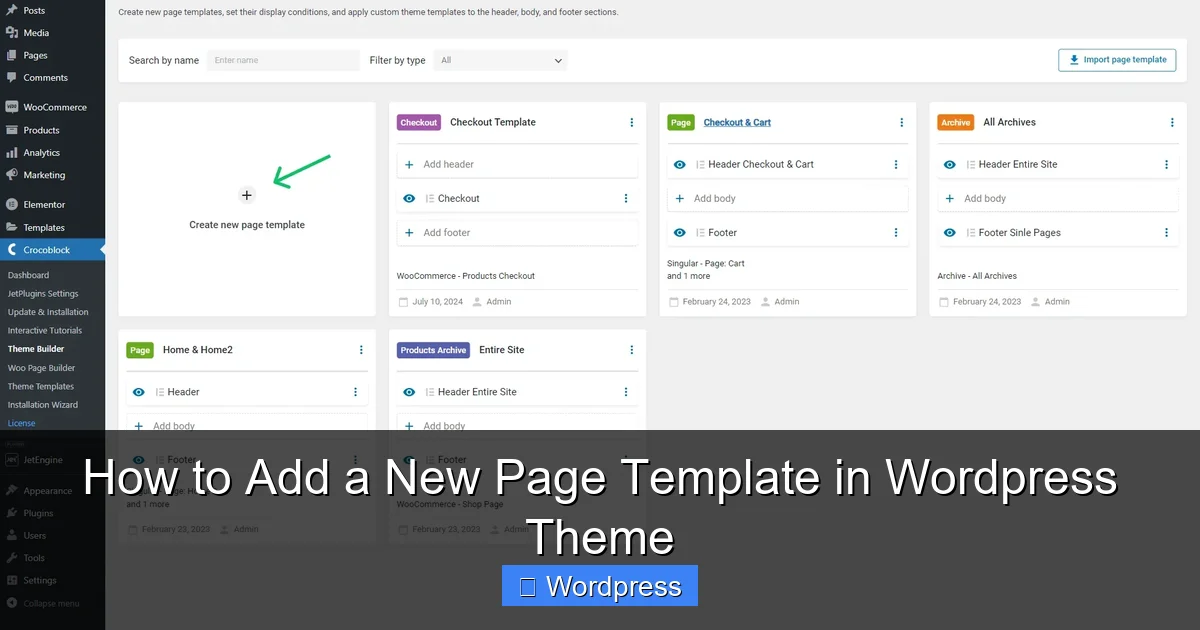
Visual guide about How to Add a New Page Template in WordPress Theme
Image source: crocoblock.com
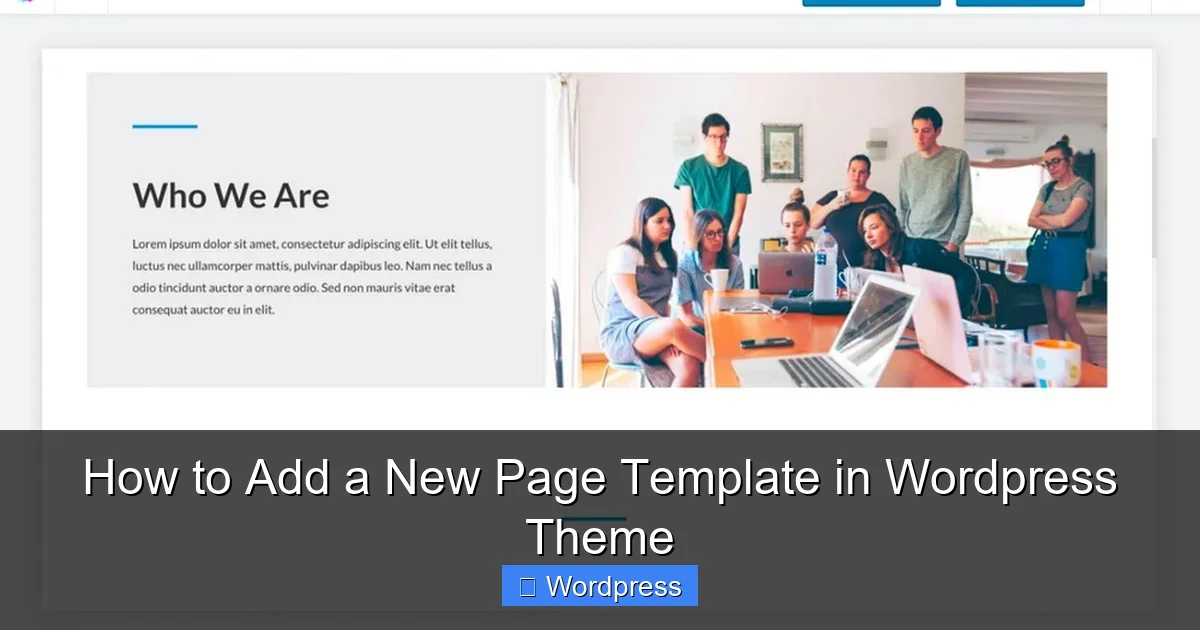
Get StartedVisual guide about How to Add a New Page Template in WordPress Theme
Image source: wpastra.com
Fast Performance
Optimized for speed and SEO.
Easy to Use
Built with simplicity in mind.
You can also use WordPress functions like the_content() to display the page’s main content:
This allows editors to add content via the WordPress editor while keeping the layout controlled by your template.
Step 6: Style Your Template with CSS
To make your template look great, add custom CSS. You can do this in several ways:
Option 1: Add CSS to Your Child Theme’s Stylesheet
Open style.css in your child theme and add styles:
.landing-hero {
  background: #0073aa;
  color: white;
  padding: 80px 20px;
  text-align: center;
}

.btn-primary {
  background: #ff6b6b;
  color: white;
  padding: 12px 24px;
  text-decoration: none;
  border-radius: 5px;
  display: inline-block;
}
Option 2: Use the WordPress Customizer
Go to Appearance > Customize > Additional CSS and add your styles there. This method is user-friendly and doesn’t require file editing.
For more advanced styling tips, check out our guide on the best way to add CSS in WordPress website.
Step 7: Apply the Template in WordPress
Now that your template is ready, it’s time to use it.
Edit or Create a New Page
- Go to Pages > Add New (or edit an existing page).
- On the right side, find the Page Attributes panel.
- Under Template, you’ll see a dropdown with your new template (e.g., “Landing Page”).
- Select it and publish or update the page.
Once published, visit the page to see your custom layout in action.
Step 8: Test and Troubleshoot
Always test your template thoroughly.
Check on Different Devices
View your page on mobile, tablet, and desktop to ensure responsiveness. Use browser developer tools (F12) to simulate different screen sizes.
Common Issues and Fixes
- Template not appearing in dropdown? Double-check the template header comment. It must be at the very top of the file.
- Styles not loading? Make sure your CSS is correctly added and there are no syntax errors.
- Header or footer missing? Verify that
get_header()andget_footer()are included. - White screen of death? Check for PHP syntax errors. Enable
WP_DEBUGinwp-config.phpto see error messages.
Advanced Tips for Custom Templates
Once you’re comfortable with basic templates, try these enhancements:
Use Template Parts
Break your template into reusable parts using get_template_part():
This keeps your code organized and modular.
Add Custom Fields
Use plugins like Advanced Custom Fields (ACF) to let editors add custom content (e.g., testimonials, banners) without touching code.
Conditional Logic
Use PHP to show different content based on conditions:
  Welcome back, member!

  Please log in to continue.
Conclusion: Unlock More Control with Custom Templates
Adding a new page template in WordPress theme gives you powerful control over your site’s design and functionality. Whether you’re building a marketing landing page, a portfolio, or a custom form layout, templates let you break free from default constraints.
By following this guide, you’ve learned how to create, style, and apply custom templates safely using a child theme. Remember to test your work, keep code clean, and use WordPress best practices.
With this skill, you can create unique, professional-looking pages that enhance user experience and support your site’s goals. Happy building!