This guide shows you how to add HTML code in WordPress theme without breaking your site. You’ll learn safe methods using the WordPress Customizer, editing theme files, and using a child theme for long-term stability.
Key Takeaways
- Use the WordPress Customizer: Add HTML to headers, footers, or widgets without touching code files.
- Edit theme files carefully: Access header.php or footer.php via Appearance > Theme File Editor to insert HTML directly.
- Always use a child theme: Protect your changes from being overwritten during theme updates.
- Backup your site first: Prevent data loss by creating a full backup before making any code changes.
- Test on a staging site: Try new HTML code on a copy of your site to avoid live errors.
- Avoid editing core theme files directly: Use a child theme to maintain update safety and code integrity.
- Use plugins for complex needs: Tools like “Insert Headers and Footers” simplify adding HTML without coding.
How to Add HTML Code in WordPress Theme
Adding HTML code to your WordPress theme can help you customize layouts, embed videos, add tracking scripts, or insert custom buttons. Whether you’re a beginner or an experienced user, knowing how to add HTML code in WordPress theme safely is essential for maintaining a functional and secure website.
In this guide, you’ll learn multiple methods to insert HTML into your WordPress theme—ranging from simple widget-based approaches to advanced file editing. We’ll also cover best practices to ensure your site stays stable and updatable.
Method 1: Using the WordPress Customizer
The WordPress Customizer is the easiest and safest way to add HTML code, especially for beginners. It allows you to preview changes in real time before publishing.
Step 1: Access the Customizer
Log in to your WordPress dashboard. Go to Appearance > Customize. This opens the live preview editor.
Visual guide about How to Add Html Code in WordPress Theme
Image source: strapi.dhiwise.com
Step 2: Add HTML via Widgets
Navigate to Widgets in the Customizer menu. Choose a widget area like “Footer” or “Sidebar.” Click Add a Widget and select the Custom HTML widget.
Step 3: Insert Your HTML Code
Paste your HTML code into the widget box. For example:
<div class="custom-banner">
  <h2>Welcome to Our Site!</h2>
  <p>This is a custom HTML banner added via widget.</p>
</div>
Click Publish to save your changes. Your HTML will now appear in the selected widget area.
Tip: Use Shortcodes for Reusability
If you plan to reuse the HTML, consider creating a shortcode in your theme’s functions.php file. This keeps your content manageable and portable.
Method 2: Editing Theme Files Directly
For more control, you can add HTML directly into theme files like header.php, footer.php, or page.php. This method is powerful but requires caution.
Step 1: Access Theme File Editor
In your WordPress dashboard, go to Appearance > Theme File Editor. You’ll see a list of theme files on the right.
Step 2: Choose the Right File
- Use
header.phpto add HTML near the top of your site (e.g., after<body>). - Use
footer.phpto insert code before</body>(ideal for scripts or footers). - Use
page.phporsingle.phpto add HTML to specific page types.
Step 3: Insert HTML Code
Find the location where you want to add your HTML. For example, to add a banner after the header, place your code right after the opening <body> tag:
<body>
<div class="site-banner">
  <p>Special Offer: Free Shipping Today!</p>
</div>
Click Update File to save.
Warning: Avoid Direct Edits on Parent Themes
Editing core theme files directly is risky. If you update your theme, all changes will be lost. Always use a child theme instead—more on that below.
Method 3: Using a Child Theme (Recommended)
A child theme inherits the functionality of your parent theme while allowing safe customization. This is the best practice for adding HTML code in WordPress theme long-term.
Step 1: Create a Child Theme
If you don’t have one, create a child theme. You can use a plugin like Child Theme Configurator or follow our guide on what is a child theme in WordPress to set it up manually.
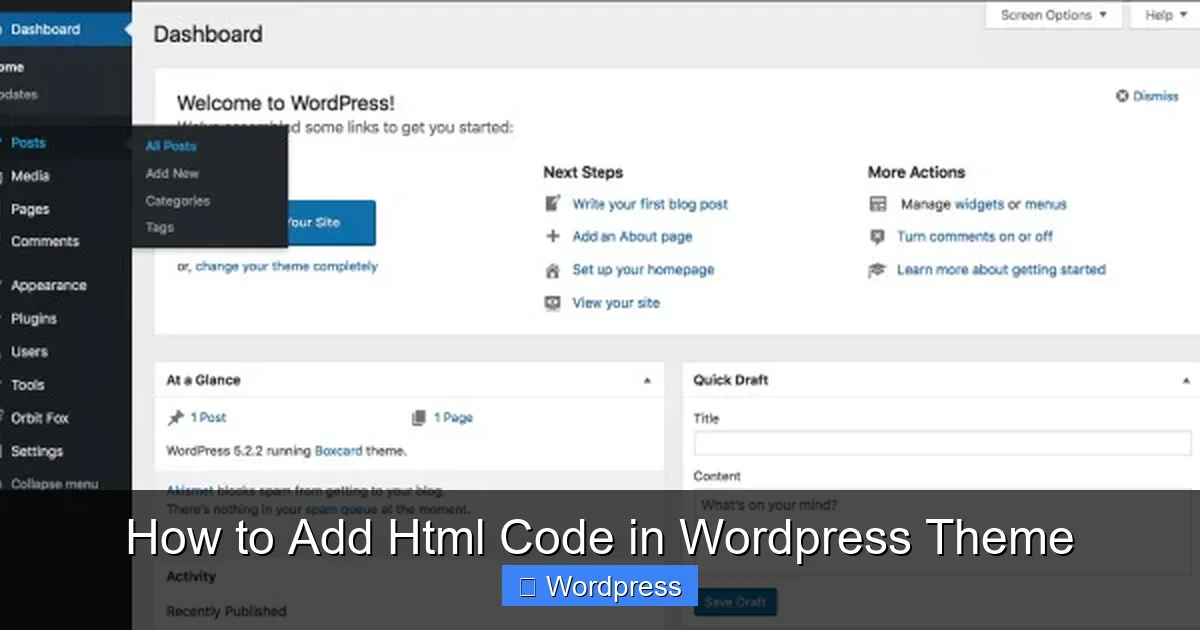
Visual guide about How to Add Html Code in WordPress Theme
Image source: html-online.com
Step 2: Copy the File You Want to Modify
For example, to modify the footer, copy footer.php from your parent theme into your child theme folder. Keep the same file structure.
Step 3: Add HTML to the Child Theme File
Edit the copied file in your child theme. Add your HTML where needed. For instance, to add a copyright notice:
<footer>
  <p>© 2024 Your Website. All rights reserved.</p>
  <!-- Custom HTML added via child theme -->
</footer>
Save the file. Your changes will appear on the live site without affecting the parent theme.
Benefits of Using a Child Theme
- Safe from theme updates
- Easy to manage and revert
- Supports custom CSS, PHP, and HTML
Method 4: Using Plugins for HTML Insertion
If you prefer not to edit files, plugins offer a user-friendly alternative. They’re ideal for adding scripts, banners, or tracking codes.
Recommended Plugin: Insert Headers and Footers
This free plugin lets you add HTML, CSS, or JavaScript to your site’s header or footer without coding.
Step 1: Install the Plugin
Go to Plugins > Add New. Search for “Insert Headers and Footers,” install, and activate it.
Step 2: Add Your HTML Code
Navigate to Settings > Insert Headers and Footers. Paste your HTML into the “Header” or “Footer” box.
Example: Add a Google Analytics script or a custom disclaimer:
<script>
  console.log("Custom script loaded!");
</script>
Click Save. The code will load on every page.
Other Useful Plugins
- Custom HTML Widget: Already built into WordPress for widget areas.
- WPCode: Formerly Insert Headers and Footers, with more features like conditional logic.
Best Practices When Adding HTML
To avoid common pitfalls, follow these guidelines:
1. Always Backup Your Site
Before making any changes, create a full backup. Use plugins like UpdraftPlus or your hosting provider’s backup tool. This ensures you can restore your site if something goes wrong.
2. Test on a Staging Site
Use a staging environment to test HTML changes. Many hosts offer one-click staging. This prevents downtime or errors on your live site.
3. Validate Your HTML
Use tools like the W3C Validator to check for syntax errors. Broken HTML can break layouts or cause security issues.
4. Avoid Inline Styles
Instead of adding inline CSS in your HTML, use external stylesheets. This keeps your code clean and maintainable. Learn more in our guide on the best way to add CSS in WordPress website.
5. Use Semantic HTML
Use proper tags like <header>, <section>, and <article> for better SEO and accessibility.
Troubleshooting Common Issues
HTML Not Displaying?
- Check for syntax errors (missing closing tags).
- Ensure the file was saved correctly.
- Clear your cache (browser and plugin).
Changes Disappeared After Update?
This happens when you edit parent theme files directly. Always use a child theme to preserve customizations. If you’ve lost changes, restore from backup and reapply them in a child theme.
Site Crashed After Adding Code?
Access your site via FTP or file manager. Rename the theme folder to force WordPress to revert to a default theme. Then fix the code and reactivate.
Conclusion
Adding HTML code in WordPress theme doesn’t have to be intimidating. Whether you use the Customizer, edit files, or rely on plugins, there’s a method that fits your skill level. The key is to work safely—always use a child theme, backup your site, and test changes.
By following this guide, you can confidently customize your WordPress site with HTML while keeping it secure and updatable. Remember, small changes can have a big impact on design and functionality.
For more tips on managing your WordPress theme, check out our articles on how to update theme on WordPress and how to apply WordPress theme.