This guide shows you how to add a menu to your WordPress theme using the built-in menu system. You’ll learn to register menus, customize them, and fix common issues—no coding required.
Key Takeaways
- WordPress menus are flexible: You can create multiple menus and assign them to different theme locations like header, footer, or sidebar.
- Menus are managed in the dashboard: Use Appearance > Menus to build, edit, and organize your navigation without touching code.
- Your theme must support menus: Most modern themes do, but older ones may require a small code tweak to enable menu functionality.
- Custom links and pages can be added: You’re not limited to existing pages—add external links, categories, or custom URLs.
- Mobile-friendly menus are essential: Ensure your menu works on all devices by choosing a responsive theme or using a plugin.
- Troubleshooting is simple: If your menu doesn’t appear, check theme support, menu assignment, or plugin conflicts.
How to Add Menu to WordPress Theme: A Complete Guide
Adding a menu to your WordPress theme is one of the most important steps in building a user-friendly website. A well-structured navigation menu helps visitors find what they’re looking for quickly and improves your site’s overall usability. Whether you’re setting up a blog, business site, or online store, knowing how to add a menu to your WordPress theme is essential.
In this guide, you’ll learn everything you need to know—from enabling menu support in your theme to customizing your navigation with pages, links, and dropdowns. We’ll cover both the built-in WordPress menu system and how to troubleshoot common problems. No coding experience? No problem! This step-by-step tutorial is designed for beginners and intermediate users alike.
By the end, you’ll have a fully functional, attractive menu that enhances your site’s design and functionality.
Step 1: Check If Your Theme Supports Menus
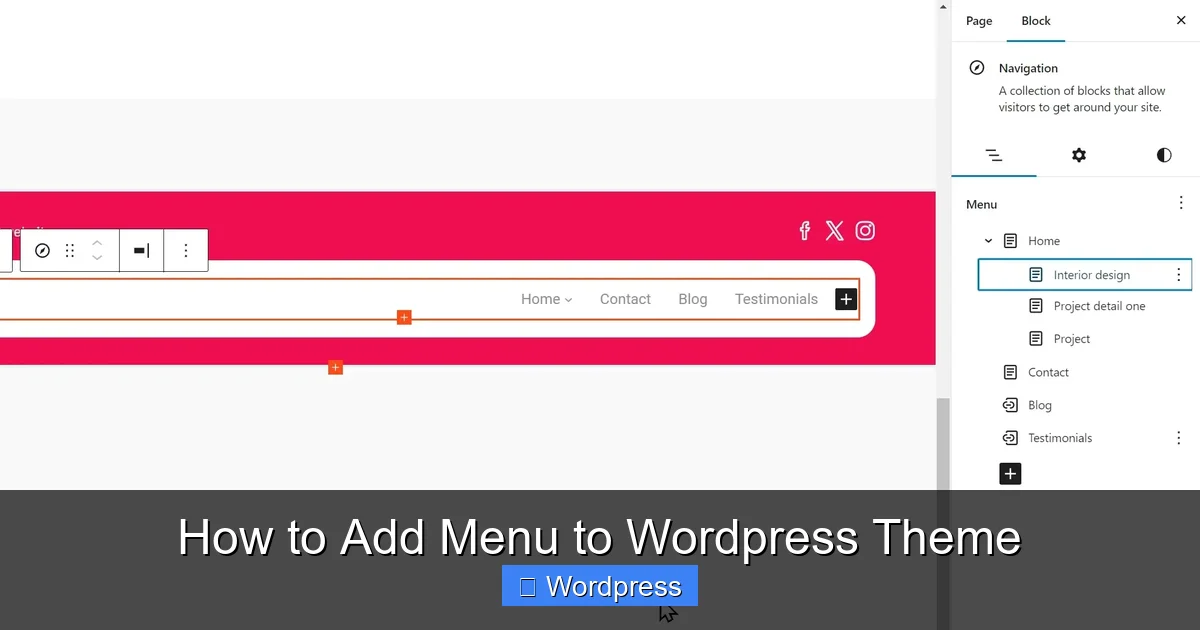
Visual guide about How to Add Menu to WordPress Theme
Image source: maxiblocks.com
Before you start adding menus, make sure your WordPress theme supports them. Most modern themes—like Astra, Twenty Twenty-Four, or GeneratePress—include built-in menu support. But if you’re using an older or custom theme, you might need to enable it manually.
How to Check Menu Support
Go to your WordPress dashboard and navigate to Appearance > Menus. If you see a menu editor with options to create and manage menus, your theme likely supports them. If the page looks empty or says “Your theme does not support menus,” you’ll need to add support via code.
Enable Menu Support in Your Theme (If Needed)
If your theme doesn’t support menus, you can add support by editing your theme’s functions.php file. Don’t worry—this is easier than it sounds.
1. Go to Appearance > Theme File Editor.
2. In the right sidebar, find and click on functions.php.
3. Add this line of code at the end of the file:
add_theme_support('menus');4. Click Update File.
Alternatively, if you’re using a child theme (which we highly recommend), make this change in the child theme’s functions.php to avoid losing updates when the parent theme is updated.
Step 2: Register Menu Locations
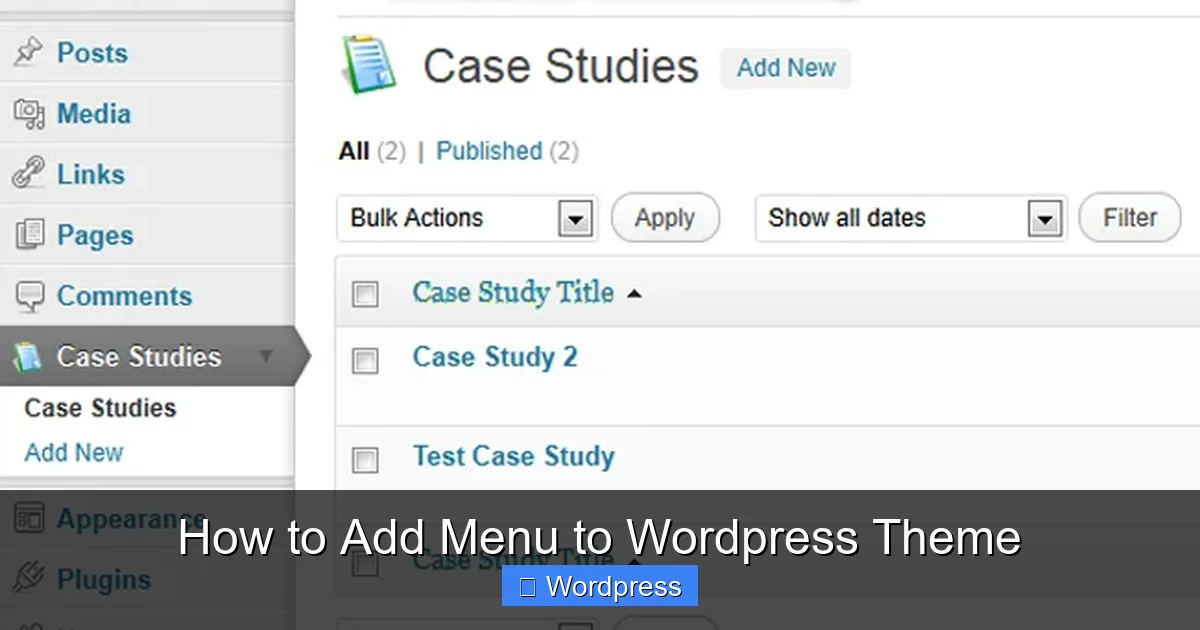
Visual guide about How to Add Menu to WordPress Theme
Image source: i.stack.imgur.com
WordPress allows you to register multiple menu locations—like “Primary Menu,” “Footer Menu,” or “Mobile Menu.” This gives you flexibility in where your menus appear.
Register a Menu Location
To register a new menu location, add the following code to your theme’s functions.php file:
function register_my_menus() {
    register_nav_menus(
        array(
            'primary-menu' => __( 'Primary Menu' ),
            'footer-menu'  => __( 'Footer Menu' )
        )
    );
}
add_action( 'init', 'register_my_menus' );
This code creates two menu locations: “Primary Menu” and “Footer Menu.” You can name them anything you like.
Display the Menu in Your Theme
Now that you’ve registered the menu, you need to tell your theme where to display it. Open your theme’s header.php file (or wherever you want the menu to appear) and add this PHP code:
<?php wp_nav_menu( array( 'theme_location' => 'primary-menu' ) ); ?>This tells WordPress to display the menu assigned to the “primary-menu” location. You can do the same for the footer or any other area.
Step 3: Create and Customize Your Menu
Now that your theme supports menus and locations are registered, it’s time to build your menu.
Access the Menu Editor
Go to Appearance > Menus in your WordPress dashboard. If this is your first time, you’ll see a blank screen with options to create a new menu.
Create a New Menu
1. Click Create a new menu.
2. Enter a name for your menu (e.g., “Main Navigation”).
3. Click Create Menu.
Add Items to Your Menu
You can add several types of items:
– Pages: Select existing pages from your site.
– Posts: Link to blog posts or articles.
– Custom Links: Add external URLs (e.g., social media profiles).
– Categories: Create dropdowns for blog categories.
To add an item:
1. Check the box next to the item you want.
2. Click Add to Menu.
Organize Menu Items
Drag and drop items to reorder them. To create a dropdown (submenu), drag an item slightly to the right under a parent item. WordPress will automatically format it as a nested menu.
Assign the Menu to a Location
At the bottom of the menu editor, you’ll see a section called Menu Settings. Check the box next to the location you want (e.g., “Primary Menu”) and click Save Menu.
Step 4: Style and Customize Your Menu
WordPress menus are functional by default, but you’ll likely want to style them to match your site’s design.
Use the WordPress Customizer
Go to Appearance > Customize > Menus. Here, you can:
– Change menu layout (horizontal or vertical).
– Adjust spacing and alignment.
– Add a logo or site title near the menu.
Some themes offer advanced menu styling options in the Customizer. For example, Astra and GeneratePress let you change colors, fonts, and hover effects.
Add Custom CSS (Optional)
If you need more control, you can add custom CSS. Go to Appearance > Customize > Additional CSS and add styles like:
.main-navigation ul {
    background-color: #2c3e50;
}
.main-navigation li a {
    color: white;
    padding: 15px 20px;
}
This changes the background and text color of your menu. For more tips on styling, check out our guide on the best way to add CSS in WordPress.
Step 5: Make Your Menu Mobile-Friendly
With more people browsing on phones, your menu must work well on mobile devices.
Use a Responsive Theme
Most modern themes automatically convert your menu into a “hamburger” icon (three horizontal lines) on small screens. If your theme doesn’t do this, consider switching to a responsive theme like Astra or GeneratePress.
Test on Different Devices
Use Chrome’s Developer Tools (right-click > Inspect > toggle device toolbar) to preview your menu on phones and tablets. Make sure dropdowns work and text is readable.
Troubleshooting Common Menu Issues
Even with the best setup, you might run into problems. Here’s how to fix the most common ones.
Menu Not Appearing
– Check that the menu is assigned to a location in Appearance > Menus.
– Ensure your theme supports menus (see Step 1).
– Clear your cache if you’re using a caching plugin.
Dropdowns Not Working
– Make sure child items are indented under parent items in the menu editor.
– Some themes require JavaScript for dropdowns—check your theme documentation.
Menu Looks Broken After Theme Update
This often happens if you edited the parent theme directly. Always use a child theme to make changes. If you didn’t, your edits may have been overwritten. Reapply them in a child theme to avoid future issues.
Custom Links Not Working
Double-check the URL format. It should start with https:// or http://. For example: https://facebook.com/yourpage.
Conclusion
Adding a menu to your WordPress theme is a straightforward process once you understand the basics. By enabling menu support, registering locations, and using the built-in menu editor, you can create a clean, functional navigation system in minutes.
Remember to:
– Use a responsive theme for mobile compatibility.
– Assign menus to the correct locations.
– Style your menu to match your brand.
– Test on different devices.
With these steps, your website will be easier to navigate and more professional-looking. And if you ever need to update your theme, consider using a child theme to preserve your customizations.
Now that your menu is set up, take your site to the next level by exploring other WordPress features—like custom widgets, SEO optimization, or performance tweaks.